When we paint model aircraft, a mix of airbrushing and brush painting is our secret sauce. Airbrushing gives us those smooth, even coats that look slick, while a fine brush helps tackle the tricky details. Don’t forget to properly prep your surfaces—cleaning and sanding makes a huge difference! Layering and masking guarantees sharp edges, and adding weathering effects brings our models to life. Trust us, these techniques will take your aircraft from plain to spectacular! Stick around to find out more tips!
Key Takeaways
- Prepare and clean model parts thoroughly to enhance paint adhesion and ensure a smoother finish.
- Use airbrushing for smooth, even coats, especially for larger surfaces and layering.
- Employ brush painting with a fine sable brush for precision and tackling intricate details.
- Apply thin layers of paint and allow each layer to dry for a professional finish.
- Incorporate weathering techniques like washes and dry-brushing to add realism and depth to your model.
Paint Application Methods
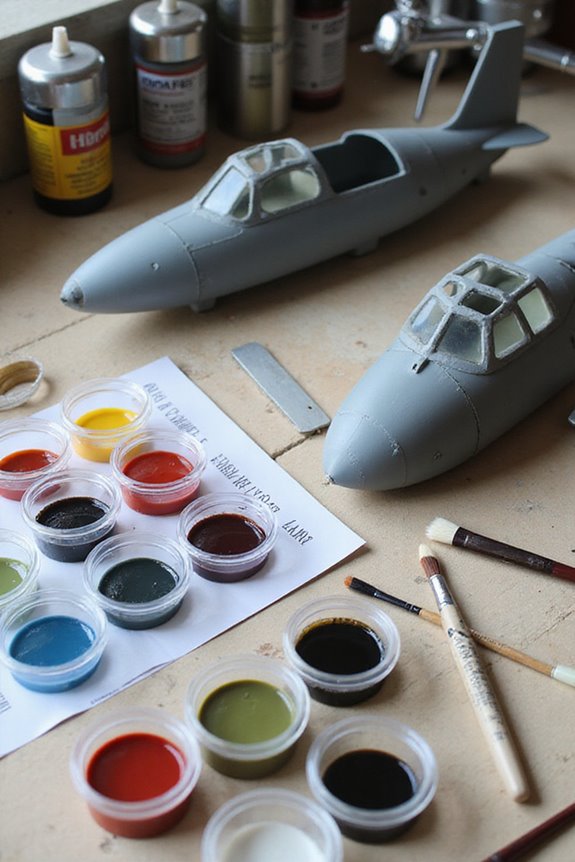
When we plunge into painting our model aircraft, choosing the right application method can make all the difference. Whether we opt for airbrush techniques or brush techniques, each method has its perks.
Airbrushing offers smooth, even coats that can transform a model from dull to dazzling. It’s perfect for layering colors and achieving subtle shading. Just remember, a typical paint mix is five parts thinner to one part paint for that flawless blend.
On the flip side, brush painting lets us tackle fine details and stubborn spots where airbrushes fear to tread. A fine sable brush is our best buddy for precision work. Layering thin coats reduces brush marks, making even our lopsided creations look professional. Happy painting!

Airbrush thinner has been specifically developed for acrylic paints with airbrush application in mind. This thinner optimizes the fluidity and transparency of colors without compromising adhesion, hardness and consistency. By improving application, it allows for a more uniform and professional finish, ideal for detailed and high precision work

Airbrush flow improver has been specifically developed for acrylic paints with airbrush application in mind. This thinner is a medium formulated to improve the fluidity of the paint and delay its drying. By improving the application, it allows a more uniform and professional finish, ideal for detailed and high precision work.

Paint Preparation and Thinning
Getting our models prepped right makes all the difference before we start applying paint. First, we wash the parts with warm water and soap to nix any oils. Once they’re dry, we might give them a light sanding for better adhesion. Don’t forget to clean dust away; we want a pristine surface!
When it comes to paint thinning, let’s aim for that milk-like consistency—around one part paint to one part thinner. Be mindful of thinner compatibility; using the right thinner for our paint type can be a game-changer. Too much thinning can mean less pigment coverage, so finding the sweet spot is key. Test it out first; after all, we want a flawless finish—not a splatter-fest!
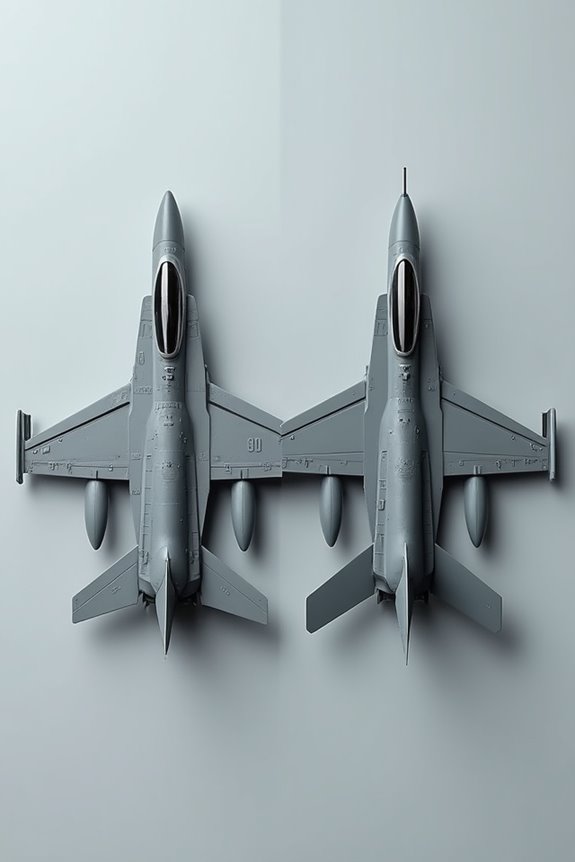
Masking and Layering Techniques
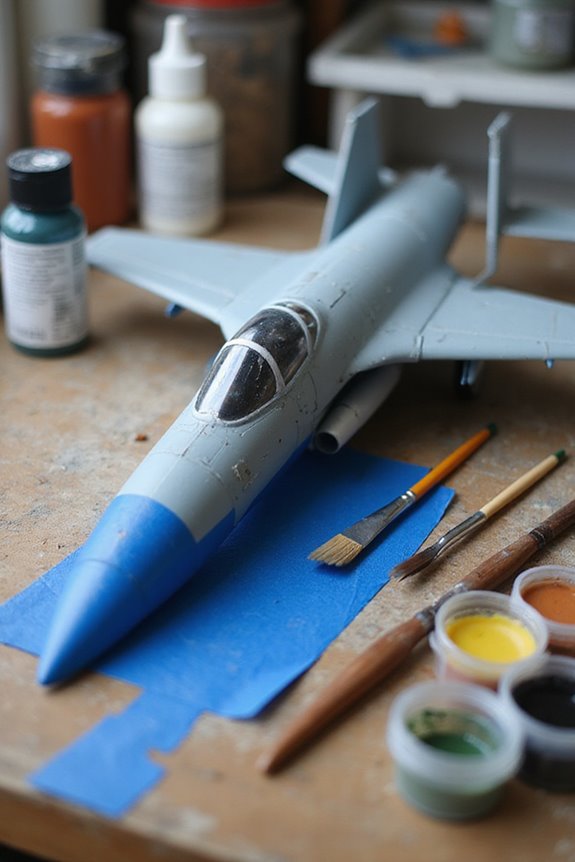
Masking and layering techniques are essential for achieving that stunning finish on our model aircraft. We can’t underestimate the importance of using quality masking materials; Tamiya masking tape works wonders for sharp edges and less residue. When we layer our colors, we should always follow a logical layering order. Start with the lightest base color and let it dry completely before moving on to darker shades.
For complex curves, liquid masking products fit the bill, letting us paint even those tricky bits. Remember, there’s no shame in taking notes for our color shifts. It’s like following a recipe—if we forget an ingredient, we might end up with a dish that’s just too bland! So, let’s mask smart and paint bold!

Made from high quality materials and designed for long lasting performance.

Product Type :Adhesive Tapes
Surface Preparation and Priming
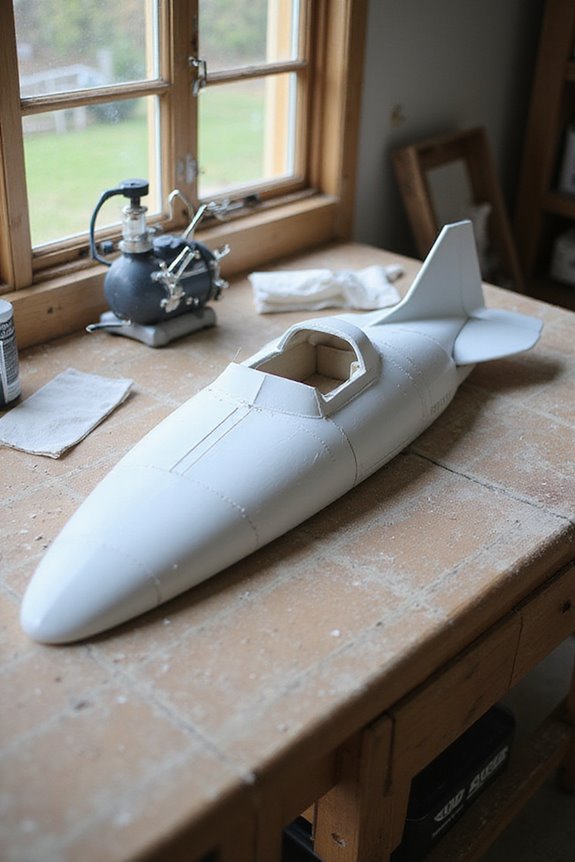
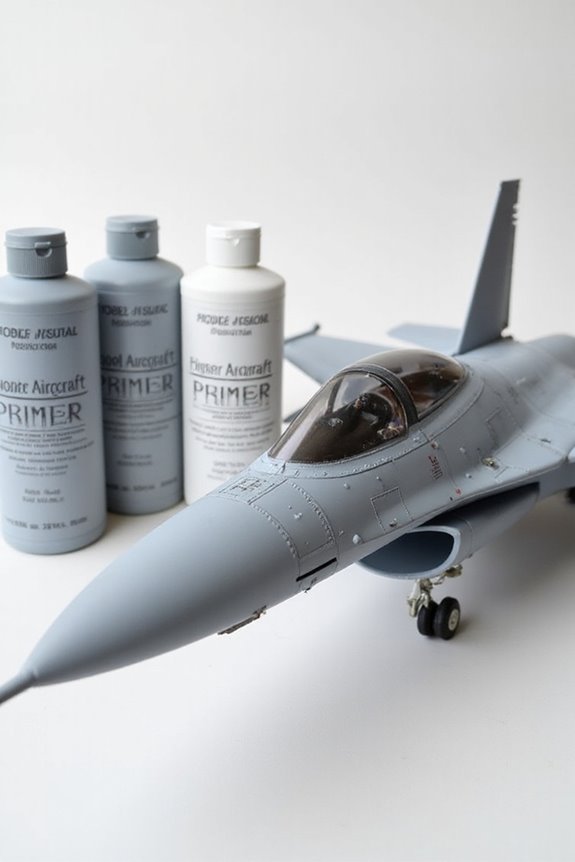
Before we plunge into painting our model aircraft, let’s take a moment to talk about surface preparation and priming—think of it as the warm-up before a big race. First, we need thorough surface cleaning to guarantee no dust, oils, or grease hang around. Using solvents or specialized degreasers is key here!
Next, let’s tackle mechanical preparation. A little wet sanding with 400-grit paper will give us that much-needed “tooth” for primer adherence. But, remember—be gentle! We want a smooth surface, not a cratered moon.
Finally, don’t skimp on priming! Applying thin layers of etching primer enhances adhesion and protects against corrosion. Proper primers are essential for optimal color performance, so let’s set ourselves up for success before we hit the paint!
Weathering and Detail Enhancements
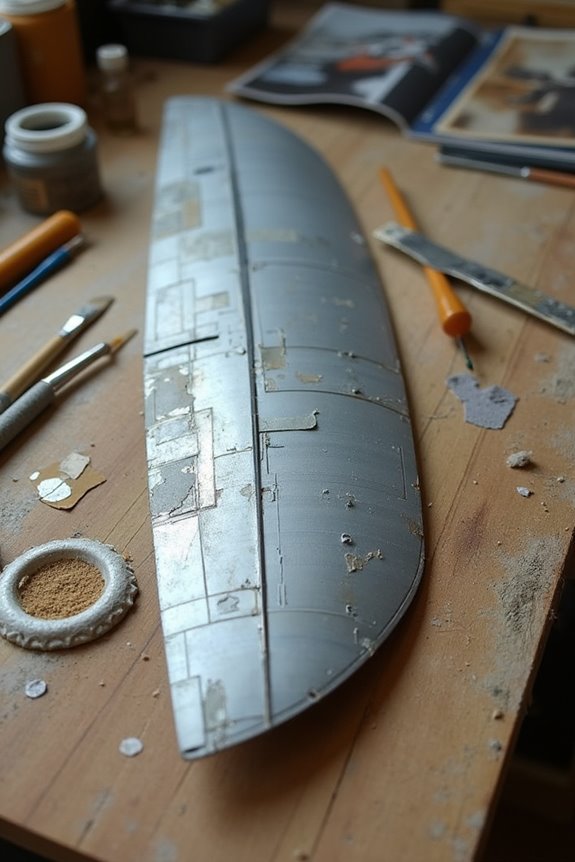
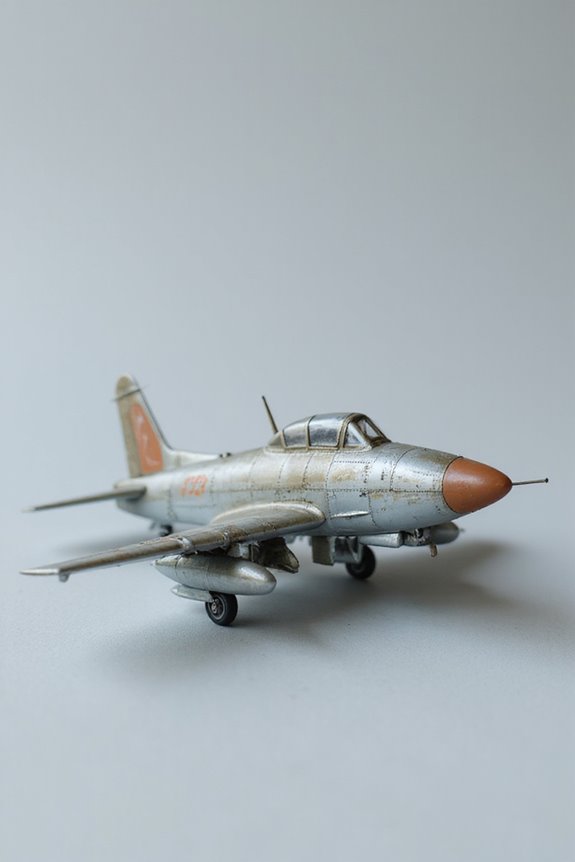
How do we take our model aircraft from ‘new’ to ‘battle-worn hero’? By employing effective weathering techniques and detail enhancement, we can create the look of a seasoned veteran. We start with washes, flowing thinned paints into panel lines for that perfect accentuation. A pinwash is excellent for small details, while an overall wash adds subtle shading.
Next, dry-brushing and sponge techniques bring out wear and tear realistically. Picture dabbing a sponge to replicate paint chips—it’s like having mini battles on the edges!
Don’t forget dot filters for grime simulation and pigment powders for realistic dirt! Layering these techniques adds depth, making our models look like they’ve been through the skies. Let’s bring our aircraft to life with character and charm!
Equipment and Materials for Best Results
When we immerse ourselves in model aircraft painting, the right equipment and materials can make all the difference. Choosing the right paint selection is essential—enamel paints like Colourcoats are often the go-to for brush painting, while automotive urethane paints boast durability and fuel resistance. But, they come with some serious safety requirements!
We also need a variety of brush types on hand. Sizes 0 to 6 cover detail scales from fine lines to broader areas. Opt for high-quality synthetic or sable brushes to minimize streaks. Paired together, these tools help us achieve professional finishes without breaking a sweat. Remember, great results stem from solid prep work too, so let’s make sure our surfaces are ready!

Historically accurate acrylic colors specifically matched to the German and Brithis armies in North Africa from World War II, offering precise representation for military modelers. This set, in combination with the Utility Paint Set, contains the colors needed to faithfully recreate armored vehicles of the German and Brithis armies in the North African theater
Metallic Blue colored paint

Made in Japan
Tips for Achieving a Professional Finish
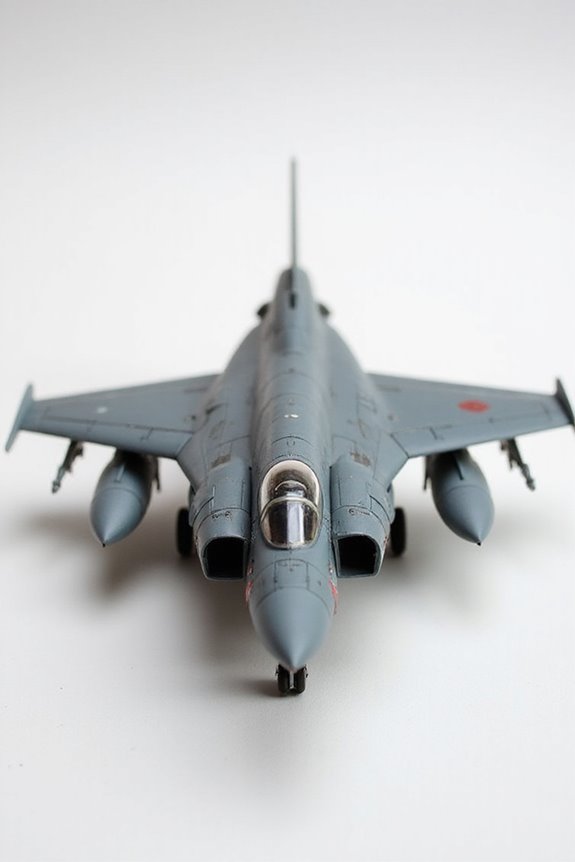
Getting that professional finish on our model aircraft isn’t just about the paint; it’s about how we apply it. First up, let’s talk airbrush techniques. We want our paint to flow smoothly, so thinning it to a milk-like consistency is key. Keep the airbrush at about 15-18 psi, and spray at a 90° angle to avoid those pesky paint runs.
We should always apply multiple light coats instead of one heavy layer. It’s like building a cake; too much icing at once makes a mess! And don’t forget to plan our masking carefully for crisp color separation. With these tips, we can nail that polished look and impress everyone with our craftsmanship. Happy painting, friends!
Frequently Asked Questions
What Types of Paints Are Best for Model Aircraft?
What types of paints suit our model aircraft best? We prefer acrylic paints for their ease and quick drying. Enamel paints offer durability but take longer to dry. Both have unique advantages tailored to our needs.
How Do I Choose the Right Airbrush for My Projects?
When choosing an airbrush for our projects, let’s consider airbrush types like gravity and siphon feed. We should also compare airbrush brands such as Iwata and Badger for their reliability and features.
Can I Mix Acrylic and Enamel Paints?
When it comes to paint compatibility, mixing acrylic and enamel paints is like mixing oil and water—it just won’t work. Instead, let’s stick to the same type for our projects without worrying about mixing ratios.
How Do I Remove Paint Mistakes or Overspray?
When we face paint mistakes, effective paint removal and surface preparation are essential. We can use fine-grit sandpaper for touch-ups, or chemical strippers like isopropyl alcohol for thorough cleaning before repainting. Let’s guarantee a solid base!
What Is the Best Way to Clean My Airbrush After Use?
When it comes to airbrush maintenance, we should always use appropriate cleaning solutions. Regularly flushing the airbrush with quality cleaners keeps it in top shape while preventing clogged nozzles and maintaining our painting precision.