When it comes to priming model aircraft, we’ve got some top picks that really deliver. Tamiya primers excel in quality and adhesion, making them a favorite. Mr. Surfacer offers precision with its different granule sizes, perfect for fine details. Vallejo provides compatibility with their paints, making it a breeze to apply. Badger Stynylrez is quick-drying and beginner-friendly. So, whether you’re a pro or just starting, we’ve got options that fit your needs. Let’s explore more specifics!
Key Takeaways
- Tamiya Primers provide exceptional adhesion and durability, making them ideal for model aircraft with a smooth finish and easy imperfection spotting.
- Mr. Surfacer Primers come in various granule sizes, ensuring precision and quick-drying properties that effectively fill seams and details.
- Vallejo Primers work excellently with Vallejo Model Color and Air paints, offering quick-drying capabilities and compatibility on various surfaces.
- Badger Stynylrez Primer features a water-based formula with excellent adhesion and self-leveling properties, suitable for a wide range of materials.
- Specialized Primers, like zinc oxide and elastomeric polyurethane, provide enhanced adhesion and corrosion protection for specific modeling needs.
Tamiya Primers: Quality and Performance
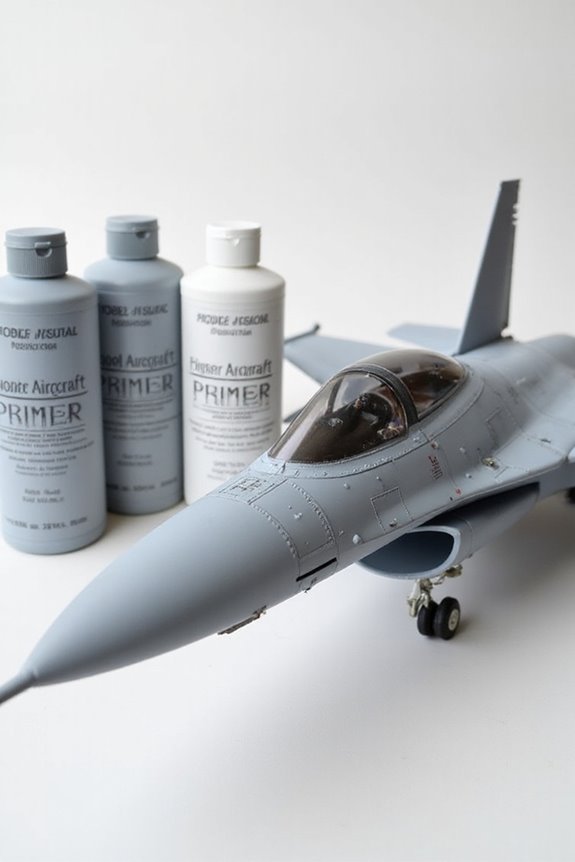
When it comes to priming our model aircraft, Tamiya primers really stand out for their quality and performance. Their durability is impressive, ensuring our models withstand the test of time. Tamiya primer adhesion is exceptional, so it bonds well with various surfaces, making our paint jobs more resilient.
We know that surface preparation is essential. Tamiya primers help us spot imperfections, allowing for quick fixes before we engage in painting. Plus, they’re wet and dry sandable, giving us that smooth finish we aim for. While Tamiya may have fewer colors than some brands, their oxide red and gray options are reliable choices. Whether our model’s plastic or metal, Tamiya’s got us covered for a great start!
Made in Japan
Made by Tamiya USA; Tamiya USA is a United States based company; parts are sourced from Global producers
Metallic Blue colored paint
Mr. Surfacer Primers: Precision for Small Models

Modelers looking for precision in their projects will find Mr. Surfacer a standout choice. With types like 500, 1000, and 1500, we can pick the right granule size for our needs. Mr. Surfacer advantages include its quick-drying nature and its ability to fill seams and fine details—perfect when we want our models to shine!
For a flawless finish, we recommend a light spray for larger areas. Just remember, ventilation’s key since it’s lacquer-based. Applying thin coats can help avoid unnecessary drama—who wants a paint mess, right? And let’s keep enamel paints at bay unless we’re feeling particularly adventurous. With Mr. Surfacer application, we’ll guarantee every tiny detail is precisely captured. Happy modeling!

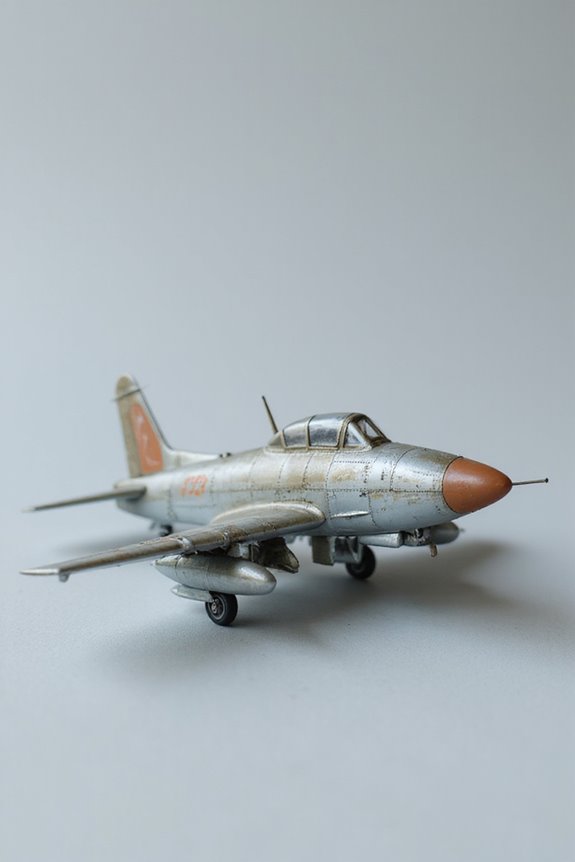
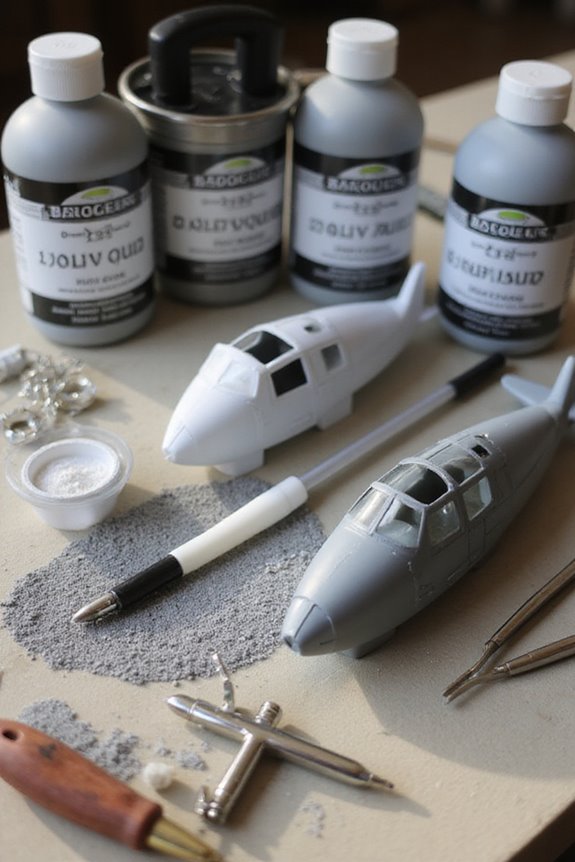
The primer is the first layer of colour that is applied on the model in order to prepare the surface for the subsequent painting processes. In order to guarantee an excellent adherence it is necessary to apply it on a previously ‘degreased’ surface, therefore it is advisable to wash the model or the figure before priming it in order to remove the remains of release agents.

The primer is the first layer of colour that is applied on the model in order to prepare the surface for the subsequent painting processes. In order to guarantee an excellent adherence it is necessary to apply it on a previously ‘degreased’ surface, therefore it is advisable to wash the model or the figure before priming it in order to remove the remains of release agents.

The primer is the first layer of colour that is applied on the model in order to prepare the surface for the subsequent painting processes. In order to guarantee an excellent adherence it is necessary to apply it on a previously ‘degreased’ surface, therefore it is advisable to wash the model or the figure before priming it in order to remove the remains of release agents
Vallejo Primers: Compatibility and Techniques

Moving from Mr. Surfacer to Vallejo primers, let’s explore their compatibility and techniques. Vallejo is like peanut butter and jelly with their own paints. They work best when paired with Vallejo Model Color and Model Air. When airbrushing, thinning is key—stick with Vallejo Thinner for smooth flow, as other thinners can throw a wrench in the works.
We’ve found that Vallejo primers dry quickly, making our prime-paint cycle speedy. For brushing, multiple thin coats help avoid that “too much texture” look—nobody wants a model that feels like a sponge! Overall, Vallejo’s versatility on various surfaces is a game-changer, and we’re all about that robust, smooth finish. Now grab your airbrush and let’s get priming!

Airbrush thinner has been specifically developed for acrylic paints with airbrush application in mind. This thinner optimizes the fluidity and transparency of colors without compromising adhesion, hardness and consistency. By improving application, it allows for a more uniform and professional finish, ideal for detailed and high precision work

The primer is the first layer of colour that is applied on the model in order to prepare the surface for the subsequent painting processes. In order to guarantee an excellent adherence it is necessary to apply it on a previously ‘degreased’ surface, therefore it is advisable to wash the model or the figure before priming it in order to remove the remains of release agents.

Airbrush flow improver has been specifically developed for acrylic paints with airbrush application in mind. This thinner is a medium formulated to improve the fluidity of the paint and delay its drying. By improving the application, it allows a more uniform and professional finish, ideal for detailed and high precision work.
Badger Stynylrez Primer: Durable Acrylic Options
Badger Stynylrez Primer shines as a go-to choice for any model builder seeking durability and ease of use. One of the standout Badger Stynylrez advantages is its quick-drying, water-based formula. It’s perfect for those “I-can’t-wait-to-paint” moments!
With excellent adhesion and self-leveling properties, you’ll achieve a smooth, even finish. Just remember, using a 0.5 mm airbrush nozzle and employing misting techniques helps to avoid any mishaps.
It works great on plastics, metals, and even wood, enhancing the fine details we all love. A couple of coats, and minor surface imperfections vanish. Who knew model prep could be this easy? We can’t recommend this primer enough for both beginners and seasoned pros alike!
Spray Can Primers: Accessibility and Coverage
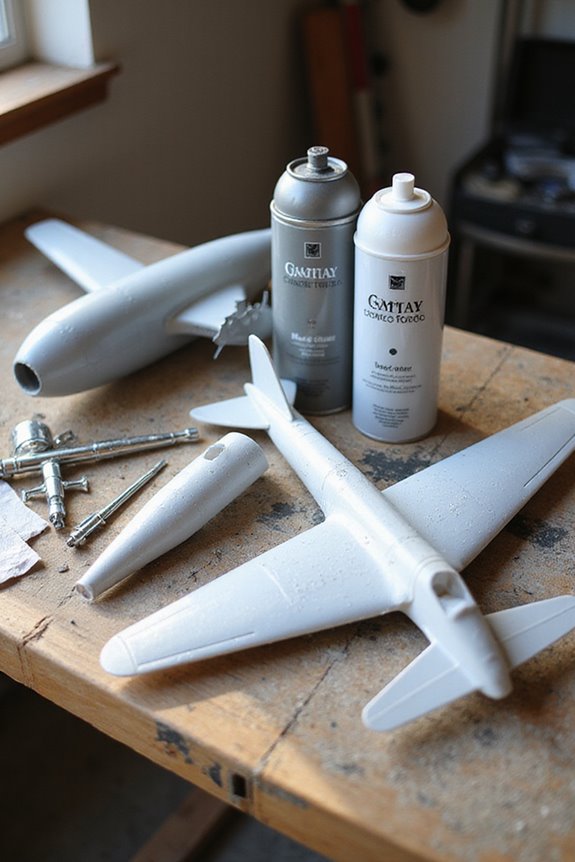
When it comes to prepping our model aircraft, spray can primers offer a fantastic blend of accessibility and coverage. Brands like Tamiya and Plasti-Kote are household names because they deliver quality while being easy to find. Tamiya’s fine primer gives us that silky smooth finish we crave, while Plasti-Kote’s fast-drying lacquer allows us to keep the momentum going on quick builds.
We have options, from acrylic to enamel and metal primers, each having its own unique strengths. However, we should consider temperature sensitivity with some products, like ACE Hardware primers, which might lead to disaster in the heat. Overall, we can count on these primer brands to make our modeling experience smoother and more enjoyable—like butter on a hot pancake!
Specialized Primers: For Unique Applications
So, while we might have our trusty spray can primers, specialized primers are like the secret weapons in our modeling toolkit. For instance, zinc oxide-based primers are perfect for metal and wood; they enhance adhesion and can even be custom tinted to match our vision. Talk about versatility!
Elastomeric polyurethane primers come into play when we need stellar corrosion protection on our model’s leading edges. They’re tough enough to withstand wear and tear, giving us confidence in our builds.
For modern aircraft models, composite-specific primers guarantee a solid bond on complex surfaces. They require meticulous prep, but the results are worth it. These specialized options may sound technical, but they truly are game-changers for enhancing our modeling experience!
Surface Preparation: Importance for Model Painting
Before we plunge into painting our models, it’s crucial to understand the importance of surface preparation. Think of this process as giving our models a spa day! Surface cleaning is the first step; we need to remove oils and grease to guarantee our paint sticks. Then, we can jump into mechanical preparation. A little wet sanding with fine grit creates a perfect texture for adhesion.
Don’t forget chemical treatments for metal parts—acid etching can work wonders. Finally, we must consider our environment. A clean, dust-free workspace goes a long way. Proper ventilation helps us stay safe while getting that perfect finish. So, let’s prep like pros and set ourselves up for fabulous paint results!
Tips for Primer Application: Best Practices
After we’ve prepped our models like pros, it’s time to tackle the primer application—think of it as the foundation for a masterpiece. When it comes to application techniques, we should always opt for thin, even coats. This prevents pooling and guarantees a smooth surface. An airbrush is our best friend for larger models—it’s like painting with a magic wand!
Don’t forget about primer compatibility, folks! Matching your primer to the model material is key. Mask off areas we want to keep pristine; nobody likes uninvited paint. Let’s also practice patience—allow the primer to dry fully before adding more layers. Remember, a well-prepped model today means a stellar finish tomorrow!
Frequently Asked Questions
How Do I Choose the Right Primer Color for My Model?
When choosing the right primer color for our model, let’s consider color theory and how different primer finishes influence the final look. Gray, white, or black options each offer unique benefits for achieving our desired effect.
Can I Mix Different Brands of Primer and Paint?
Did you know nearly 30% of modelers face issues with brand compatibility? When mixing different primers and paints, we should prioritize paint adhesion by testing combinations on small areas to guarantee a seamless final finish.
What Is the Best Drying Time for Primers?
When we consider the best drying time for primers, we should focus on effective techniques. Utilizing ideal temperature conditions and ensuring good airflow can greatly enhance drying times and yield the best results for our projects.
Are Primers Safe to Use Indoors?
In our shared quest for creating beauty, we must tread carefully. Indoor primer use demands proper ventilation requirements and strict safety precautions. Ignoring them could turn our artistic endeavors into toxic despair, dampening our creative spirit.
How Can I Fix a Mistake Made While Priming?
When we encounter a mistake during primer application, we can simplify the fix by re-sanding surfaces, re-priming, or using fillers. Proper preparation and patience keep our models looking great after mistake correction.