Creating panel lines on our model aircraft can really elevate its look! First, we should choose between recessed or raised lines. Recessed lines, found in modern kits, provide nice shadows. Next, we prep the surface by cleaning it carefully and smoothing any bumps with fine-grit sandpaper. Using tools like scribes, mechanical pencils, and flexible rulers will help us draw those lines precisely. And hey, a little shading can add depth! Stick around, and we’ll decode some more helpful tips!
Key Takeaways
- Choose between recessed or raised panel lines based on your model’s style and desired realism.
- Prepare the model surface by cleaning and smoothing with fine-grit sandpaper before applying lines.
- Use tools like scribes, knives, and mechanical pencils to carefully create clean, precise panel lines.
- Accentuate panel lines with shading techniques to mimic real-life effects and add depth to your model.
- Practice on scrap material to refine techniques and achieve desired results before working on the final model.
Understanding Panel Line Types
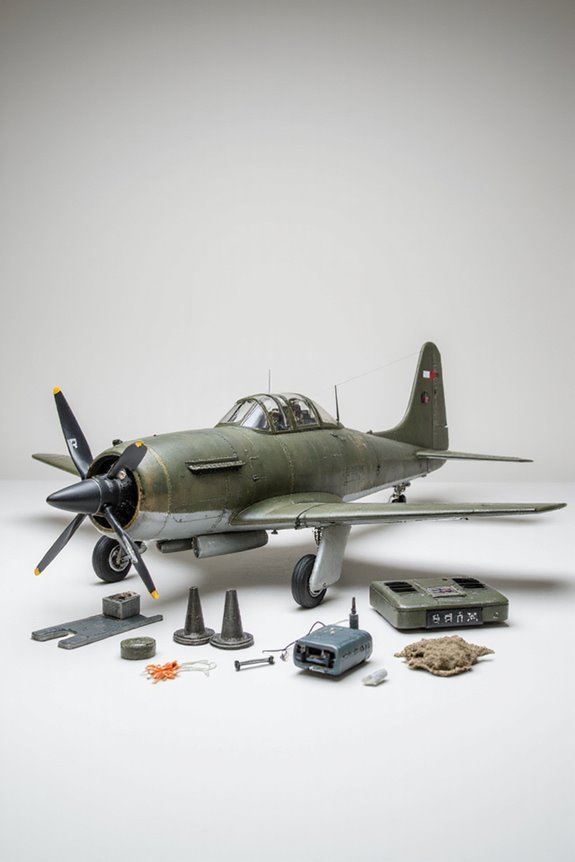
When we plunge into the world of panel lines on model aircraft, it’s like opening a treasure chest of detail! Let’s talk about the two main panel line styles: recessed and raised. Recessed lines are the stars of modern kits, like those from Hasegawa and Tamiya. They’re subtle indentations that mimic the real grooves between panels, making them great for capturing washes and adding realism.
On the other hand, raised lines have their charm too, often seen in older kits. They stick out a bit more and can create unique shadow effects. It’s like the difference between slouching and standing tall at a party. Both styles have their place, so choose according to your model’s vibe! Happy modeling!
Preparing Your Model Surface
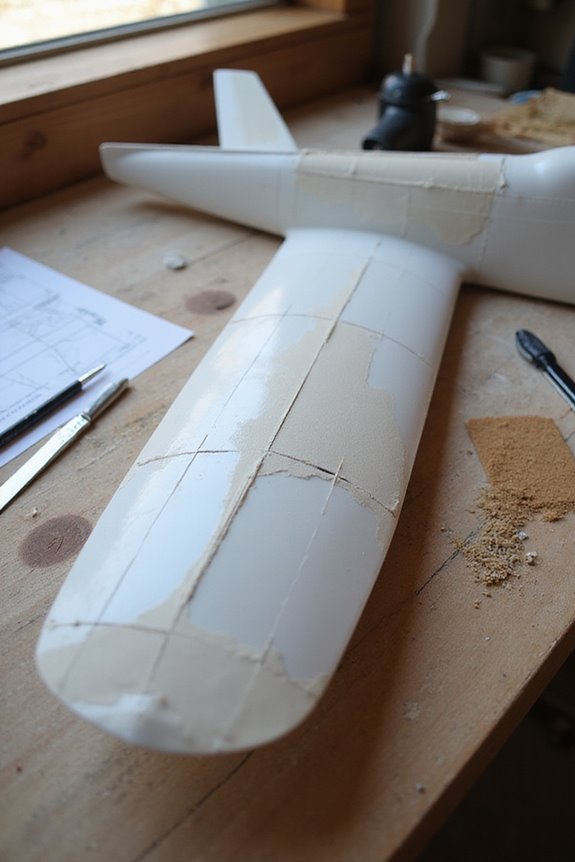
We’ve got our panel line styles down, so let’s shift gears and get our model surfaces ready for action! First off, we need to tackle surface cleaning. A dust-free surface guarantees our paint goes on smoothly without any hiccups. A mild soap solution works wonders, just don’t drown our model—too much water can warp it.
Next, let’s talk sanding techniques. Grab some fine-grit sandpaper, 400 or higher, and use light strokes to smooth out any imperfections. It’s like giving our model a luxury spa treatment! After sanding, inspect under good lighting; we want it flawless before we move on. Once it’s air-dried completely, we’re set up for success on our panel lines!
Recommended Products

Multi-Jetstream 2

P400 grit sandpaper for fine finishing on sanding blocks, sanding boards or sanding by hand

PREMIUM QUALITY: Premium resin-over-resin bonded sheets cut faster and last longer for every dry sanding job
Tools and Materials for Panel Line Creation
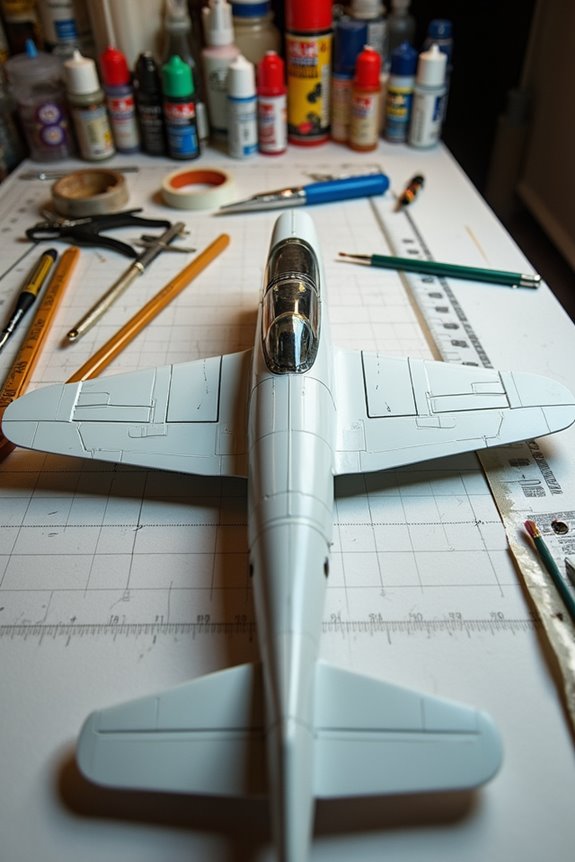
Creating panel lines on our model aircraft is an exciting step that requires the right tools and materials—think of it as gearing up for a high-stakes mission! First up, let’s grab our engraving tools. Scribes, awls, and modeling blades are essential for cutting fine recessed lines. We can clean up our work with slotting files and straightedges, adhering to excellent scribing techniques.
Don’t forget some good tape! Labeling tapes help guide our lines, while transparent ones let us see the surface underneath. Mechanical pencils are perfect for outlining before we begin engraving. Finally, high-quality thinner is a must for enhancing our panel lines, keeping everything looking sharp. Now let’s jump in and make those details pop!
Recommended Products

A long list of “super” details makes this the most feature-rich, capable, and best flying Timber model to date
A long list of “super” details makes this the most feature-rich, capable, and best flying Timber model to date

Package includes: (2) iBoard running boards, mounting brackets and hardware kit for an easy DIY install
Techniques for Drawing Panel Lines
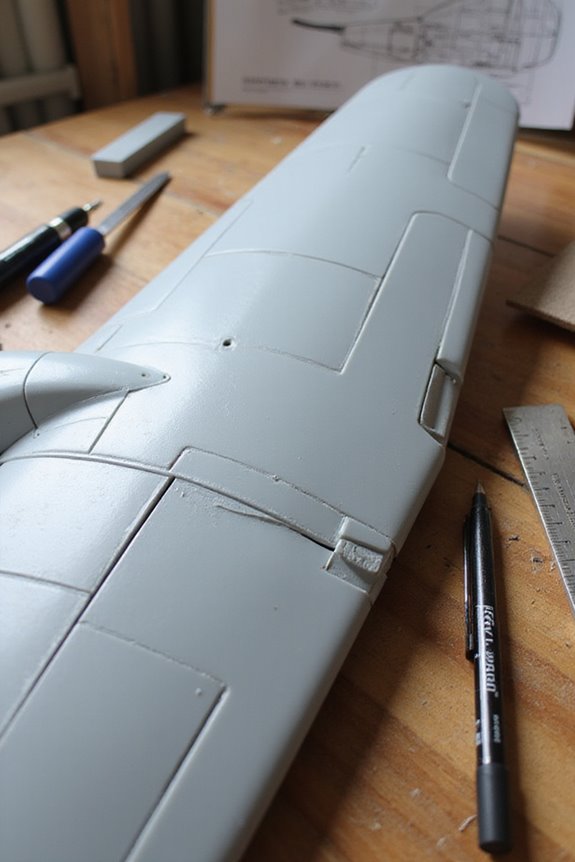
Let’s plunge into the fun of drawing panel lines! When it comes to our creative scribing techniques, mechanical pencils work wonders. They offer fine, consistent lines perfect for detail. Remember to apply light pressure on a sealed surface; we don’t want any indentations ruining our masterpiece!
For precision drawing methods, templates and stencils are our best friends. They help in maintaining scale—use flexible rulers on those tricky curves. If lines get wobbly, don’t panic! We can make tiny guide holes to keep things straight.
And let’s not forget about ruler tricks or fine line tape for sharp edges. With a little practice, we’ll have those panel lines looking sharp and smooth, just like a pro!
Recommended Products

Replacement Part Numbers: 2-08268, 2F1U10300AA, 2F1U-10300-AA, 2F1U10300DA, 2F1U-10300-DA, 2F1UAA, 2F1U-AA, 2F1UDA, 2F1U-DA, 2F1Z10346AA, 2F1Z-10346-AA, 2F1Z10346AARM, 2F1Z-10346-AARM, 2F1Z10346DA, 2F1Z-10346-DA, 2F1Z10346DARM, 2F1Z-10346-DARM, 2F1Z10346DARM1, 2F1Z-10346-DARM1, 2F1Z10V346DBRM, 2F1Z-10V346-DBRM, 3342511, 334-2511, 3342511A, 334-2511A, 3F1U10300AA, 3F1U-10300-AA, 3F1UAA, 3F1U-AA, 3F1Z10346AB, 3F1Z-10346-AB, 3F1Z10V346ACRM, 3F1Z-10V346-ACRM, 40014059, 400-14059, 4U2Z10V346AGRM

Set contains 5 x Graph Gear 1000 (0.3mm:PG1013, 0.4mm:PG1014, 0.5mm:PG1015, 0.7mm:PG1017, 0.9mm:PG1019) + 1 x Black slim pen case

Ease and Efficiency - Knurled stainless steel finger grips for very low or high grip preferences, rotating lead degree windows, and cushion point to make writing control comfortable and beautifully balanced.
Accentuating Panel Lines for Realism
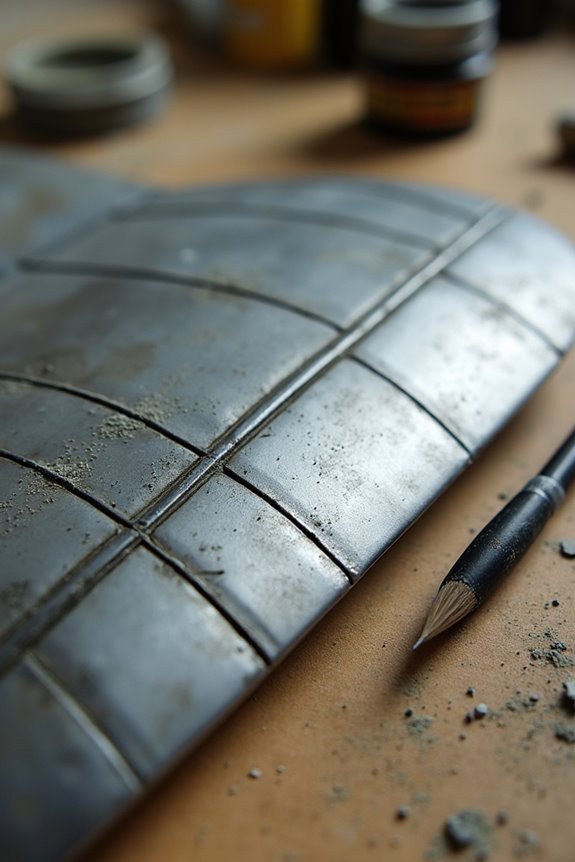
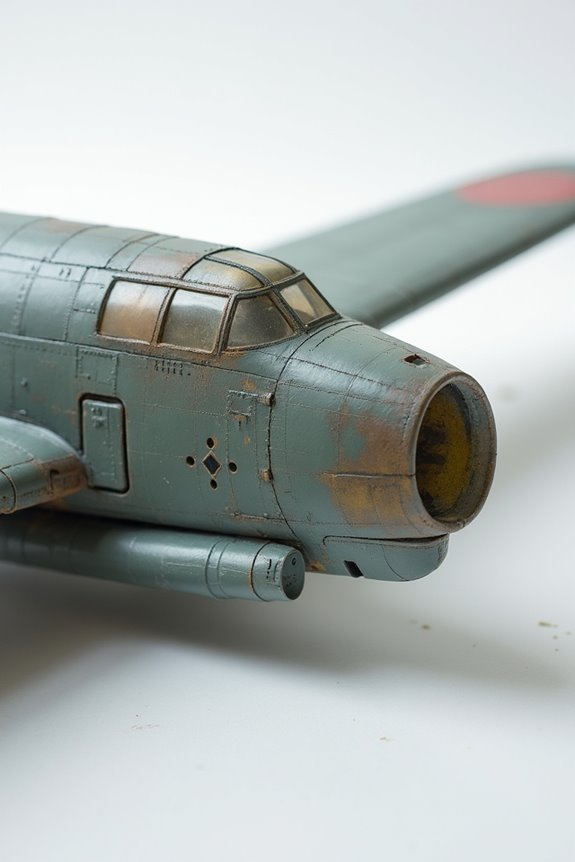
Accentuating panel lines is like adding that final touch of seasoning to a gourmet dish; it brings everything to life! By using effective panel line techniques, we create visual depth, making our model aircraft appear more three-dimensional. Subtle shading along the lines mimics how real aircraft surfaces react to light and weather, giving our creations a vibrant, authentic look.
But be careful—overdoing it can make our models look like they’re headed to a Halloween party instead of the airfield! Remember, natural variation is key. We can also use graphite pencils for fine details and softening harsh lines. With a little practice, we’ll have our models glistening with realism and ready for flight—or at least a spot on the shelf!
Recommended Products

EASY TO INSTALL - iBoard package includes set of 2 black running boards, mounting brackets & hardware for an easy bolt-on installation

Specifically designed to bend wooden planks in wooden ship model kits for adults. A must have in any model kit tools. Complete your model boat kit with better plank bending.

Manufacturer Item #: 02280
Best Practices for Successful Panel Lines
When it comes to creating fantastic panel lines, we’ve got to start with a solid foundation. First, remember to prep our model’s surface well. Scribing on hardened materials avoids disaster—no one wants to ruin a masterpiece! Using fine line tape helps us draw clean lines, ensuring better panel line visibility.
Next, let’s consider wash techniques. Choose wash colors subtly darker than the base coat for a realistic touch. Overdoing it can make our model look like it’s wearing clown makeup. Moderation is key!
Lastly, observing reference photos of real aircraft can help us get the right balance. The goal isn’t to shout “look at my panel lines”—it’s to whisper, “I’m a model aircraft.” Happy modeling!
Recommended Products


No Drilling & 100% CNC Machined —— No need to drill into your Model Y bumper or put the one came with Tesla! Produce the most precision fit & best Tesla license plate frame on the market for your beautiful Tesla Model Y.
![Firefox [VHS]](https://m.media-amazon.com/images/I/41rLAWt-vgL._SL500_.jpg)
Frequently Asked Questions
Can I Use Panel Lines for Detailed Military Models?
Absolutely, we can use panel lines for detailed military models! It’s said that 75% of modelers enjoy enhancing realism with panel lines. Using technique tips and thoughtful paint choices helps achieve striking visual depth and authenticity.
How Do I Fix Mistakes in Panel Lines?
When we spot mistakes in panel lines, we should use careful correction techniques. By gently erasing or refining with fine tools, we can guarantee our panel lines look clean and professional without damaging the finish.
What’s the Difference Between Recessed and Raised Panel Lines?
When we consider recessed versus raised panel lines, recessed lines offer advantages like realism and easier detailing. In contrast, raised lines provide benefits for beginners, requiring less skill and preserving original mold details. Both have their uses!
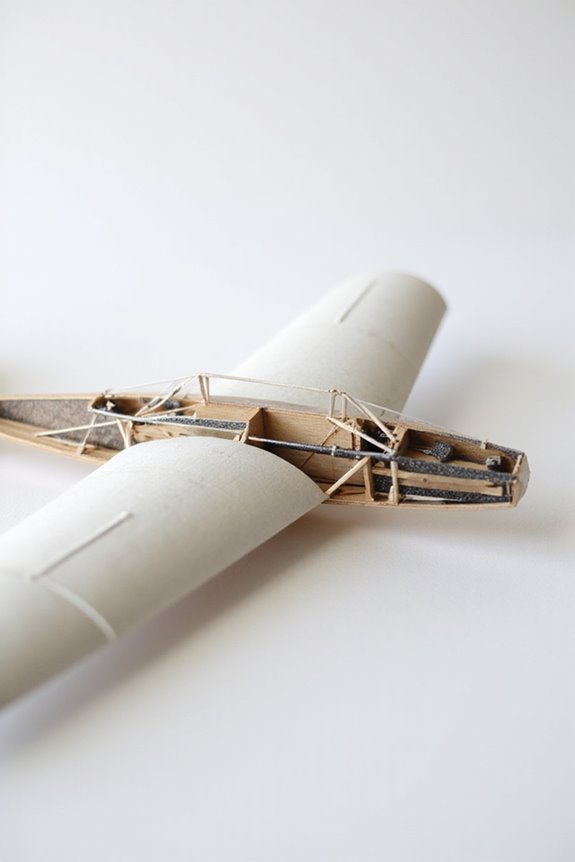
Can I Create Panel Lines on Wooden Models?
Yes, we can create panel lines on wooden models. With proper surface preparation, including sealing and priming, we can utilize drafting tape or fine-tip pens to achieve clean wooden paneling that’ll enhance our model’s appearance.
How Long Does It Take for Panel Lines to Dry?
We’ve all felt the agony of waiting for panel lines to dry, right? It’s essential that we allow them 30 to 45 minutes—or even overnight—to properly cure, ensuring perfect paint separation and finish.