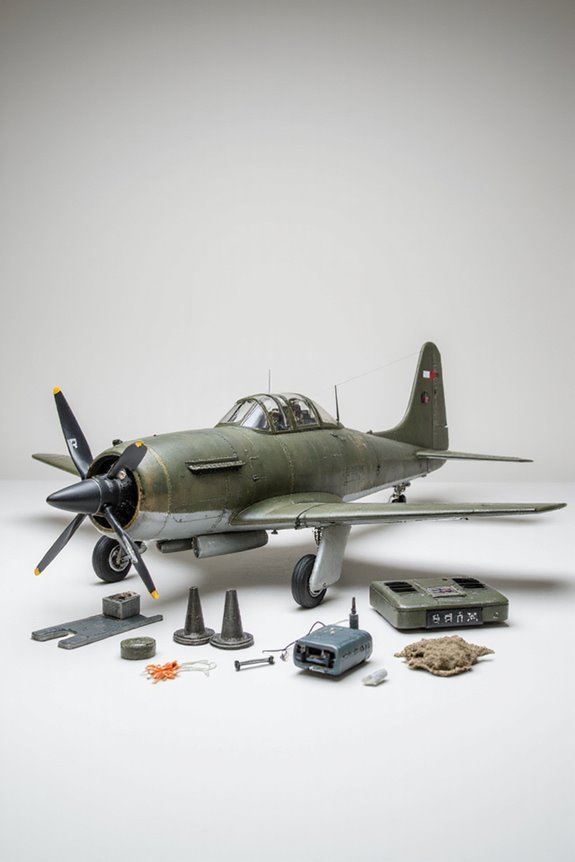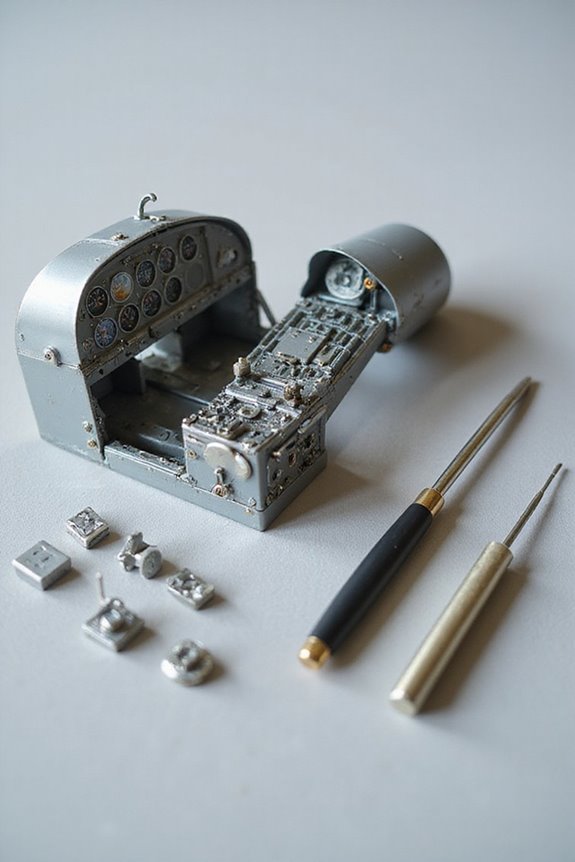
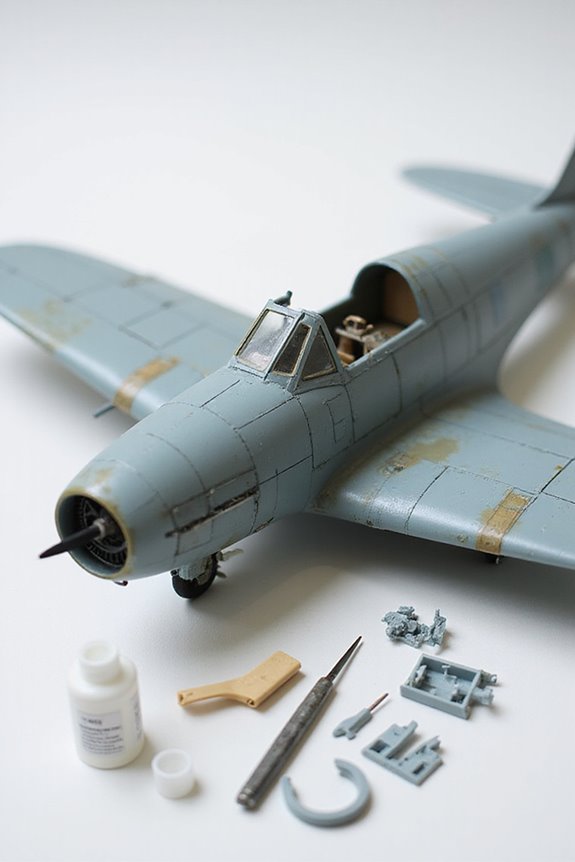

Assembling a plastic model kit is like piecing together a puzzle—just a tad more complicated! First, we set up a clean workspace and lay out parts by their numbers. Next, we remove parts carefully with clippers, cleaning them to remove any residue. Then, it’s all about dry fitting before applying glue—let’s avoid sticky mishaps! Finally, we can paint and detail to bring our creation to life. Stick around to learn tips for those finish touches!
Key Takeaways
- Set up an organized workspace and gather essential tools like clippers, hobby knives, and glue for effective assembly.
- Remove parts from the sprue using nippers, then soak and clean them to eliminate any mold release agents.
- Perform dry fitting of parts to ensure proper alignment before applying glue to secure connections.
- Prime and paint your model with acrylics, using layering techniques and detailed methods like edge highlighting to enhance appearance.
- Store completed models in acid-free boxes or dust-proof display cases to protect them from moisture and damage.
Preparing for Assembly
When we plunge into assembling a plastic model kit, setting up our workspace is like laying the foundation for a great build. A tidy workspace organization helps us find what we need without digging through a chaotic mess. First, we’ll spread out the kit’s contents on a stable surface. Next, let’s gather essential tools: clippers, hobby knives, tweezers, sandpaper, and the right glue. Trust us, having everything at arm’s reach saves time and frustration.
You may be interested
10 Best RC Plane Hinge Tapes for Effortless Assembly and Repair
How Do I Build A Composite Wing?
How Do I Build A Diorama For My Model Aircraft?
We should also keep the assembly instructions open because we’ll need to reference them often. Arranging parts by identification numbers or sub-assemblies makes finding pieces easier. And remember, a clean area reduces the risk of losing components—because losing a tiny part is the stuff of model-building nightmares!
Recommended Products

Essential Model Tool Kit: The basic model tool kit is suitable for a beginner, hobbyist and advanced modeler as well, you can use it to assemble a variety of model kits, like cars, robots, ships, planes and other craft model
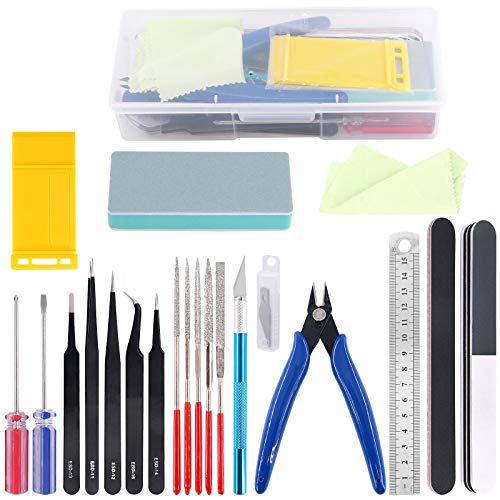
✔ APPLICATION: The modeler basic tools set is suitable for a beginner and advanced modeler as well. You can use it to manufacture toys, cars, robots, cartoon, and other crafts.

All-in-One Model Tool Kit: The model building tool kit is suitable for a beginner, hobbyist and advanced modeler as well, you can use it to assemble a variety of model kits, like cars, robots, ships, planes and other craft model
Removing and Cleaning Parts
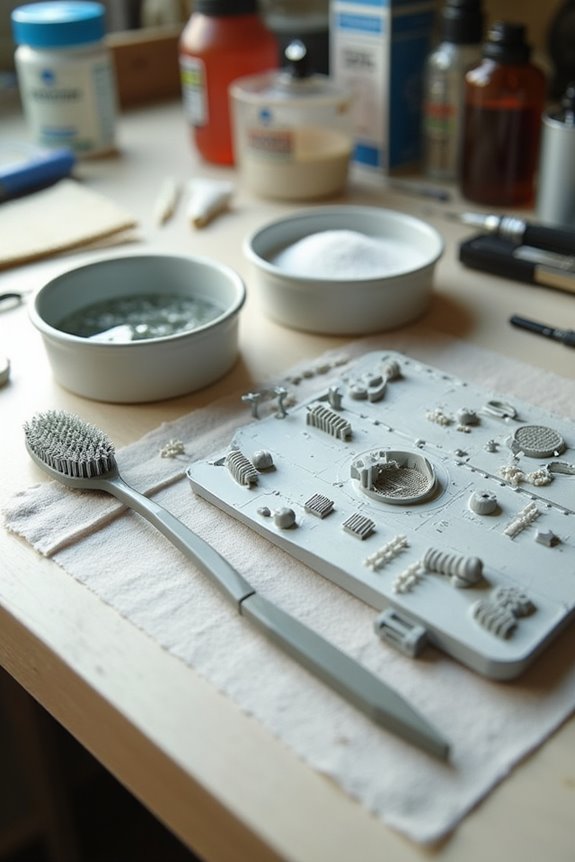
As we plunge into removing and cleaning parts, let’s remember that even the smallest piece can be the star of our build. For sprue removal, we’ll want to use nippers or hobby clippers, snipping as close to the gate as possible. This minimizes excess plastic and saves us from a future headache!
Once we’ve got everything off, it’s time to make them shine. Soaking parts in warm, soapy water is one of our best cleaning techniques. It helps remove mold release agents that can cause paint to flake. Soft brushes can be a real lifesaver for detailed areas. After rinsing, let’s make sure everything’s dry to prevent water spots. Trust us, those little details make a world of difference!
Recommended Products

[QUALITY PRODUCTS]: stedi Cleaning brush set is a professional product for hobby models, it is made of nylon bristles/fiber bristles and natural high quality wood handle, the bristles are well made and not easy to fall off. The set contains three sizes of brushes with soft bristles for efficient and clean cleaning without damaging the paint.

1. Made of high quality Nylon brush

The kit can be used to clean Demon Slayer, Marvel, DC, World of Warcraf, Yugioh, One Piece etc, all kinds of collections like games and comics’ statues, busts, GK, figures, LEGO, models.
Assembly Process
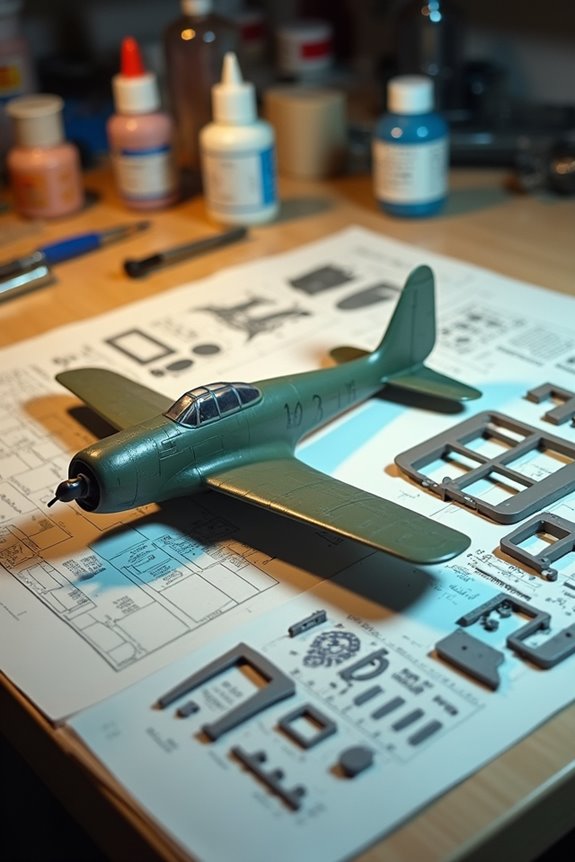
Now that we’ve got our parts neatly removed and cleaned, it’s time to shift gears into the assembly process. First up is dry fitting; we’ll test how everything fits without glue. This helps us avoid forcing parts together and risking damage. If something’s too tight, a little sandpaper works wonders.
Once we’re satisfied with the fit, we disassemble for glue application. We should apply a thin layer on the connecting surfaces—too much glue can leave unsightly marks! It’s wise to hold those glued parts securely with clothespins or tape until they cure, which usually takes overnight.
Let’s keep an eye on alignment during this stage; a minor misalignment can turn into a big headache later!
Recommended Products

FAST DRY CEMENT: Ideal for joining polystyrene and ABS plastic

Plastic Cement Glue For Models - Testors can be used in the construction of plastic model kits such as vehicles, or mechs and can be used to repair many common household products made of polystyrene or ABS plastics.

Testors Cement Glue - Testors model glue 2-pack (7/8 fl oz).
Painting and Detailing
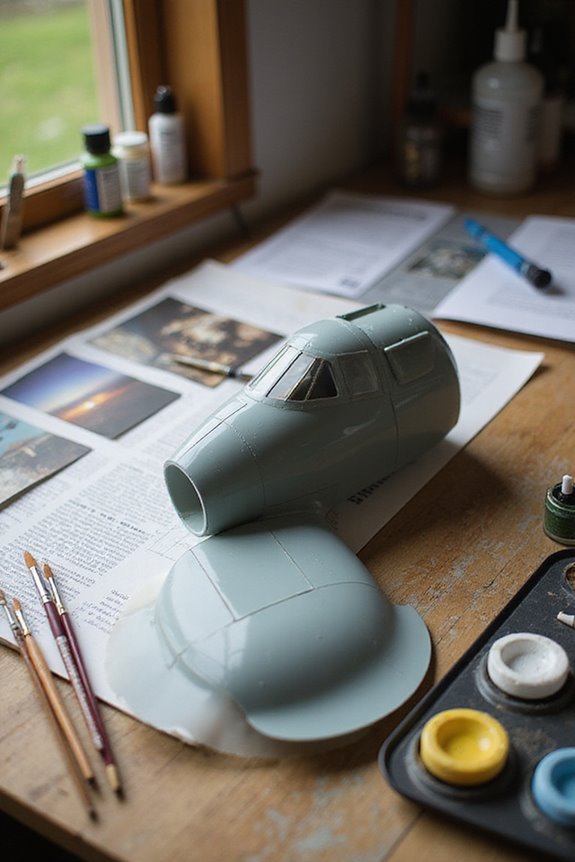
Painting your plastic model can be a thrilling part of the assembly process. Before diving in, we should clean and prime to guarantee that paint sticks like glue! Popular paint types include acrylics and enamels, but acrylics are our go-to for easy application and quick drying.
Embracing color theory helps us create stunning effects. Starting with dark colors and layering lighter paints adds depth. Techniques like edge highlighting and dry brushing transform our work into art. We can even use tools like airbrushes for that precision look—or go retro with brushes. Additionally, choosing eco-friendly paint options ensures a safe and enjoyable painting experience.
Recommended Products

【Premium Acrylic Model Paints】Professional-quality acrylic paint set for model kits, plastic models, miniatures, scale figures, dioramas and other hobby projects. Smooth, even brush flow with excellent adhesion on plastic, resin, wood and metal—ideal for both fine detailing and full coverage.

【Premium Acrylic Model Paints】 Professional-quality acrylic miniature paints designed for model kits, plastic models, miniatures, scale figures, dioramas, and other hobby projects. Formulated for brush application with a smooth, even flow and excellent surface adhesion on plastic, resin, wood, and metal. Perfect for detailing or full coverage.

【Premium Acrylic Model Paints】 Professional-quality acrylic paints for model kits, plastic models, miniatures, scale figures and dioramas. Smooth, even flow with excellent adhesion on plastic, resin, wood and metal—great for both fine details and full-coverage basecoats.
Finishing Touches
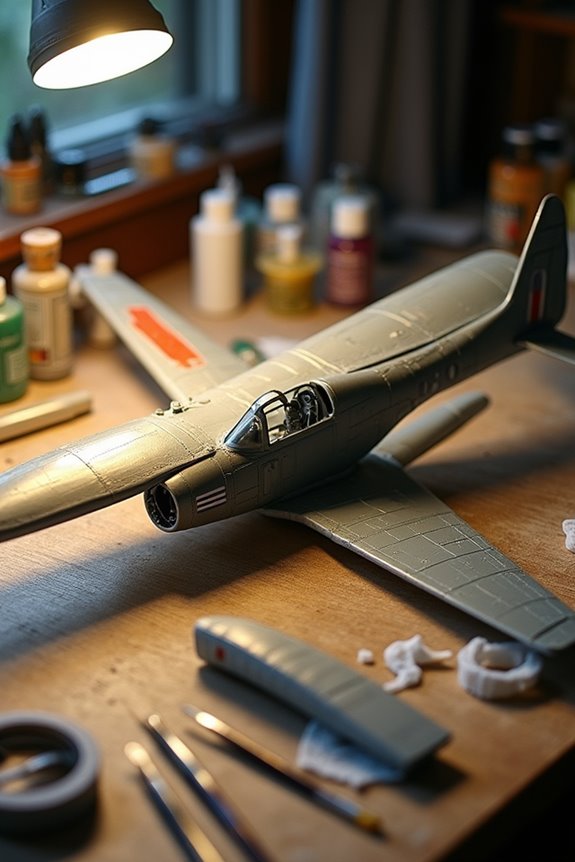
There’s something magical about those finishing touches that can turn a good model into a great one. First, we need to focus on surface preparation. A clean model is key! Washing off oils and using a fine hobby knife to remove mould lines gives us a smooth base. This step prevents paint from clumping—nobody wants that!
Next, we explore weathering techniques. Applying washes works wonders for bringing out the details. They accentuate panel lines like magic! Remember to use a nearly dry brush for dry-brushing to highlight raised corners subtly. Finally, let’s not forget to mask components before applying different finishes. Protective topcoats enhance colors while keeping our hard work safe. With these steps, we’re ready for stunning results!
Recommended Products

Brand new item. Sealed in original package.

Weathering master dry brush effect pack D

Made by Tamiya USA; Tamiya USA is a United States based company; parts are sourced from Global producers
Maintenance and Storage
When we think about keeping our beloved models safe and sound, it’s all about the environment they live in. Utilizing proper storage techniques is essential for model preservation. We love acid-free boxes lined with linen muslin—like cozy little homes for our models, protecting them from damage and discoloration.
Let’s not forget silica gel packets; they absorb moisture that could ruin delicate paint jobs. Keeping our climate dry and controlled helps prevent rust and corrosion. Dust-proof display cases are our best friends, shielding finished models from dirt and accidental bumps. And hey, a quick inventory checklist can save us from searching high and low for those elusive parts! So, let’s treat our models right, and they’ll reward us with years of enjoyment.
Tips for Achieving the Best Results
Achieving the best results with our plastic model kits can feel like a puzzle, where each piece is essential. First, let’s get organized. We should read the instructions carefully and sort parts by sprue for easy access. When it comes to adhesive types, remember that less is often more! Using plastic cement sparingly helps avoid mess.
Don’t forget the technique variations—try dry fitting parts before gluing to guarantee everything aligns perfectly. And while waiting for glue to cure, don’t just twiddle your thumbs! Prepare your workspace and enjoy the satisfying art of painting. Thin layers are key; patience will reward us with crisp details. Let’s enjoy the process! After all, every great model starts with a well-laid plan!
Frequently Asked Questions
What Are the Differences Between Snap-Together and Glue-Based Kits?
Did you know that 70% of beginners prefer snap-together kits? Their advantages include quick assembly, while glue-based challenges involve precise application and potential mistakes. Each style offers unique experiences suited to different skill levels.
How Do I Choose the Right Paint for My Model?
When choosing the right paint for our model, we should consider paint types and guarantee color matching. Acrylics are great for beginners, while enamels offer durability. Let’s explore what fits our project’s needs best!
Can I Mix Different Types of Paints on a Model?
Can we really mix different paint types safely? While some techniques allow for paint compatibility, we should always test first, ensuring our mixing techniques don’t lead to cracked or peeling surfaces on our models.
What Tools Are Essential for Advanced Detailing?
When we think about advanced tools for detailing techniques, we focus on precision cutters, dedicated scribers, and quality airbrush kits. Such tools elevate our projects, ensuring that every facet comes to life with stunning realism.
How Can I Repair a Broken or Damaged Model Part?
When it comes to repairing a broken part, we’ve got to think outside the box. Using various repair techniques or part replacements guarantees our models regain their former glory, making them stand strong once more.