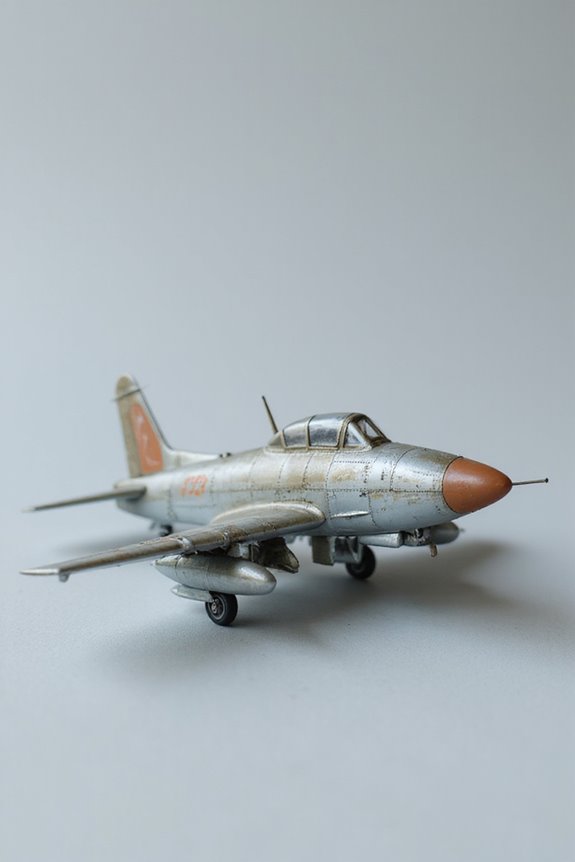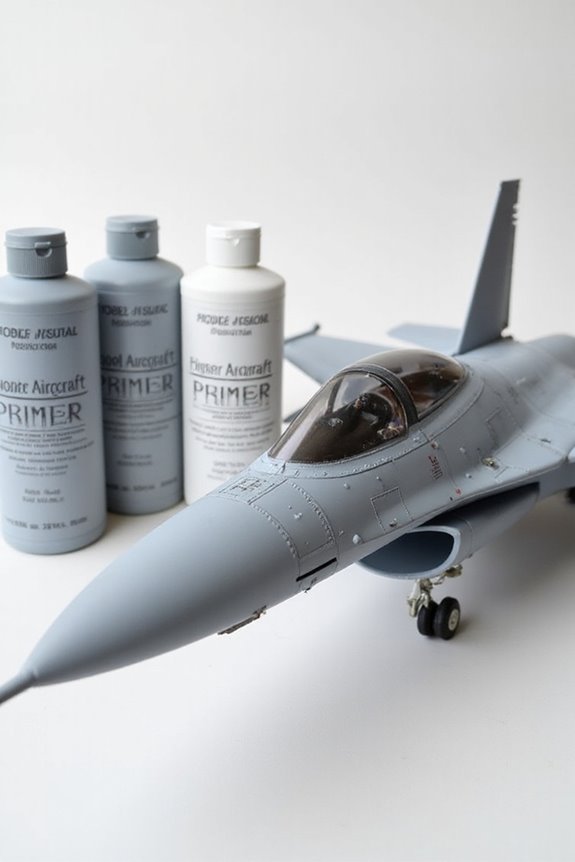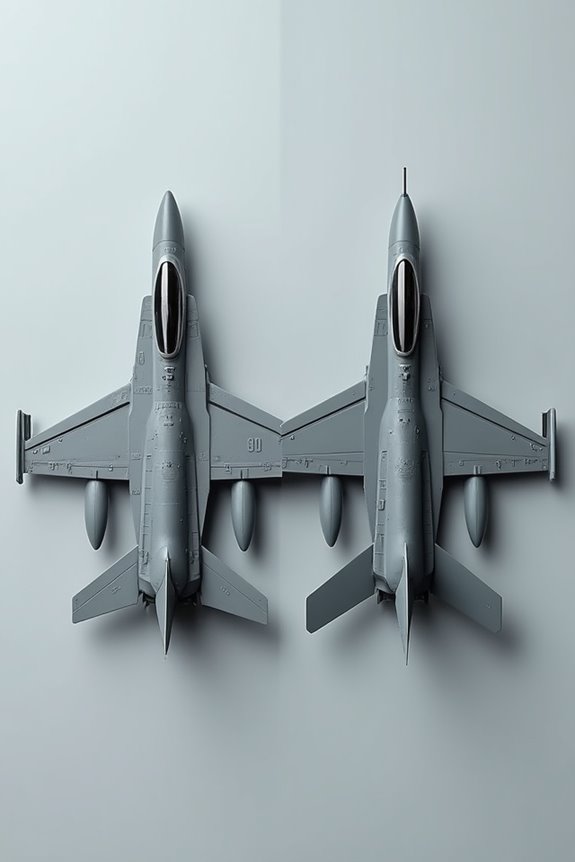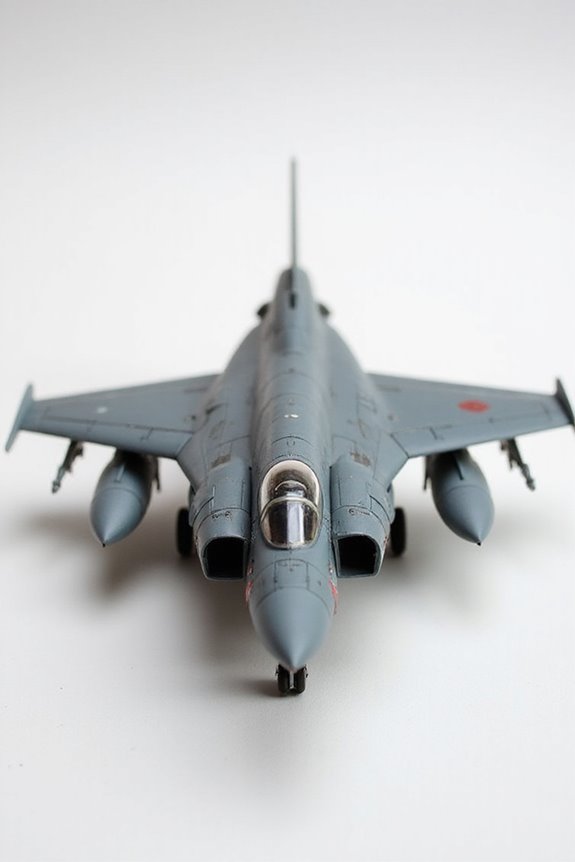
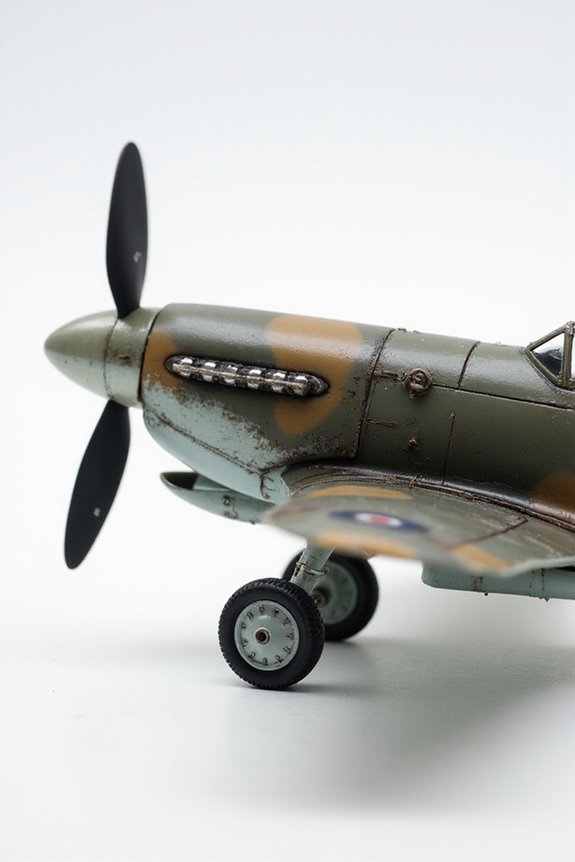

To add details and weathering to our model aircraft, we start with a high-quality primer, like Gunze Mr. Surfacer 1500, for a smooth finish. Next, we accentuate panel lines using wash techniques and dry brushing for raised edges. For that authentic worn look, we simulate paint chipping with low-tack tape and hairspray layers. Finally, we carefully apply decals using setting solutions and seal it with a clear coat. Ready to create a masterpiece? There’s more to explore!
Key Takeaways
- Apply a high-quality primer like Gunze Mr. Surfacer 1500 for a smooth painting surface before adding details.
- Utilize wash techniques to enhance panel lines, choosing between pinwash for precision or overall wash for broader coverage.
- Implement dry brushing to highlight raised edges, providing depth and realism to your model.
- Simulate paint chipping using low-tack masking tape and a hairspray layer for realistic wear and peeling effects.
- Create stains and residues by mixing thinned paints for grime and oil streaks, layering for authentic buildup over time.
Building a Solid Paint Foundation
When we think about painting our model aircraft, one thing’s clear: laying a solid paint foundation is essential. First things first, we need to focus on primer selection. Choosing a high-quality primer like Gunze Mr. Surfacer 1500 can really set the stage for a great finish. It fills in imperfections, giving us a smooth texture to work with.
You may be interested
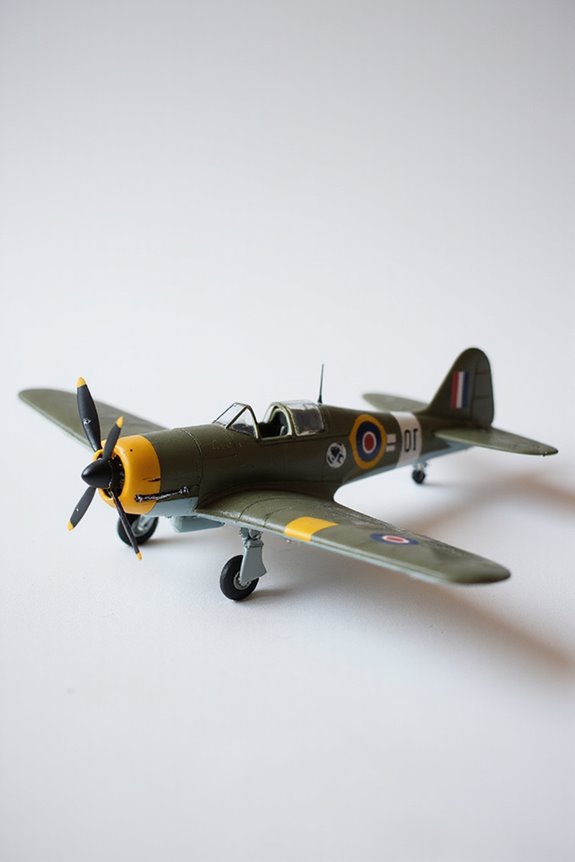
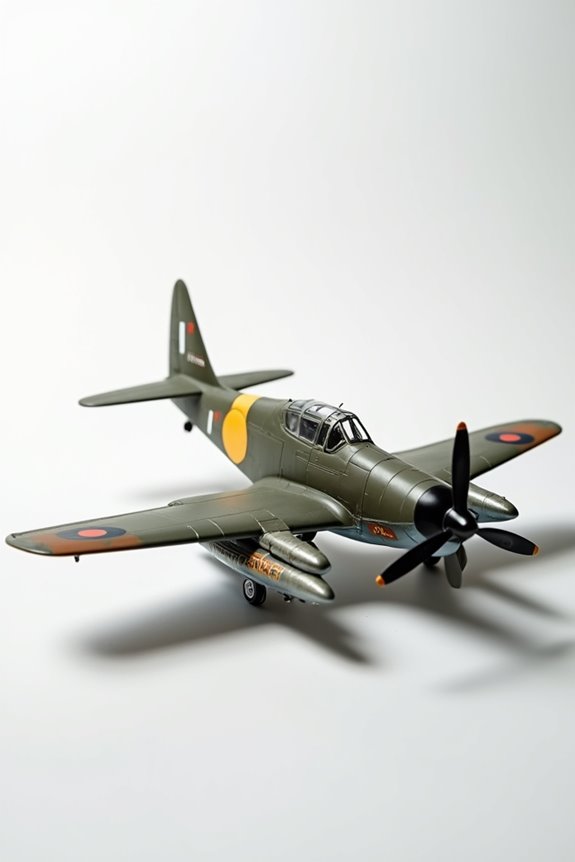
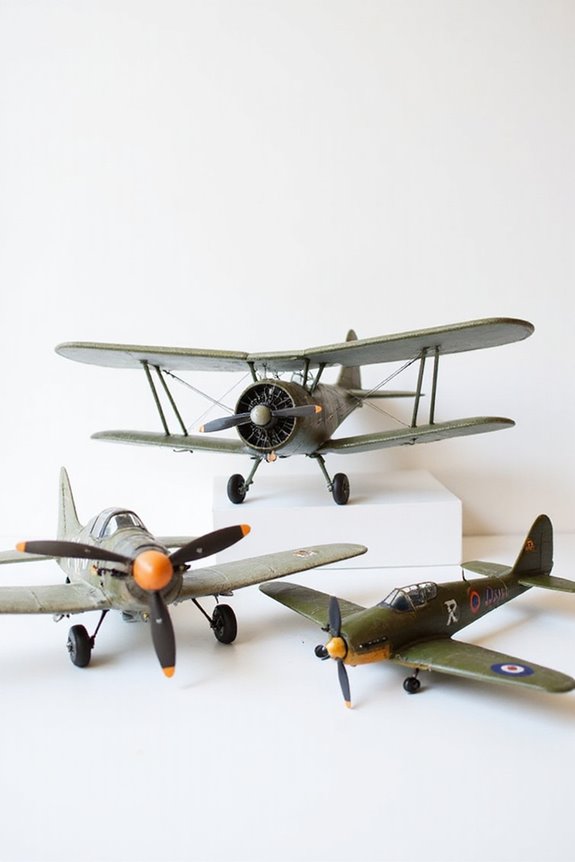
Next, we can’t forget about our sanding techniques. Using flexible sanding pads can help us achieve that silky surface we crave. After priming, we should sand lightly using grits between 300 and 600, and make sure to clean off any dust with tack cloth. A fine finish isn’t just nicer to look at; it also helps paint adhere better and last longer!
Recommended Products

[High-quality and durable material]: stedi sponge sandpaper is made of high-quality aluminum oxide, which is very different from ordinary sandpaper, designed for sanding models, which can greatly reduce the fall of sanding particles during the sanding process, and still maintain good sanding results after a long time of high-frequency use.

[High-quality and durable material]: stedi sponge sandpaper is made of high-quality aluminum oxide, which is very different from ordinary sandpaper, designed for sanding models, which can greatly reduce the fall of sanding particles during the sanding process, and still maintain good sanding results after a long time of high-frequency use.

This premium package includes: 50 sheets of mouse detail sander sandpaper in 5 different grades: 40/80/120/180/240 grit, 10 pieces each.
Effective Weathering Techniques
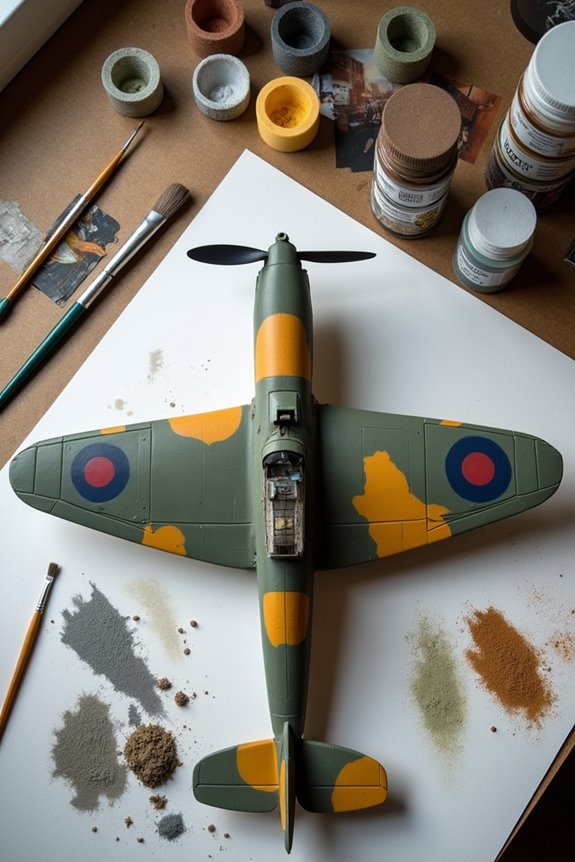
Weathering techniques are like the secret sauce that makes our model aircraft truly stand out. First off, wash techniques really bring our models to life. By using thin paint, we accentuate panel lines and recessed details, adding depth. We can opt for a pinwash for precision or an overall wash for broader coverage.
Now, let’s not forget our dry brushing essentials! This method highlights those raised edges, simulating wear without overpowering fine details. It’s like giving our models a stylish haircut—neat but not too flashy.
Combining these techniques creates that rich texture we all crave. The best part? We’re only scratching the surface of the weathering world! Let’s keep going and make our planes even more realistic.
Recommended Products


【Rust & Weathering Model Paint Set】Professional acrylic weathering effect paints designed for scale models, miniatures, vehicles, terrain, dioramas and 3D prints. This 10-color set helps create realistic rust, stains, streaking, dirt, aging and worn surface effects, adding more depth and story to model projects.

Brand new item. Sealed in original package.
Simulating Paint Chipping and Peeling
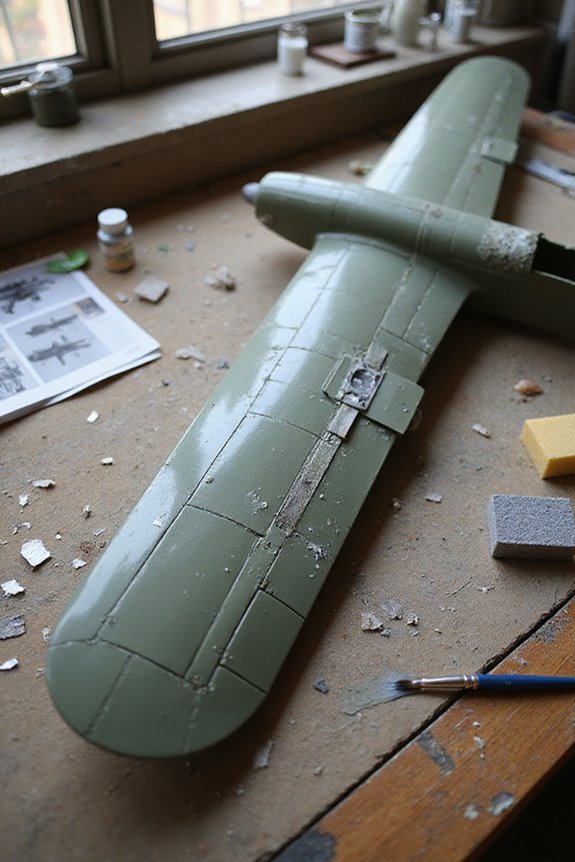
The art of simulating paint chipping and peeling can feel a bit like a magic trick. We start with a base coat of aluminum or natural metal, setting the stage for realistic wear. Using chipping techniques, we can selectively remove top layers with low-tack masking tape—just like peeling a banana, but with fewer sticky fingers!
For more control, we can apply a hairspray layer between paints. Soaking with water breaks that bond, creating perfect peeling effects. If we prefer airbrushing, chipping fluid lets us decide where the magic happens, lifting paint for a stunning result.
We can also get crafty with small brushes or grease pencils to scratch and lift paint, adding character to our models. Let’s get chipping!
Recommended Products

Creating Realistic Stains and Residues
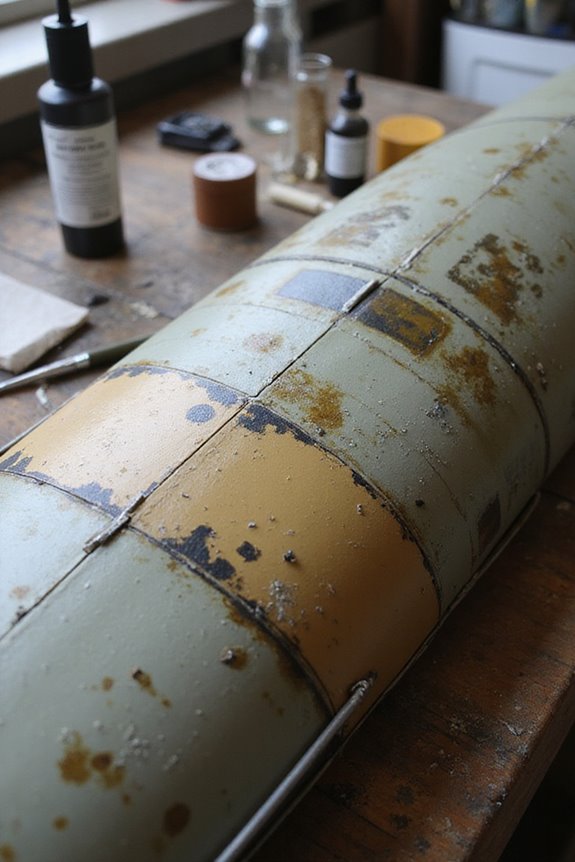
Adding realistic stains and residues to our model aircraft can make them look like they just flew in from a dogfight. We can start by creating convincing oil streaks using thinned black paint. Focus on areas like engine cowlings where oil would naturally run. Gradually build density with repeated hand brushing.
Next, let’s incorporate a grime texture by mixing browns and grays around the edges of our stains. We can also use washes to emphasize panel lines and textures, enhancing that realistic look.
Don’t forget those rust effects! A few careful touches near rivets and paint chips can simulate dirt accumulating over time. By layering, we achieve authentic residue buildup that really tells the story of our aircraft’s adventures.
Recommended Products

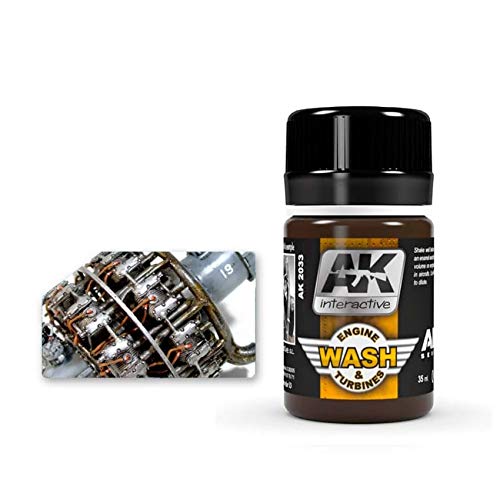
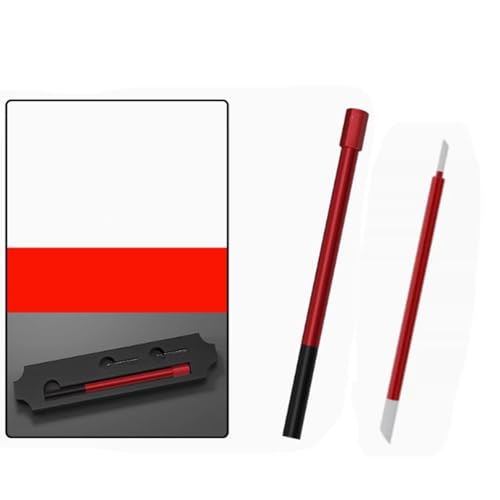
1.PROFESSIONAL WEATHERING & PANEL LINING: Specifically formulated for lots plastic models, military dioramas, and scale model scenes. This wash fluid effortlessly flows into panel lines and surface details, creating stunning depth and realistic weathering effects to make your creations pop.
1.Eco-Safe Water Formula – Zero harsh solvents, easily removable with water or alcohol. Prevents plastic corrosion vs. enamel competitors (Ideal for Lots model kits).
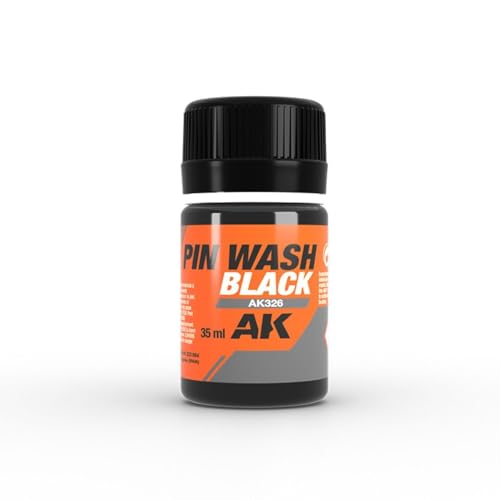
Creates realistic shadows and depth
Applying Decals and Final Touches
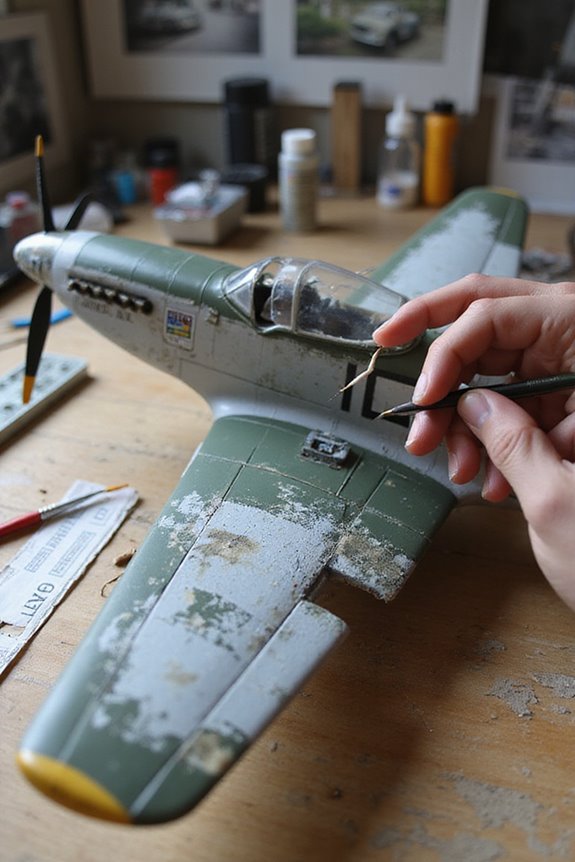
Before we plunge into the art of applying decals, let’s remember that this isn’t just a quick stick-and-peel job; it’s about giving our model that professional, polished look. First, we’ll carefully cut the decals from the sheet and soak them briefly in warm water. A little dab of water on the model surface helps with adjustment during decal application.
For a smooth finish, we’ll apply decal setting solutions before placing the decals. Once they’re positioned, softening solutions allow them to conform to panel lines. Let’s keep our tools handy: soft brushes for air bubbles, sharp knives for relief cuts. After everything dries (patience, please!), we’ll seal with a clear coat. This final touch makes our model shine and look truly impressive!
Recommended Products

Testors Decal Setting Solution - 1/4 oz bottle

The Mircoscale Micro Package is for improving the adhesion of the decal. Really pulls the decal down onto the mode

Microscale MICRO SET, SOL & DECAL FILM 3-Bottle Combo - Advanced Modeling Supply
Frequently Asked Questions
What Types of Paints Are Best for Model Aircraft Detailing?
When detailing our model aircraft, we love using acrylic paints for fine finishes and color blending. Enamel paints work well for weathering effects, especially with weathering powders and airbrush techniques for realistic paint finishes.
How Can I Fix Mistakes in My Paintwork?
We’re like artists restoring a masterpiece. For paint correction, let’s embrace touch-up techniques. We can sand, fill imperfections, and layer fresh paint to transform our model’s flaws into beauty, ensuring it soars with confidence.
Can I Mix Different Paint Types for Weathering?
We can’t mix different paint types for weathering without considering paint compatibility. Instead, we should use layering techniques carefully, ensuring each layer’s fully cured before applying the next for the best results in our projects.
What Tools Are Essential for Fine Detailing and Weathering?
When it comes to fine detailing and weathering, we can’t overlook detail brushes and weathering powders. These tools help us achieve precise effects, adding depth and realism to our models, elevating our craftsmanship considerably.
How Do I Safely Store My Painted Model Aircraft?
When it comes to preserving our painted model aircraft, we’ve found that choosing suitable storage solutions, like protective cases, really makes a difference. Proper wrapping and labeling can prevent damage and keep our creations safe.