To apply decals like a pro, we need to start with solid surface preparation. Clean the area well—think of it as giving your wall a spa day! Then, choose the right application method; the dry method works wonders on flat surfaces, while the wet method’s great for curves. We’ll want to guarantee we use the right adhesive, too. Follow these steps, and we’re on our way to flawless decals. Stick around for more tips!
Key Takeaways
- Ensure proper surface preparation by cleaning and drying the area to guarantee better decal adhesion.
- Choose the right application method: use the dry method for flat surfaces and the wet method for curves.
- Select an appropriate adhesive type based on the desired permanence and surface material.
- Avoid errors by carefully measuring and aligning decals before application.
- Use a plastic squeegee during application to remove bubbles and ensure a smooth finish.
The Importance of Surface Preparation
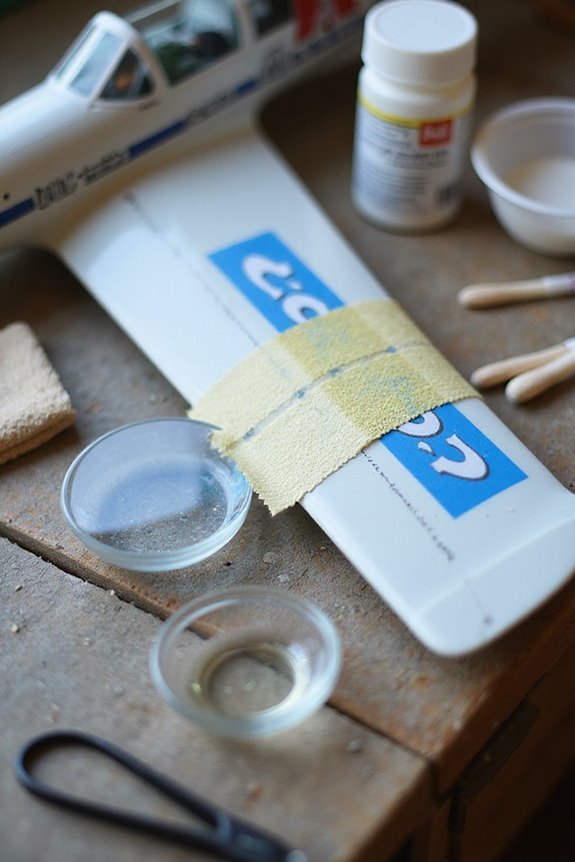
When it comes to applying decals, we can’t stress enough how important surface preparation really is. Think of it like cooking; if the ingredients are bad, the meal won’t taste great! First, we need to perform a thorough surface evaluation. Check for smoothness, cleanliness, and any damage—these factors make or break our application. Next, a contamination assessment is essential. Every surface is considered contaminated until proven otherwise—a little dust or grease can ruin our plan! Don’t forget specialized materials like aluminum; they may need special prep steps, like acid treatments. Ensuring the surface is dry and free of residue is vital, too. So, let’s get this right, and our decals will stick like they belong there!
Cleaning Techniques for Optimal Adhesion
Before we plunge into applying decals, let’s talk about how to get that surface squeaky clean! The first step is inspecting for any surface contaminants. A quick look can save us a lot of hassle later. We’ll want to use a gentle cleaning solution like soapy water or mild automotive detergents. Avoid any abrasive cleaners, which are like using a sledgehammer to crack a nut—overkill!
Once we’ve scrubbed off any grime, we should dry the surface thoroughly with a microfiber cloth. That way, we can polish it up and make certain it’s truly clean before decal application. It’s like prepping a canvas; every bit of dirt counts! Finally, let’s double-check for remaining dirt—we’re all about that ideal adhesion here!
Choosing the Right Application Method
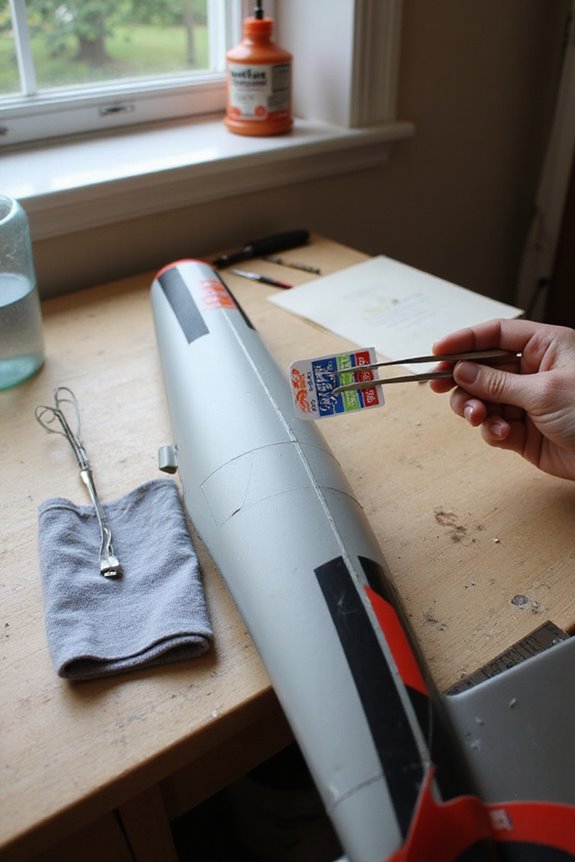
Now that we’ve got our surfaces looking sharp and ready, it’s time to think about how we’re going to tackle decal application. The choice of application techniques really depends on surface variations. For flat surfaces, the dry method is quick and straightforward. However, if you’re dealing with curves or complex shapes, the wet method is your best friend.
Larger or intricate decals can be tricky. They often need that wet method for precise placement—think of it like fishing with bait instead of just dropping the line. Don’t forget about the adhesive too! Some types prefer specific methods. And let’s be real—choosing the right method makes all the difference. Happy applying, and may your decals look fabulous!
Advantages of the Dry Method
While it might seem tempting to dive right into the application of decals, taking a moment to appreciate the advantages of the dry method pays off big time. First off, we experience some serious quick application benefits. This method makes installations faster and cleaner—no soap or water mess to deal with!
Perfect for small decals and flat surfaces, we get that smooth, professional finish that looks like it’s printed directly on. Plus, our color precision stays spot-on, ensuring brand consistency.
Benefits of the Wet Method
When we think about applying decals, the wet method really holds its own. It’s like giving ourselves a little wiggle room with decal positioning. The soap solution lets our decals slide around for precise placement, and we can even reposition them without any damage—perfect for those tricky surfaces like embossed letters.
Plus, it reduces air bubbles, ensuring a clean finish. We’re left with bubble-free installations, especially on glass. The wet application also guarantees that our decals adhere properly, enhancing durability without any mess. Sure, it may take a bit longer, but the results speak for themselves. So, if we want professional-looking decals, this method really brings our projects to life!
Selecting the Appropriate Adhesive
Choosing the right adhesive can feel a bit like picking the perfect pizza toppings—everyone has their favorites, but the best mix depends on the situation. We’ve got a variety of adhesive types to evaluate. Permanent adhesives are your go-to for long-lasting decals, while removable ones shine in temporary setups. For indoor decals, static cling is a fun option, though it won’t support heavy loads.
Don’t forget the adhesion strength! Permanent adhesives generally offer the strongest bond, which is perfect for metal or glass surfaces. Meanwhile, specialty adhesives cater to specific materials, ensuring a solid grip. So, let’s make sure we pick the right one for the job, or we might end up with a sticky situation we didn’t want!
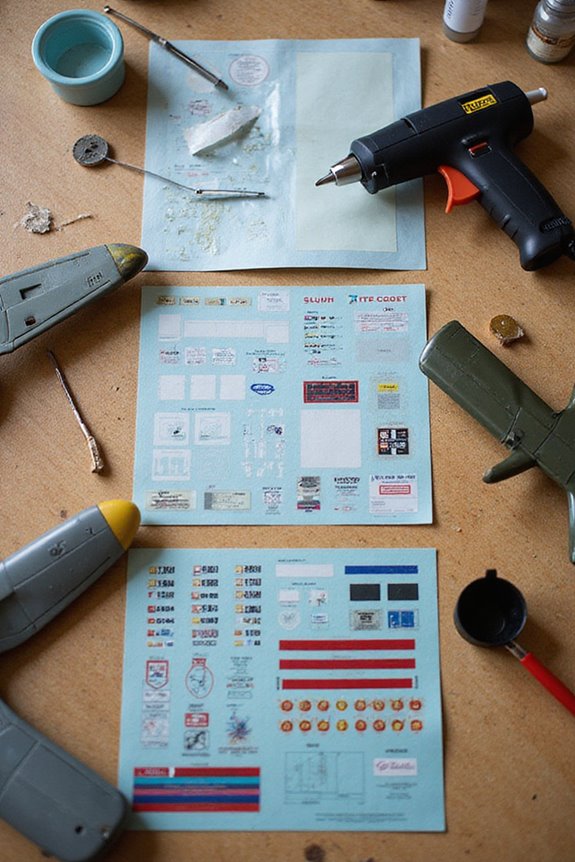
Essential Tools for Decal Application
Now that we’ve sorted out the right adhesive for our decals, let’s talk about the tools that’ll make the application process a breeze. First up, measuring tools like a tape measure help us get those precise dimensions we need. After all, nobody wants a decal that’s too big or too small!
Next, we’ll want marking tools to guide our application. Marking pencils help us highlight points on surfaces, while masking tape keeps everything in line before we plunge in.
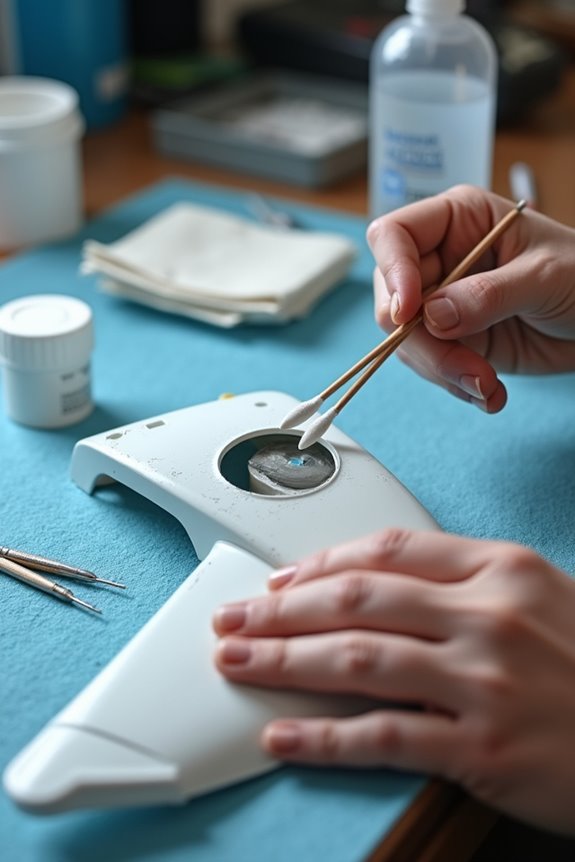
Don’t forget alcohol pads for a squeaky-clean surface! They guarantee our decals stick like they mean it. Finally, a trusty squeegee is essential for banishing bubbles. Trust us; you want to keep things smooth! With these tools, we’re set for success!
Common Mistakes to Avoid
Even the best decals can fall flat if we don’t avoid some common pitfalls. One major issue we face is alignment errors. If we rush placing our decals, we might end up with crooked designs that leave us cringing. Trust me, measuring is vital!
Material choices are also key. Using low-quality vinyl can lead to premature peeling that feels like a bad breakup. Plus, we need to guarantee the surface is clean, dry, and at a suitable temperature. Remember, the adhesive needs love too!
Ignoring these mistakes can ruin what should be a fun project. So, let’s slow down, prep properly, and guarantee those decals look sharp instead of sad!
Best Practices for Various Surfaces
After we’ve tackled those common mistakes, it’s time to get hands-on with the best practices for applying decals on different surfaces. First things first—clean your surface! A lint-free cloth and some isopropyl alcohol will do wonders. Remember, decal types matter for surface compatibility.
For smooth surfaces like glass, the dry method is prime and keeps things simple. On curved vehicles, the wet method allows us to reposition with ease. For furniture, let’s stick to the wet method too—nobody likes a wrinkled decal!
Oh, and keep an eye on temperature and humidity; we’re aiming for that perfect environment. Apply with a plastic squeegee for a bubble-free finish, and we’ll be on our way to decal perfection!
Tips for Repositioning and Removing Decals
When it comes to repositioning and removing decals, a little finesse goes a long way. We can use some clever repositioning techniques to make our lives easier. Start with transfer tape to line things up perfectly, avoiding any bubbles. If the decal’s off, gently peel it up and try again. Keep it tight and smooth for the best results.
For decal removal, we’re in luck! Start by lifting edges with a scraper—just be gentle. Pull slowly at an angle; we don’t want to leave sticky residue behind. A hair dryer can work miracles by softening the adhesive. And remember, removing decals soon after application usually makes it easier. Let’s tackle those decals like pros!
Frequently Asked Questions
How Long Should I Wait Before Applying a Second Decal?
When considering how long to wait before applying a second decal, we recommend allowing proper drying time for the first decal. Utilizing effective decal layering techniques often enhances adhesion and guarantees our designs look their best.
Can I Use a Heat Gun for Better Adhesion?
We wouldn’t recommend using heat application for better adhesion. Instead, let’s focus on adhesion tips like proper surface preparation and applying decals at room temperature to guarantee the best results without risking damage.
What Should I Do if My Decal Starts to Lift?
If our beloved decal starts to misbehave, we can gently heat the edges, clean them up, and reapply some pressure. Exploring adhesive options might also save our decal’s day with a little repair magic!
How Do I Store Unused Decals Properly?
When it comes to decal storage, we must guarantee humidity control by keeping them in airtight containers and adding silica gel packets. This way, our decals stay protected from moisture and last longer.
Are There Specific Decals for Outdoor Use?
Like a shield against the elements, we find that specialized vinyl materials offer remarkable weather resistance, making them perfect for outdoor use. They guarantee our designs stay vibrant, enduring various environmental challenges with grace and tenacity.