Installing a flight controller in our RC plane is like giving it a brain—it’s essential for smooth flying! First, we gather our tools and check the controller’s size, ensuring it fits nicely near the center of gravity. Then, we connect the electronics, like the GPS and compass, making sure everything is compatible. After configuring and calibrating the system, we test our setup for responsiveness. Stick with us, and we’ll tackle the nitty-gritty details to get your plane soaring!
Key Takeaways
- Gather all necessary components and tools, ensuring compatibility between the flight controller and your RC plane’s firmware before installation.
- Evaluate the installation space, positioning the flight controller near the center of gravity for optimal balance and performance.
- Calibrate sensors and configure the system, including the gyroscope and compass, ensuring firmware matches the hardware specifications.
- Conduct safety checks to verify secure connections, proper movement of control surfaces, and overall integrity of the aircraft before flight testing.
- Document all findings from initial tests and adjustments made to optimize settings, preparing a checklist for final verification before the first flight.
Components Needed for Installation
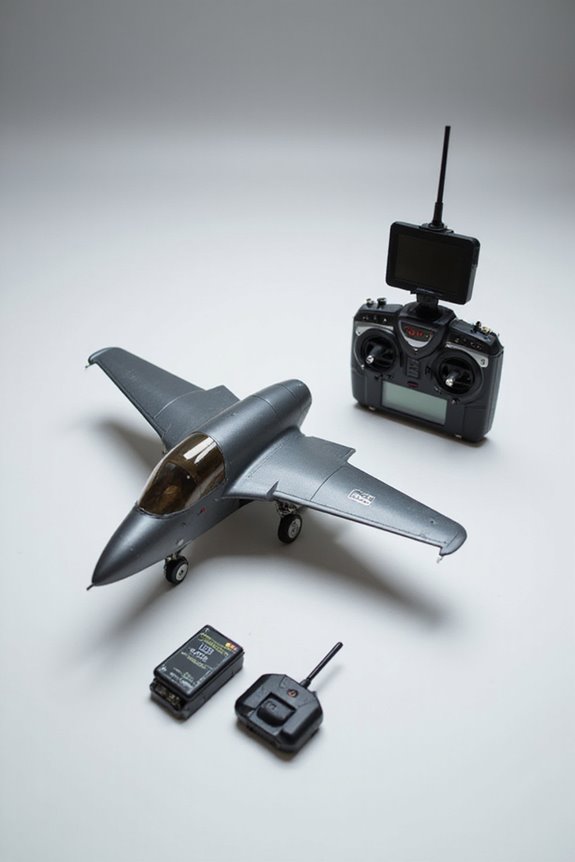
When it comes to installing a flight controller in an RC plane, it’s like baking a cake—you need the right ingredients to get that perfect outcome! First, we’ll gather our core components: the flight controller, GPS, external compass, and an airspeed sensor. Don’t forget our manual controller—it helps us steer through the skies!
Next up, we have to pay attention to the power requirements. We’ll need motors, ESCs, and a suitable battery, along with a Power Distribution Board (PDB) to manage everything. Power cables tie it all together. Finally, let’s not forget our servos and control linkages—they’re the icing on this cake! With these pieces in hand, we’re on our way to a fantastic flight experience! Additionally, ensure that the power distribution board you choose can handle the power demands of your motor and ESC for optimal performance.
Recommended Products

Ultra-Realistic Alloy Design: 3-blade flybarless RC helicopter with openable cockpit, detailed dashboard and metal sandblasted finish, creating a true-scale, premium realistic RC helicopter model

Bell UH-1N Huey glass fiber scale fuselage in premium quality and finish.

【SEVEN MAJOR UPGRADES】 Through smartphone APP to adjust flight control parameters; Telemetry support; simplified flight setup; Resistance improved vibration; Optimized swashplate geometry; Improved tail control performance; Power upgrade and provided upgrade kit for M2 EVO MK2 mini helicopter.
Ensuring Compatibility
After gathering all the necessary components, it’s time to confirm everything is compatible. First, let’s explore firmware selection. Most flight controllers support multiple firmware options like INAV, Betaflight, and ArduPilot, but some can be picky. So, check that your flight controller’s hardware plays nice with the chosen firmware.
Next, we must consider receiver protocols. Compatibility between the flight controller and radio receiver is key for reliable control. Always verify that your transmitter and receiver communicate through supported protocols like PWM or SBUS. We wouldn’t want our plane to fly away because of a communication hiccup! Getting these details right will guarantee our flight controller functions smoothly, packing a punch with features like GPS navigation and telemetry support.
Recommended Products

Inspired by the original scratch-built, kit and ARF ElectroStreak models designed to offer modern-day features and conveniences – along with excellent handling and high-speed performance

The easiest to buy, assemble and fly flat foamy model yet – capable of slow cruising, sport flying, basic and all-out 3D aerobatics

OFFICIAL XBOX CONSOLE INTEGRATION - Access your favorite social features, switch seamlessly between your game and the console dashboard, and navigate menus effortlessly using dedicated Guide, View, and Menu buttons designed specifically for Xbox Series X|S, so you never have to reach for a separate controller during intense flight simulator sessions.
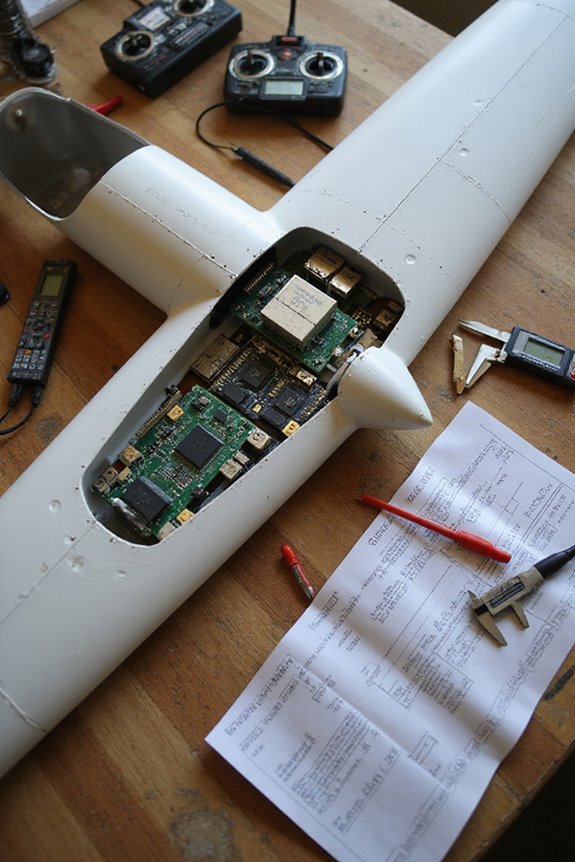
Evaluating Space for Installation
Finding the right space for our flight controller is essential for success. We must consider the size of our controller, as they come in different mounting patterns like 30.5×30.5mm or 20×20mm. If our RC plane is compact, we might face installation challenges fitting everything.
Placing the controller near the center of gravity helps with balance and performance. Plus, we’ll want space for cable management; cluttered wires can lead to unnecessary headaches. Additionally, ensuring the placement of the controller minimizes vibration issues can significantly enhance flight stability.
Using optimization techniques, we can also guarantee our setup reduces vibrations. Remember, an unbalanced plane is about as useful as a chocolate teapot!
Recommended Products

Compact & Easy to Transport: With a 730mm wingspan and lightweight EPP foam, the Ranger T1 is easy to carry and assembles in under a minute
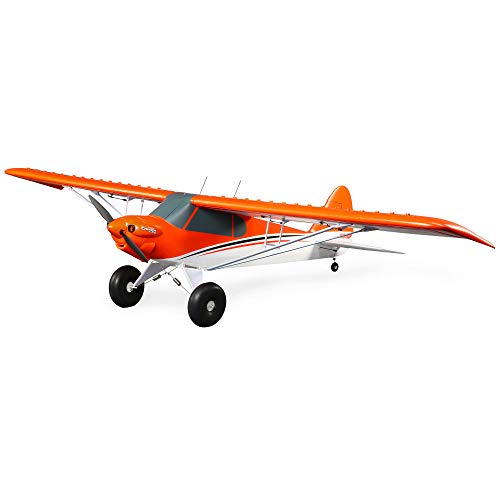
GROUND-BREAKING RC AIRPLANE: An updated and refined version of the ground-breaking and category-creating original Carbon-Z Cub

A long list of “super” details makes this the most feature-rich, capable, and best flying Timber model to date
Gathering Necessary Tools
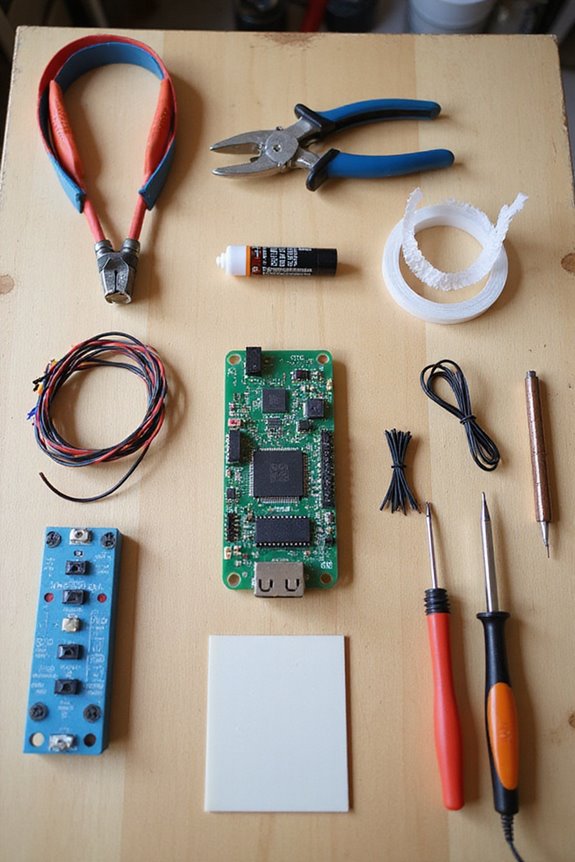
Getting ready to install our flight controller means we need the right tools at our fingertips. First off, let’s gather a set of screwdrivers, needle-nose pliers, and hex drivers. These will help us explore those tight spots in the RC plane’s fuselage. A soldering iron is a must for connecting wires, and a precision hobby knife will come in handy for those precise cuts.
Tool organization is essential here; a well-organized toolbox prevents us from losing those pesky screws. Don’t forget our multimeter to check those electrical connections and a fire-resistant bag for safely storing our LiPo batteries. Finally, we’ve got to keep our tools in shape with regular tool maintenance. After all, a well-maintained tool is like a happy hobbyist!
Recommended Products

Extensive Kit Contents: Over 90 items including risers, foam sheets, plaster cloth, rock molds, liquid pigment, scenic cement, and more, providing a comprehensive set of tools to build a realistic landscape

Complete RC Tool Bag for RC Enthusiasts: rc tools include: hex screwdriver set (1.5mm 2.0mm 2.5mm 3.0mm), box spanners (4.0mm 5.5mm 7.0mm 8.0mm), phillips driver (3.0mm 4.0mm), slot drivers (3.0mm 4.0mm), needle-nose / diagonal / ball link pliers, body reamer, hobby knife, cross and turnbuckle wrench, multi shock clamp shaft, scissors, ball bearing remover, rc car stand, camber gauge
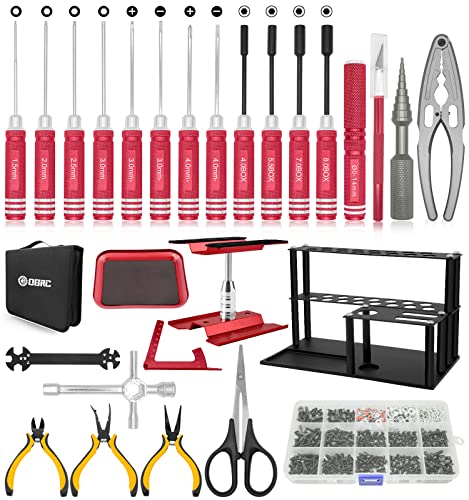
【27PCS Tool Kit Set】Our RC tool kit include 4 * He.x Screwdriver Set (1.5/2.0/2.5/3.0mm), 4 * Box Spanners (4.0/5.5/7.0/8.0mm), 2 * Phillips Driver (3.0/4.0mm), 2 * Slot Drivers (3.0/4.0mm), 3 * Pliers (Nedle-nose/Diagonal/Ball link), Body Reamer, Hobby Knife, Cross Wrench, Turnbuckle Wrench, Multi Shock Clamp Shaft, Scissors, Ball Bearing Remover, Tray, RC Stand, Camber Gauge, 522pcs Screw Kit and Tool Holder.
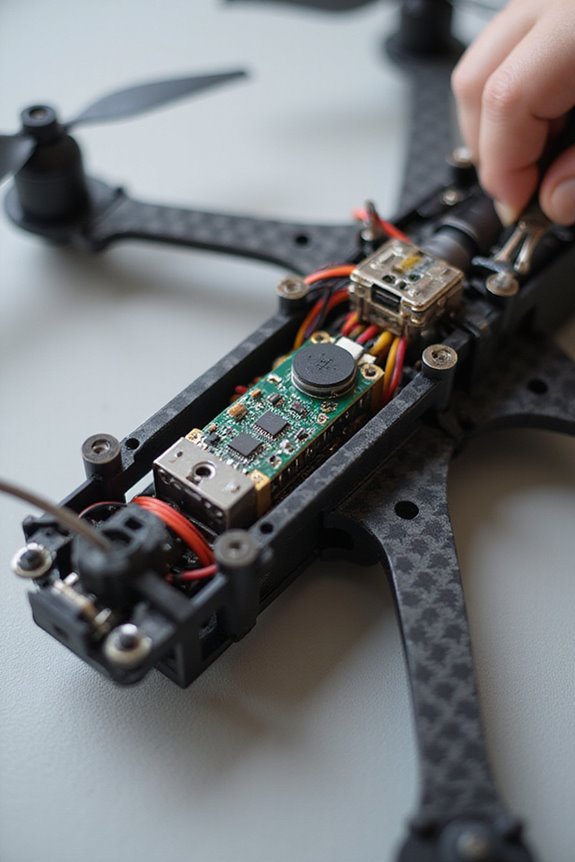
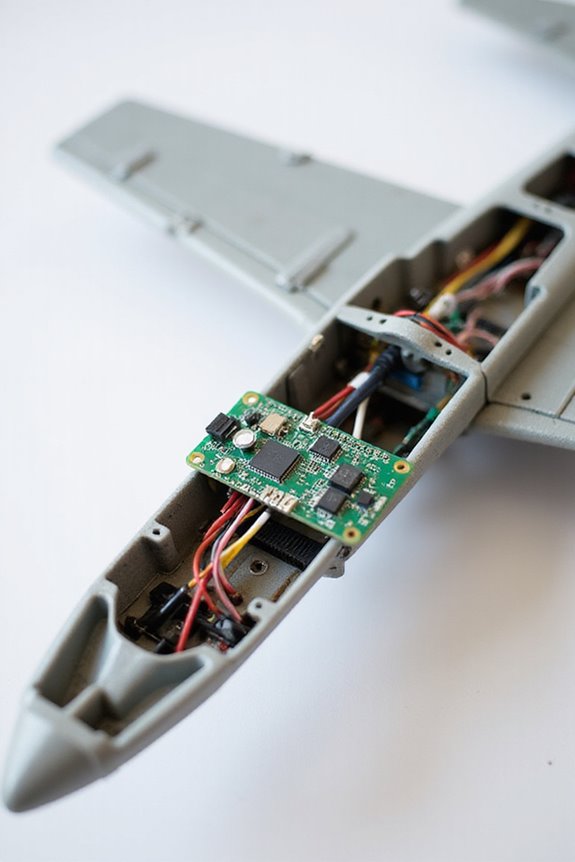
Locating the Flight Controller
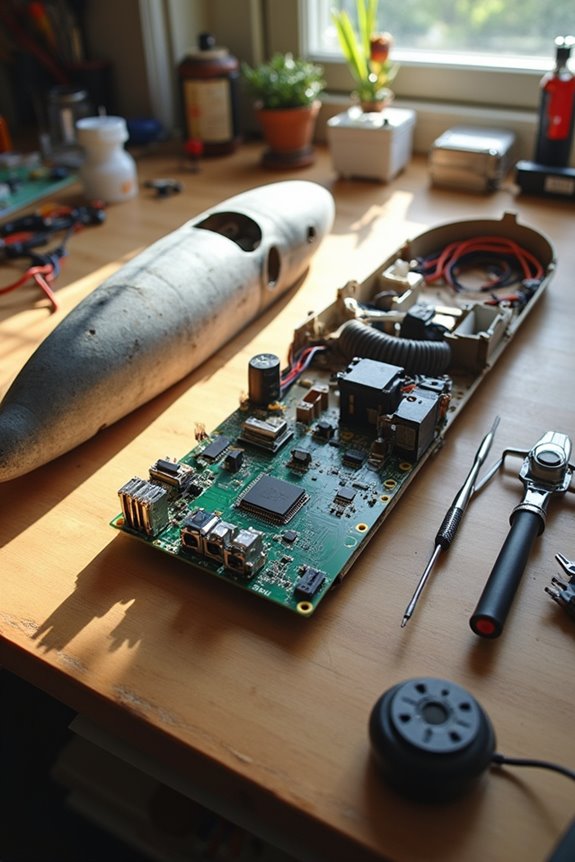
When it comes to locating the flight controller in our RC plane, we’ve got to be strategic. First, we need to guarantee there’s sufficient space in the fuselage. The flight controller placement should minimize wire clutter, so planning component alignment with ESCs, motors, and receivers is key.
We don’t want a tangled mess resembling a teenager’s bedroom! Positioning the flight controller for easy access makes maintenance a breeze, too. Additionally, keeping the flight controller within the center of gravity is essential for maintaining stability during flight. Also, let’s keep an eye on the center of gravity. Balancing all components guarantees smooth flying without unexpected acrobatics. Use double-sided tape or mounting options to secure it in place. Once that’s sorted, we’re on our way to achieving a well-organized setup!
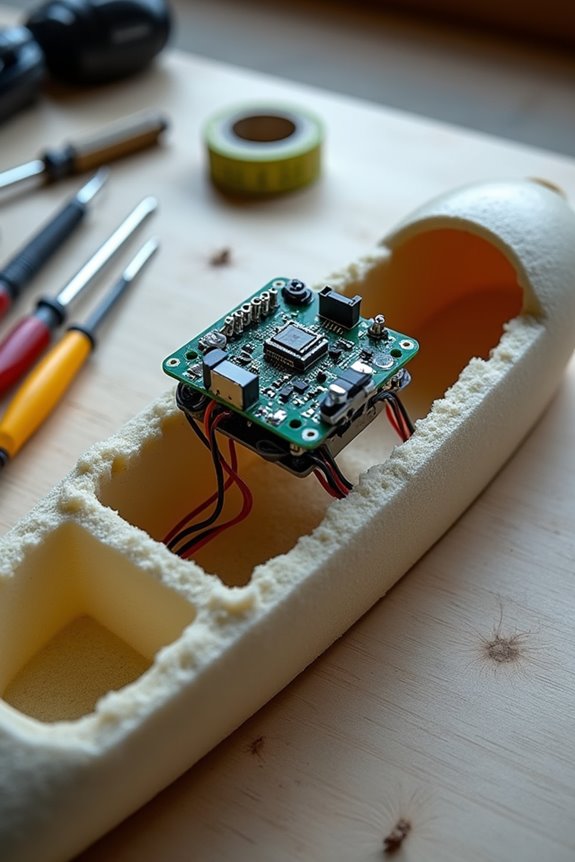
Securing the Flight Controller
With the flight controller snugly in place, securing it properly is our next mission. We can use Double Sided Tape for a quick fix or Velcro Fasteners for easy access later. Foam Wrapping will provide that cozy cushion against vibrations and bumps. If we’re feeling fancy, Balsa Wood Supports add stability without extra weight.
Don’t forget Nylon Mounts—their secure grip is just what we need! Emphasizing Vibration Isolation is key for performance. Metal gears in servos can enhance durability, ensuring that our installation withstands various flight conditions. Remember, a solid install not only protects against damage but also helps keep our aircraft aerodynamic. Finally, let’s perform Pre-Flight Checks to confirm everything’s tight and ready. This way, we can enjoy flying with confidence, knowing we’ve thought about future maintenance too!
Recommended Products


A duct muffler designed for use with inline fans in grow tents, bathroom fans and other HVAC applications.

【High Quality】Anti vibration pads are made of high strength rubber and high density EVA foam. Structure of anti vibration mats have stability, with wear and weather resistant, they can be used for a long time. Compared to ordinary cork mats, vibration isolator pads are water and oil resistant, unaffected by most chemicals
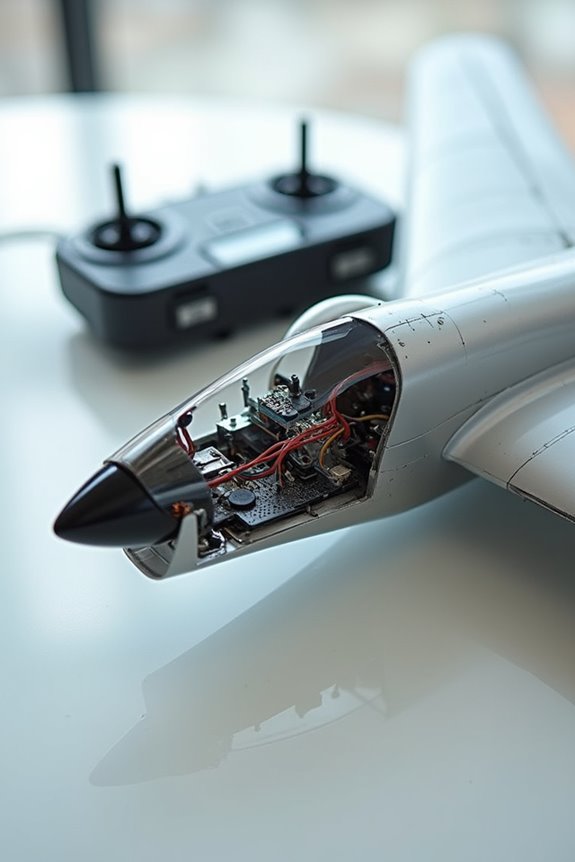
Connecting Essential Electronics
Before diving into the fun part of connecting essential electronics, let’s remember that a squeaky clean installation makes for a happy flight! First, we connect the battery to the Electronic Speed Controller (ESC). This little gem manages power distribution to the motor while converting the battery’s voltage for peak performance. If our ESC has a Battery Eliminator Circuit (BEC), it’ll also power the flight controller and servos—perfect! Next, let’s get those servos hooked up to the receiver. Each servo needs a channel assigned for precise control. Additionally, choosing a battery with higher capacity (mAh) can maximize airtime while balancing weight.
Configuring and Calibrating the System
Now that we’ve got the electronics connected and ready to go, it’s time to gear up for configuring and calibrating our flight controller. First up is sensor calibration. We’ll need to place the flight controller on its edges to guarantee accurate readings—think of it as the controller’s workout session!
Next, let’s update the firmware to match our hardware. This step’s vital, as outdated firmware can be like using a map from the ’80s while steering today!
We should also pay attention to the gyroscope and compass setups. Rotating our plane as per the software’s guidance will help avoid navigation blunders. Additionally, ensuring proper voltage and current ratings is crucial for maintaining optimal performance during flights.
Finally, don’t forget to double-check everything after all these calibrations—we want smooth flying, not unplanned aerobatics!
Implementing Safety Precautions
Safety always comes first when we’re diving into RC plane installations. Before we start, let’s inspect our aircraft for any damage or loose parts. A well-lit, uncluttered workspace is essential, too; it’s like setting the stage for a flawless performance!
We should also check local regulations to avoid installation risks that could land us in hot water. Handling electrical components? We’ve got to manage those wires carefully and use anti-static gear to prevent shocks.
Always wear gloves and safety glasses—we’re not auditioning for a reality show! By following these safety measures, we can minimize accidents and guarantee a smoother installation process, leaving us more time to enjoy the thrill of the flight ahead!
Conducting Post-Installation Testing
Once we’ve confirmed everything is safe and secure, it’s time to put our hard work to the test. First up, we need to conduct our flight performance evaluation. We’ll check the aircraft’s integrity, and make sure all control surfaces move correctly. Next, let’s verify our electronics—the transmitter, receiver, and servos—are in good shape.
During our post installation troubleshooting, we’ll test the throttle response and verify motor direction. It’s like making sure our trusty steed is ready for a gallop. Finally, don’t forget to document any quirks or adjustments we encounter during these tests. You never know what could crop up when we’re all set for takeoff! Let’s make this bird soar!
Frequently Asked Questions
What Are the Best Flight Controllers for Beginners?
When we’re starting out, we should consider basic flight controllers like Matek and Holybro, as they’re beginner-friendly options. Their ease of setup and affordability make learning to fly enjoyable and accessible for all of us.
How Do I Troubleshoot Installation Issues?
Did you know nearly 50% of RC plane owners encounter issues during installation? We should focus on flight controller wiring, ensuring correct connections and following installation tips to troubleshoot effectively for a smoother flying experience.
Can I Install the Flight Controller Upside Down?
We shouldn’t install the flight controller upside down, as proper flight controller orientation is essential for accurate sensor readings. Let’s follow some installation tips to guarantee peak performance and avoid complications during flight.
What Software Options Are Available for Flight Controller Configuration?
Did you know over 50% of hobbyists rely on specific configuration tools for ideal performance? We’ve found that thorough setup guides for Betaflight, iNav, and Ardupilot can greatly enhance our flight experience and control.
How Do I Know if My Battery Is Suitable?
To guarantee our battery’s suitable, we’ll check the battery specifications, focusing on voltage requirements. It’s essential to match the battery’s voltage with the ESC and flight controller for ideal performance during our flights.