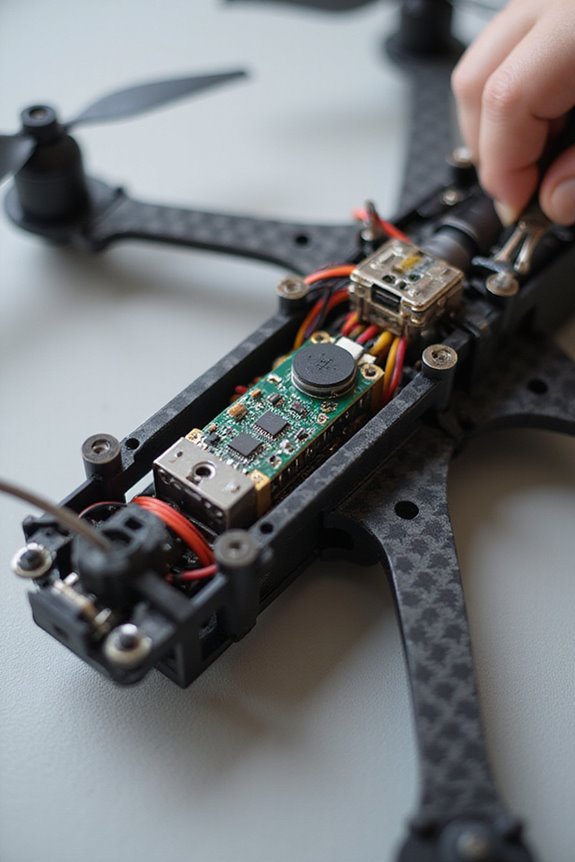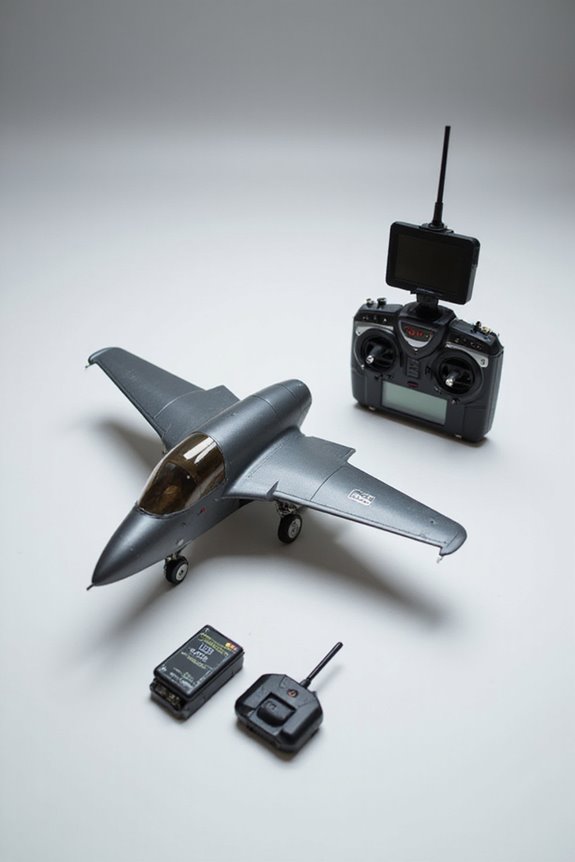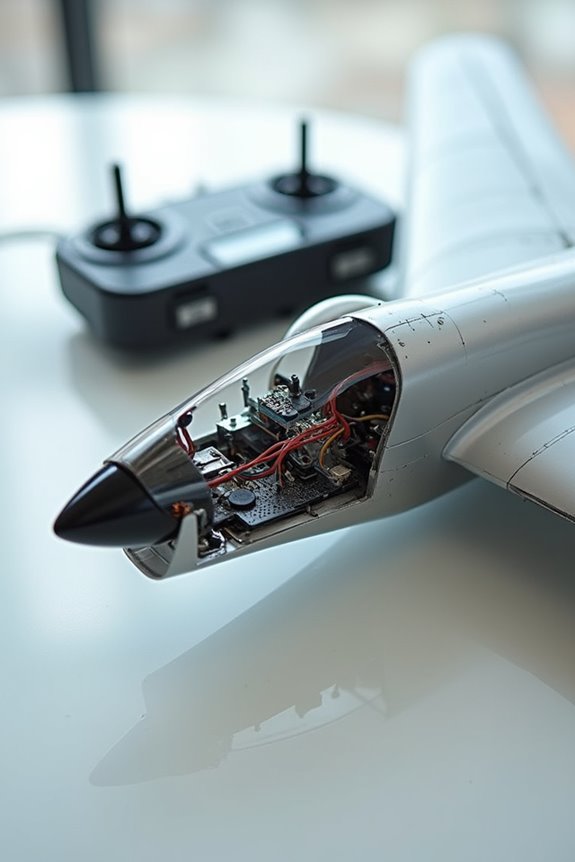
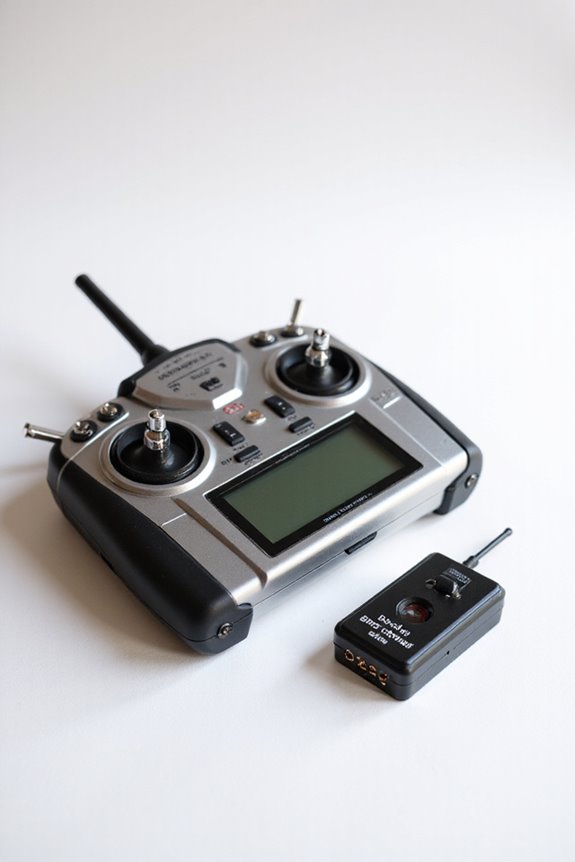

Binding your transmitter to your receiver is pretty simple, and we’re here to help! First, let’s power everything off and gather our gear, like a bind plug. Then, we put the receiver into binding mode, usually by inserting that bind plug. Next, we switch on the transmitter and press its bind button until the LED flashes. Once we see a solid LED on the receiver, we’re golden! Stick around, and you’ll learn more about specific protocols like ExpressLRS and TBS Crossfire!
Key Takeaways
- Ensure both the transmitter and receiver are powered off before beginning the binding process for safety and accuracy.
- Insert the bind plug into the receiver and power it on, or hold the bind button while powering on to enter binding mode.
- Switch the transmitter to bind mode by holding its bind button until the LED starts flashing, indicating it’s ready to bind.
- After binding, check for a solid LED light on the receiver to confirm successful binding has occurred.
- Test the setup by moving sticks and switches on the transmitter to ensure proper control and response from the receiver.
Preparing for Binding
Before we plunge into the binding process, let’s make certain we’re set up for success. First, we need to gather our power source, like an ESC or battery, and make sure everything’s powered off. An equipment checklist helps too! We’ve gotta have a bind plug handy to kickstart the binding mode.
You may be interested
How Do I Add Navigation Lights To My Model Aircraft?
How Do I Calibrate My RC Transmitter?

How Do I Choose The Right Motor For My RC Airplane?
Let’s not forget about our transmitter’s bind switch—this little button is key! It should be working smoothly and easy to access before we fire it up. And hey, while we’re at it, let’s check for any loose connections which could lead to mischief later. After all, we don’t want our receiver playing hide-and-seek! By prepping properly, we’ll set the stage for a seamless binding experience!
Recommended Products

Package Includes - 4pcs universal bind plugs
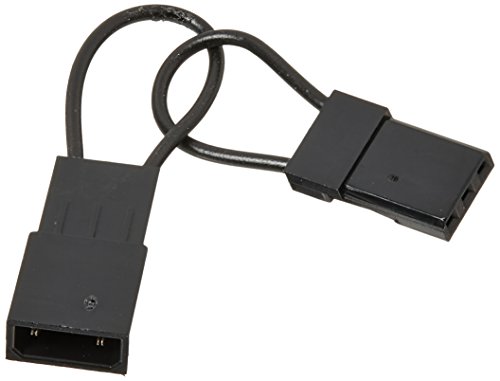
Quickly and easily plugs directly into Spektrum receivers or through the charge jack on the switch
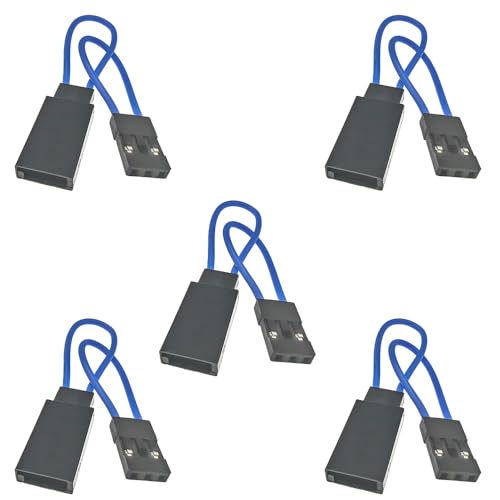
Package Includes - 5pcs universal bind plugs
Binding Procedure for Traditional RC Receivers
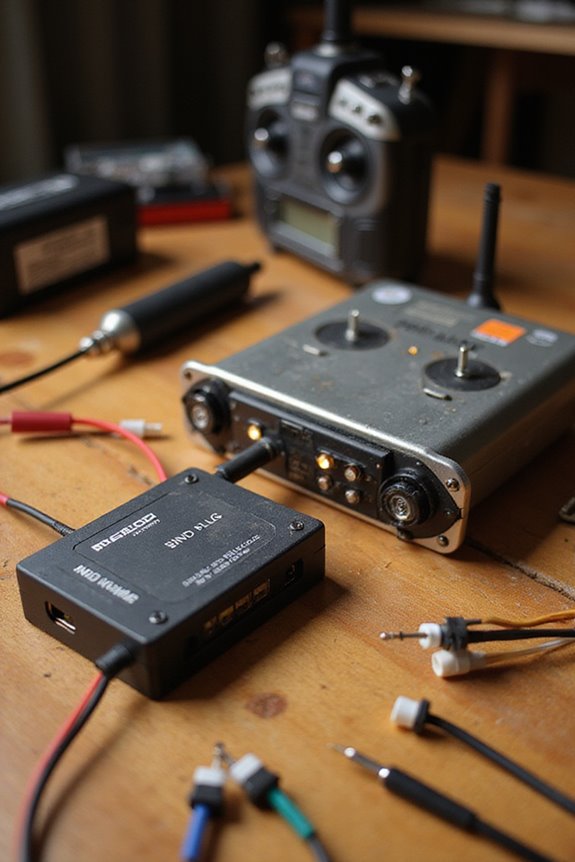
Now that we’re all set up and ready to go, let’s jump into the binding procedure for traditional RC receivers. First, we’ll need to put our receiver into a binding mode. If it has a bind plug, we insert it; otherwise, we press and hold the bind button while powering the receiver. Next, we switch our transmitter to bind mode, holding its bind button until we see that familiar LED flash.
Once the receiver LED glows solid, we’re in business! If things don’t go as planned, don’t panic. Always check the bind plug or button usage and verify we’ve got enough battery power. And remember, if we change settings or gear, a rebind is often necessary. Happy binding!
Recommended Products

Compatible Models: The SPM6802 RC Receiver Binding Wire is compatible with Spektrum models, including AR6210, AR800, AR9020, S603, and F701, ensuring reliable connectivity for your RC needs.
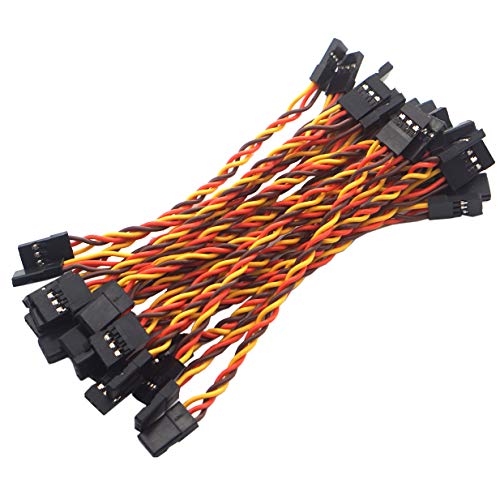
Used for RC Cars, trucks, airplanes and helicopters servo connection or receiver connection.

1) High quality gold plated connectors for high current Li-Po batteries
Binding ExpressLRS Receivers
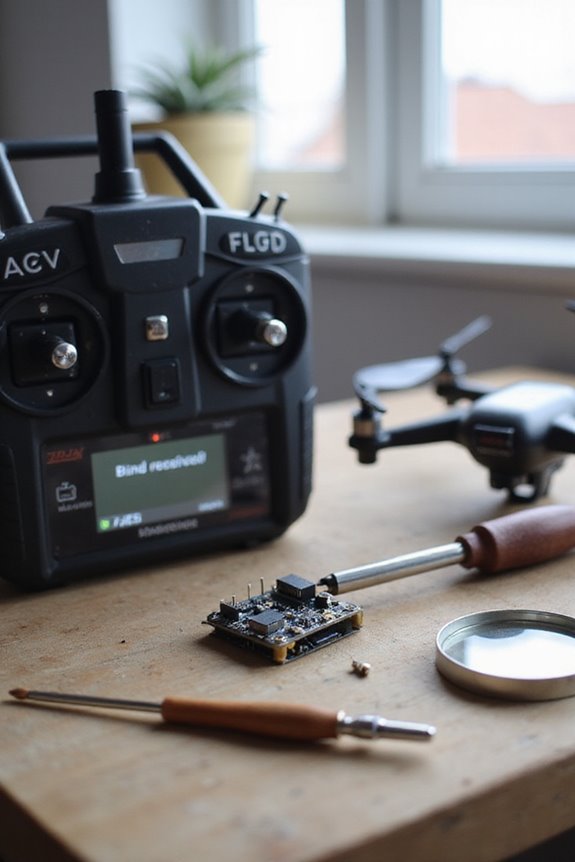
When we plunge into binding ExpressLRS receivers, it’s like stepping into the fast lane of RC technology. The binding phrases are our secret codes, syncing the transmitter with the receiver for smooth operation. We can choose from traditional methods or use snazzy software interfaces like Betaflight or EdgeTX, which take the hassle out of binding.
Recommended Products
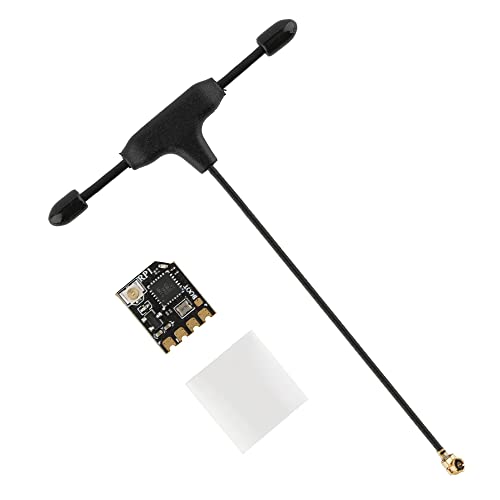
RP1 2.4GHz ELRS Nano receiver is an open source receiver based on ExpressLRS with ESP8285 MCU and SX1280 RF chip.

【PWM Output】BETAFPV ELRS Micro receiver is the first ELRS receiver with PWM output on BETAFPV. Supports 5 channels PWM outputs. It also supports flash CRSF output firmware, in this case CH2 corresponds to TX and CH3 corresponds to RX

The RadioMaster RP series receivers are built-in a TCXO (temperature-compensated crystal oscillator) now, which ensures reliable, stable, and accurate signal reception, allowing for superior performance in demanding environments and enhancing the flight experience.
Binding TBS Crossfire Receivers
After wrapping up our journey with ExpressLRS receivers, we’re shifting gears to the TBS Crossfire system, another heavyweight in the RC world. So, let’s get started!
First off, we need to verify both our TBS Crossfire transmitter and receiver are powered off. The receiver’s flashing green LED means it’s ready to bind. Next, we power the transmitter on and access the system menu. From there, we navigate to “TBS Agent Lite” to select “Bind.”
Once everything’s set, we switch on the receiver and press its bind button if it’s already been used. After a few moments, a solid green LED will delightfully tell us the binding’s complete. If not, let’s check for firmware updates—outdated versions can keep us from binding. Happy flying!
Recommended Products

【Self-devoloped 2.4GHz technology】Stabler performance and greater anti-interference ability, comes with power amplifier to extend the remote control distance to ground distance max.300 meters and air distance max.800 meters.This transmitter only works with 2.4GHz receivers from MEUS Racing, not compatible with receivers from other brands.

DUMBORC X4 remote controller and Dumborc receiver X6F with 3ms fast response time and sensitive steering, 2.4GHz strong anti-interference ability which provides long range control distance up to 400 meters, suit for rc cars, boats, tanks, trucks, crawlers, buggies and so on.

Flysky fly sky fs-gt3b rc radio transmitter and receiver fs-gr3e for rc car, rc truck, rc crawlers, and rc boat.
Confirming and Testing Binding
Even the best binding process can leave us wondering if everything’s truly locked in. To confirm our binding success, we’ll look for that satisfying solid LED light on the receiver—no more blinking! The transmitter gives us check-ins, often through prompts or sounds, helping us know we’re connected.
Next, let’s do some signal checks. When we move our sticks and switches, we want to see immediate action in the servos or ESCs. Don’t forget to test the failsafe by turning off the transmitter. Keep an eye on the RSSI values, too; stable readings mean solid communication.
If we encounter any hiccups, we can troubleshoot with power cycling or alternate methods. Happy flying!
Recommended Products

Compatibility (JR / SPEKTRUM DSM2): DX6I, DX7, DX8, DSX7 DSX9 DSX11

400m-500m Control Distance : DUMBORC X6 rc transmitter and reciver P6FG, perfect used for RC Car Boat crawler l,2.4GHz Frequency and 3ms Receiver responses. Stable control your model 400-500M, make good works and protect when it out of control
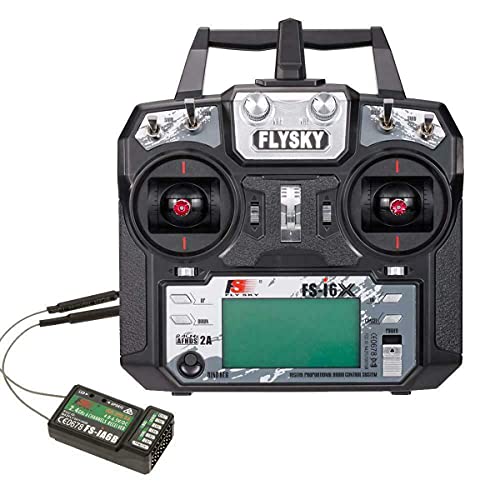
Please note: Flysky FS-i6X is default 6CH with FS-iA6B Receiver. If you have 10 channels receiver FS-iA10B, that you can open to 10 channels.
Frequently Asked Questions
What Tools Do I Need for Binding a Transmitter and Receiver?
When we consider binding our transmitter and receiver, we need essential tools like a power source, connecting cables, and user manuals. We should also keep binding techniques and troubleshooting tips handy for a smoother process.
Can I Bind Multiple Receivers to One Transmitter?
Imagine trying to juggle multiple balls; it’s fun until you drop one. We can bind several receivers to our transmitter, but due to receiver limitations and compatibility, only one can truly shine at a time.
How Long Does the Binding Process Typically Take?
When considering binding duration, it usually takes just seconds to a minute, depending on transmitter types. Factors like firmware matching and signal strength can influence how quickly our devices sync together effectively.
What Should I Do if My Receiver Doesn’T Power On?
When our receiver’s lights remain dark, like a stormy night, we plunge into receiver troubleshooting. We check power supply issues, test connections, guarantee the outlet works, and confirm it’s not overheated or stuck in sleep mode.
Is There a Specific Order to Power on Devices During Binding?
There’s definitely a specific order for powering on devices during binding. Following the correct binding sequence is essential, ensuring device compatibility. Starting with the receiver helps us avoid connectivity issues and promotes a smoother binding process.