To calibrate our RC transmitter, we start by ensuring everything’s charged, and we’re in a stable spot—no coffee spills here! Next, we connect our vehicle to calibration software like QGroundControl on our PC. We then move each stick to their extremes and save the positions. After checking values for smooth control—aiming between 1100 to 1900 μs—we can tweak the throttle settings, too. Hang tight, there’s more handy info coming your way!
Key Takeaways
- Ensure the transmitter and receiver are charged and in a stable, vibration-free environment before starting calibration.
- Access the calibration interface via your PC or ground station software after connecting the vehicle.
- Perform stick calibration by moving each stick to extremes, holding positions briefly, and saving values accurately.
- Verify calibration by checking for normal range values and ensuring smooth on-screen response with no erratic movements.
- Follow throttle-specific steps, including setting throttle neutral around 1500 microseconds, for precise motor control.
Pre-Calibration Preparation
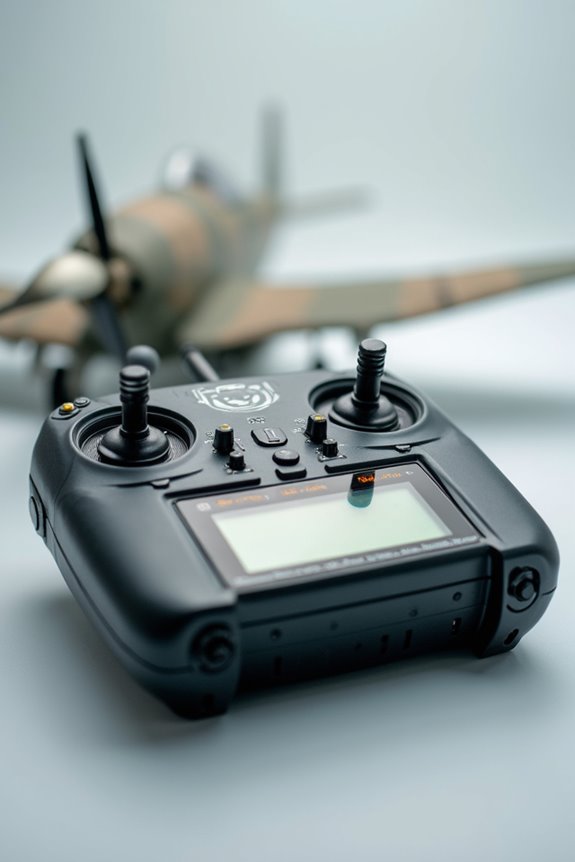
Before we plunge into the nitty-gritty of calibrating our RC transmitter, let’s get our ducks in a row. First up, we need a hardware checklist. Have the transmitter and receiver fully charged or use fresh batteries. Don’t forget to power them off while connecting components and remove any propellers for safety—trust us, a spinning blade isn’t the best companion for calibration!
Next, let’s discuss environmental conditions. We should find a stable, vibration-free space. A clear line of sight is essential, so steer clear of Wi-Fi routers and other RC devices. Let’s also avoid any metal objects nearby—they can mess with our signal. With proper prep, we’re setting ourselves up for a successful calibration!
Recommended Products

High-Fidelity Metal Construction, Durable & Premium: Crafted from metal with meticulous detailing, wear-resistant and impact-proof for professional-grade durability.

All-Metal Construction for Authentic Replication: Crafted from premium all-metal materials to ensure durability and true-to-life texture, perfectly recreating the original machinery's precise details and proportions.

Enhanced Camera for Travel Shots - Air 3S's 1" CMOS primary camera delivers breathtaking shots with enriched detail in low-light scenarios like sunsets and nightscapes.
Accessing Calibration Interface

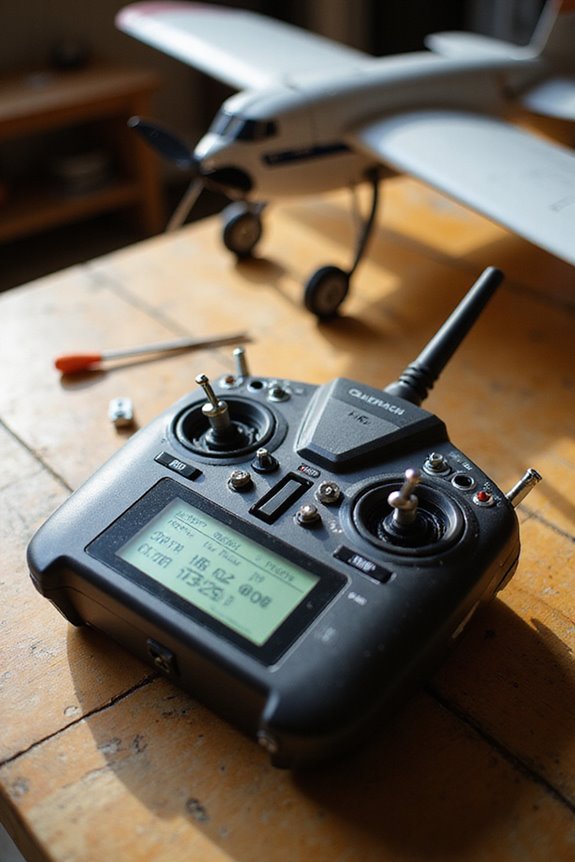
How do we immerse ourselves in the calibration interface of our RC transmitter? First, we need to power up our transmitter and fire up the calibration software on our PC or ground station. Once that’s done, let’s connect the vehicle via USB or telemetry. Then, we launch the calibration interface, often found under setup menus like QGroundControl or Mission Planner.
Make sure the receiver is properly hooked up; you’ll want to check those LED signals! If we see live input signals, that’s our green light to proceed. It’s like making sure your Wi-Fi is working before binge-watching! Finally, let’s explore the specific tabs for our calibration needs—this is where the real fun begins in fine-tuning our setup!
Performing Stick Calibration
Let’s explore performing stick calibration, the essential step to optimize our RC transmitter for smooth operation. First, we need to turn on our transmitter and connect it to the ground station software. Then, we’ll select the stick calibration option. It’s like following a recipe; we must move each stick to the extremes, holding briefly to verify the software captures our stick movement correctly.
Accurate stick calibration helps prevent calibration errors, confirming every twitch on our sticks translates perfectly to our controls. Once we’ve gone through the prompts and confirmed each position, we’ll save our values. Trust us, we want to avoid any erratic mid-flight dance moves! With proper calibration, we’re gearing up for stable and safe flights ahead.
Recommended Products

CASE ACTIVATED LINKAGE KIT

Cetus FPV Kit: BETAFPV Cetus FPV kit is comes with a special design of Cetus Brushed Whoop Quadcopter, LiteRadio 2 SE and VR02 FPV Goggles. The Cetus quadcopter has an excellent self-protection function, which can make an emergency landing whenever loses control or is in low battery

Excellent Anti-interference--DSSS&FHSS communication technology and 7dBi high gain antenna make AT10II transmitter with stable transmission signal and the control range is up to 2.5 miles(4km) in the air.
Verifying and Adjusting Calibration
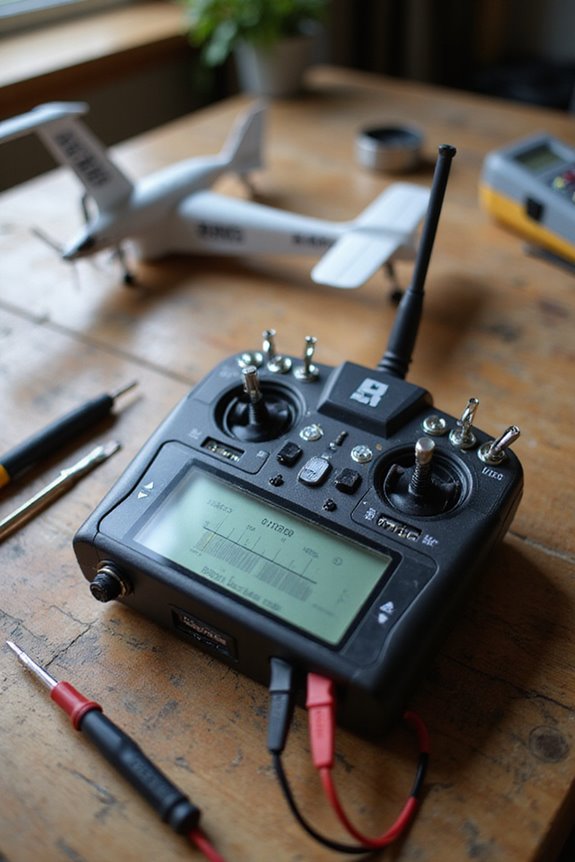
With stick calibration wrapped up, it’s time to make sure everything’s working perfectly. First, let’s review our summary screen in Mission Planner or QGroundControl. We should see our min, max, and trim values falling within the normal range—around 1100 μs to 1900 μs is ideal. If anything looks off, it’s time for some calibration troubleshooting.
Next, we’ll test each control stick. It should smoothly respond on-screen—no “dead zones” allowed! If we notice anything strange, like erratic movements or signal interference, a recalibration might be necessary. Remember, document everything! This way, if something goes sideways later, we’ll have a solid reference. If performance dips, don’t hesitate to recalculate; our machines deserve the best!
Recommended Products

Upgraded ZS406 TinySA Ultra+:This New Version V0.4.6.1 Spectrum Analyzer is developed by Hugen, with 4.0 inch 480 x 320 large touchscreen display, 100kHz to 5.4GHz widely measure range, with the new ESD protection function, the product has a higher anti-static level and a longer service life, and built-in 32Gb micro SD card, can directly record data to the card ,which is convenient for your data sharing and storage

CASTLE is a top producer of high performance, high quality products for RC aftermarket upgrades with a 25-year track record of innovation and record-breaking performance. Our brushless power systems are ideal for those who desire higher efficiency, advanced features and improved optimization for their stock upgrade or build. The Micro X2 ESC is proudly DESIGNED, ASSEMBLED AND SUPPORTED IN OLATHE, KS. USA.

Throttle-Specific Calibration Steps
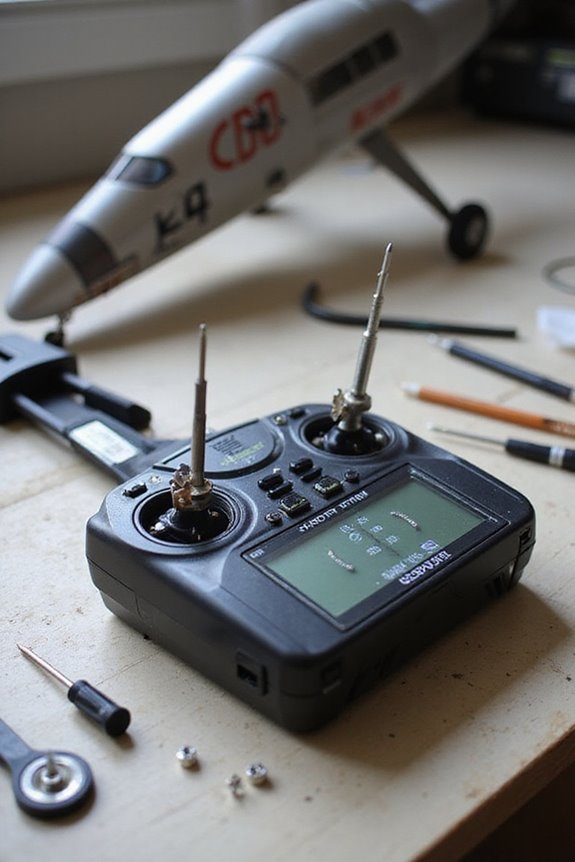
Ready to rev up your RC experience? Let’s plunge into the throttle-specific calibration steps. First, we’ve gotta make certain the throttle trim is centered and the throttle cut switch is off. Safety first: remove those propellers! Now, with the transmitter on and the throttle stick at max, power up the ESC. Listen for those initialization beeps, then quickly lower the throttle to mark the low value. This sets our throttle sensitivity just right.
Next, eliminate the deadband, making sure even the slightest movement gets a response from the motor. After recording our endpoints, we need to set the throttle neutral. This should align perfectly with a PWM signal around 1500 microseconds, keeping our ESC settings locked for smooth operation. It’s also important to ensure that the high-quality servos you’re using have strong torque for reliable control. Let’s make those calibrations count!
Recommended Products

Powerful 3674 2600KV Brushless Power System with 130A ESC--Equipped with SURPASS 3674 2600KV brushless motor with heat sink and high-speed cooling fan, paired with 130A high-power brushless ESC, this MT09 RC monster truck delivers a top speed of 65+KM/H with the standard 3S 5000mAh 35C LiPo battery, and can reach 80+KM/H with the upgraded 4S battery for extreme off-road performance. The dual-fan cooling system ensures stable power output during long-time intense bashing and racing.
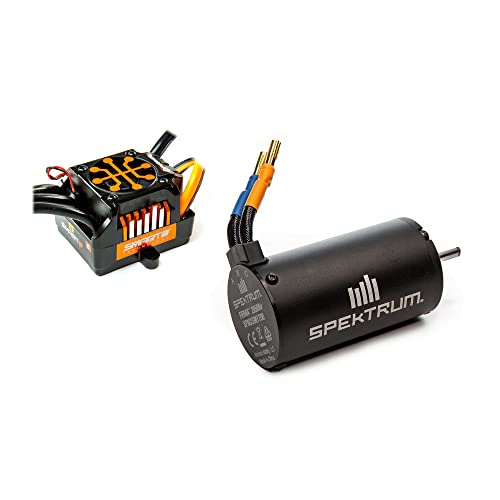
Smart all-in-one telemetry
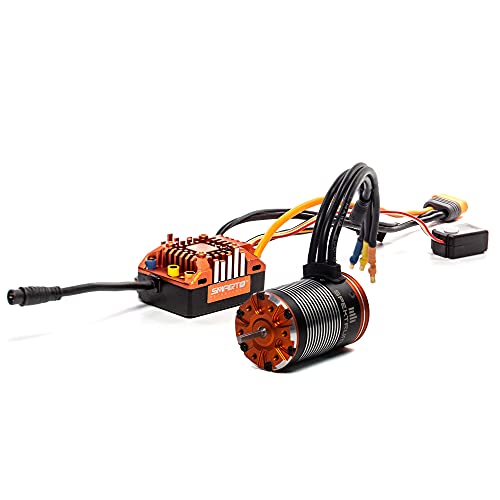
Spektrum Firma 60A Brushless Smart ESC / 2100Kv Sensored Motor Crawler Combo, SPMXSEMC08
Post-Calibration Procedures
After fine-tuning the throttle settings, it’s time to make sure everything works as intended. First, let’s check that our motor responds smoothly to even slight throttle adjustments. If it doesn’t, we might need to recalculate that ESC. We need to guarantee that all control sticks and knobs are free-moving and register correctly. Remember, safety first: always disconnect power and remove props before testing.
Next, we’ll delve into some calibration data analysis. We should verify that our minimum, maximum, and trim values align with expected ranges. If anything seems off, recalibrating right away is crucial. We want our gear working flawlessly, so let’s keep our post-calibration safety protocols in place while we confirm everything’s on point!
Recommended Products
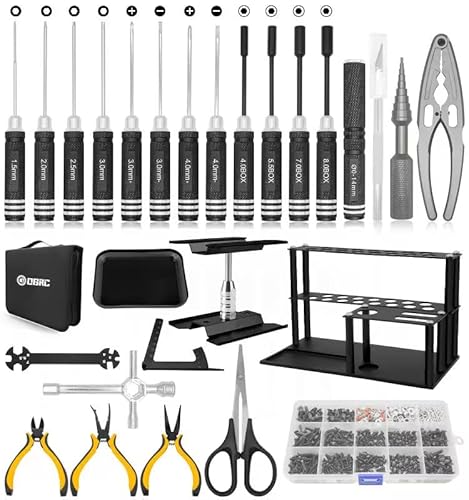
【27PCS Tool Kit Set】Our RC tool kit include 4 * He.x Screwdriver Set (1.5/2.0/2.5/3.0mm), 4 * Box Spanners (4.0/5.5/7.0/8.0mm), 2 * Phillips Driver (3.0/4.0mm), 2 * Slot Drivers (3.0/4.0mm), 3 * Pliers (Nedle-nose/Diagonal/Ball link), Body Reamer, Hobby Knife, Cross Wrench, Turnbuckle Wrench, Multi Shock Clamp Shaft, Scissors, Ball Bearing Remover, Tray, RC Stand, Camber Gauge, 522pcs Screw Kit and Tool Holder.

🏆【Compatibility】This RC tool kit is compatible with 1/8 1/10 1/12 1/16 1/18 Scale Brands RC Trucks Crawler Buggies, Such as Redcat Arrma Axial HSP HPI RC4WD Tamiya Kyosho Globact WLtoys RC car, etc.

1. Complete RC Tool Bag RC hobbyists: 4x hex screwdriver set (1.5mm 2.0mm 2.5mm 3.0mm), 4x box spanners screwdriver (4.0mm 5.5mm 7.0mm 8.0mm), 2x Phillips driver (3.0mm 4.0mm), 2x Flathead Screwdriver (3.0&4.0mm), 3 Pliers (needle-nose, diagonal, ball link pliers), 1x RC Gear Puller, 1x Craft Hobby Knife (with 4 Blades), 1x body reamer, 1x cross and turnbuckle wrench, 1x Shock Absorber Pliers, 1x ball bearing driver, 1x scissors, 1x RC Car Stand, 1x Camber Gauge Angle Ruler, 26PCS in total.
Documenting Calibration Values
Documenting calibration values is essential for anyone serious about getting the most out of their RC gear. Think of it as keeping a diary for your transmitter; it helps us track adjustments and trends over time. When we document our calibration steps, we’re not just checking boxes—we’re ensuring reliability and compliance with calibration standards that can make or break our hobby.
We should record minimum, maximum, and trim values for each channel. Using dedicated calibration software or good ol’ logbooks makes it easier to retrieve these values later. And don’t forget to back everything up like it’s your favorite tunes! Consistent documentation methods help us avoid drift and keep our transmitters performing their best. Happy flying!
Frequently Asked Questions
How Often Should I Recalibrate My RC Transmitter?
When it comes to transmitter maintenance, we should aim for regular recalibration to guarantee peak performance. Calibration frequency might increase with hardware changes, inconsistent control responses, or environmental factors, helping maintain reliability in our operations.
What Should I Do if My Transmitter Doesn’t Connect?
If we’re facing connection issues, let’s start with transmitter troubleshooting. We should check power, verify binding, and guarantee all connections are secure. Don’t forget to review settings and firmware for potential updates or misconfigurations!
Can I Calibrate Without Specific Ground Control Software?
Did you know that nearly 60% of hobbyists struggle with transmitter settings? While we can attempt manual calibration, it’s usually unreliable without specific ground control software, risking incorrect mappings and safety issues. Let’s stick to recommended methods.
What Are Signs of a Faulty Transmitter or Receiver?
We should watch for transmitter malfunctions like jittery controls or unexpected movements. Likewise, if we notice receiver issues such as binding failures or flashing lights, it’s time to investigate further for ideal performance.
Is It Safe to Calibrate Indoors?
In our quest for precision, we must remember that while an indoor calibration environment beckons, its safety is paramount. We should prioritize indoor safety, ensuring careful preparation to prevent mishaps as we calibrate our RC equipment.