To add realistic panel lines, we first need to choose the right tools. Gundam markers or oil-based pens work wonders for durability. Next, let’s talk about line weights—thick lines grab attention while thinner ones recede, adding depth. Mixing it up helps our art avoid looking flat. Remember to vary panel sizes for drama and detail. With these basics down, our panels will pop! Stick around, and we’ll explore more tips for mastering your technique.
Key Takeaways
- Use varying line weights; thicker lines for foreground elements and thinner lines for background details to create depth.
- Opt for oil-based or Gundam markers for durable panel lines; practice with different sizes for desired effects.
- Incorporate subtle shading or weathering techniques near panel edges to enhance realism and prevent flatness.
- Experiment with panel size variations and layouts to control visual impact and guide the reader’s eye.
- Use digital programs to adjust line thickness and opacity, providing flexibility in your artwork.
Selecting the Right Tools for Panel Line Creation
When it comes to adding realistic panel lines, picking the right tools can feel like searching for a needle in a haystack. First, let’s talk about our tool selection. Gundam markers are a favorite because they’re easy to use and come in various tip sizes. These oil-based wonders stick around for the long haul.
Alternatively, we could use water-based pens with micro tips for those detailed lines—just remember, they’re not as durable. Digital options are also super handy! Programs like Clip Studio Paint let us adjust line thickness and opacity. So whether we’re painting or pixeling, there’s a perfect tool for every project. Let’s grab our markers and get lining—after all, practice makes perfect!
Recommended Products

The 24" artist leaning bridge is a versatile tool that fits any artist work station. Ideal for painting, sketching, and drafting, it offers a steady hand platform for detailed tasks
Understanding Line Weights and Their Impact
Understanding line weights can feel a bit like learning to ride a bike—at first, it’s wobbly, but it gets easier with practice! Line weight is key in creating a clear visual hierarchy in our drawings. By using different thicknesses, we can direct the viewer’s attention where we want it. Thicker lines imply foreground objects, making them pop, while thinner lines recede into the background.
This variation helps convey depth and keeps our artwork from looking flat. Think of it like a good movie scene: the heroes stand out in bold colors, while the background blurs just a bit. Plus, consistent application of line weight techniques gives our drawings that professional look—nothing screams “amateur” like a sketch that’s all one line thickness!
Effective Composition Techniques for Panel Layouts
How do we make our comic panels work together to tell a compelling story? Effective composition is key. By using panel size variations, we can control the visual weight of our scenes. Larger panels grab attention, perfect for dramatic moments, while smaller ones can provide quick beats or focus on important details.
We should also employ panel flow techniques to guide the reader’s eye across the page effortlessly. Using staggered layouts, for example, adds dynamism and excitement. Arranging panels in tiers helps signal shifts in time or location, maintaining clarity. And, let’s not forget to sketch thumbnails first; they help us visualize how our story unfolds so we can adjust for maximum impact.
Creating Depth and Dimension With Panel Lines

Creating depth and dimension with panel lines can truly elevate our comic art. By varying our line weights, we can create depth perception that guides the reader’s eye. Thicker lines signal importance, while thinner ones add delicate details. Think of these lines as actors on a stage—who’s front and center, and who’s fading into the background?
Using overlapping lines is another smart move. They help create line dynamics that suggest three-dimensionality, preventing any flatness. We should be cautious, though—tangents may play tricks, blurring our clarity. Shading near panel edges also brings our art to life, adding realism. So let’s master these techniques together, turning our panels into visually enthralling worlds—no magic wand required!
Recommended Products

COMIC BOOK DRAWING KIT - Learn how to draw your own graphic novels and comics! This complete comic illustration set was developed with professional comics to include everything a beginner needs to get started drawing their own superheroes

READY. SET. PAINT!: 4 rolls of 1.41 inch wide Scotch Delicate Surface Painter's Tape, a versatile solution for protecting surfaces that require a little extra care when preparing to paint your living or working environment
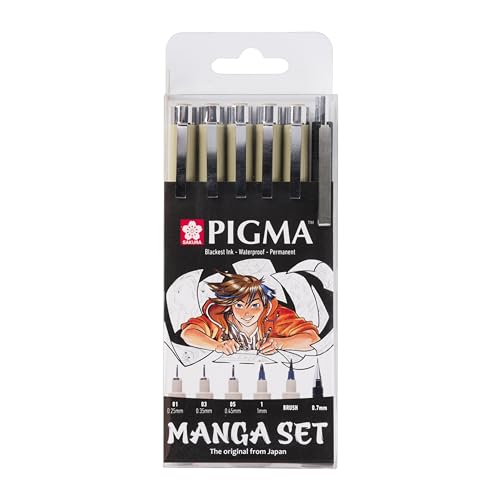
Manga Tool Set with 3 Pigma Micron pens black, 1 Pigma Graphic pen, 1 Micron Brushpen en 1 pencil 0.7 mm. Become a real Manga-pro! Sakura Pigma Color Technologies; Pigma was the first ink in the world to combine pigments and water. The fine tip makes this pen ideal for creating both technical and artistic drawings. The ink will not bleed through paper.
Choosing the Right Brush Settings
When it comes to choosing the right brush settings for panel lines, we’ve got a few essential points to keep in mind. First off, we need a brush type suited for fine work, like a technical pen or hard-edged round brush. This helps us achieve those precise, thin lines without any blur.
Next, brush pressure plays an important role. By adjusting this, we can maintain consistent line thickness, no matter how firm our grip is. Don’t forget about stroke stabilization! Using features like Procreate’s StreamLine can smooth out our strokes, making our shaky hands a thing of the past.
Finally, testing our settings on a separate layer gives us the freedom to tweak again and again, ensuring our panel lines look just right!
Recommended Products

Controls up to 8 computers or servers using one keyboard, mouse and monitor or up to 264 as part of a daisy-chain

HEAVY‑DUTY CONSTRUCTION – Made with rugged 12.5‑gauge galvanized steel wire, delivering long‑lasting durability and resistance to bending or breakage for demanding outdoor use

All-handmade medium-point (0.5 mm) luxury fountain pen. Limited edition and serialized. Screw-on cap with screw posting. Set comes with the pen, gift box, 4 ink cartridges, piston converter, certificate, and a 3-year warranty card
Integrating Panel Lines With Your Artwork
While we may think of panel lines as simple borders, they actually play an essential role in how our artwork is perceived. Effective panel line integration requires us to contemplate overall composition. Using techniques like the rule of thirds can create artwork harmony. We should position our lines to guide the viewer’s eye seamlessly across the piece, avoiding any awkward tangents that trip them up. Remember how a well-placed line can frame a character or scene? It’s like setting the stage for a performance! Also, varying line weights adds depth, highlighting focal points while keeping details crisp. Ultimately, our goal is to make those panel lines feel like a natural extension of our artwork, not just random interruptions.
Avoiding Common Mistakes in Line Art
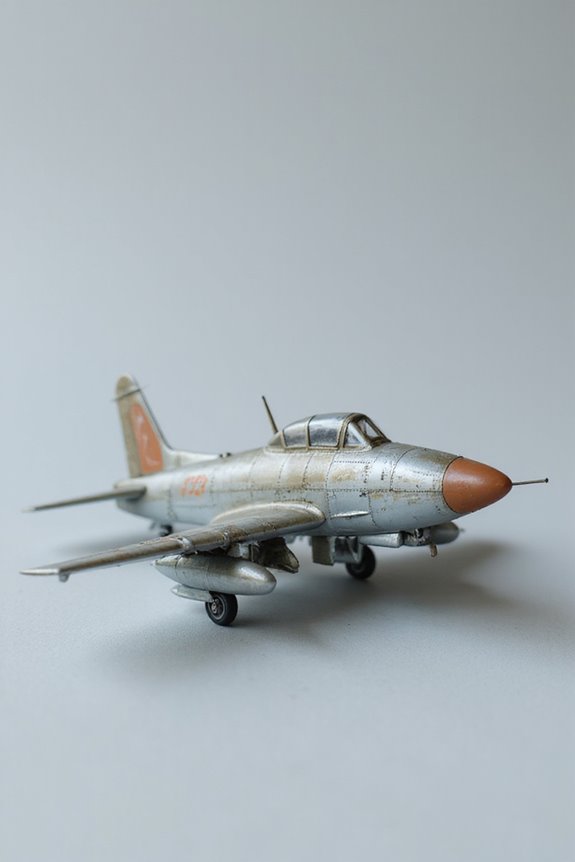
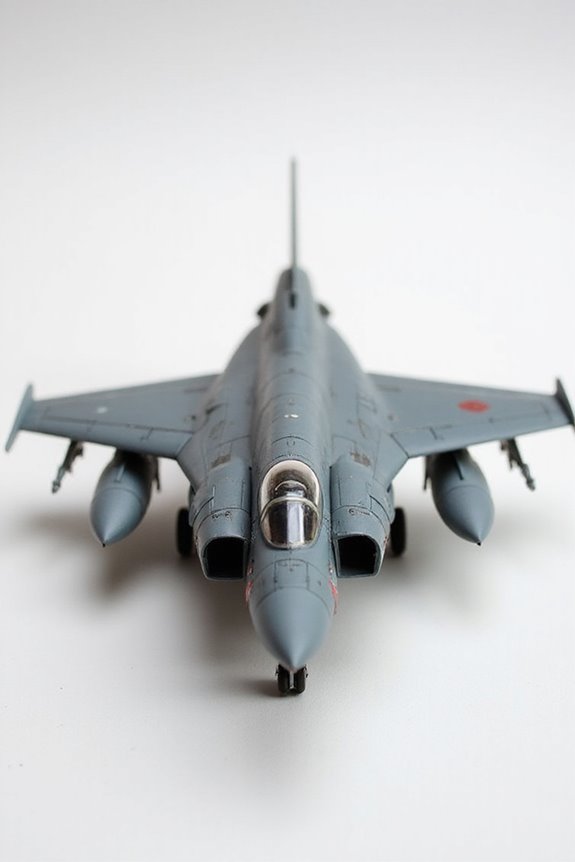
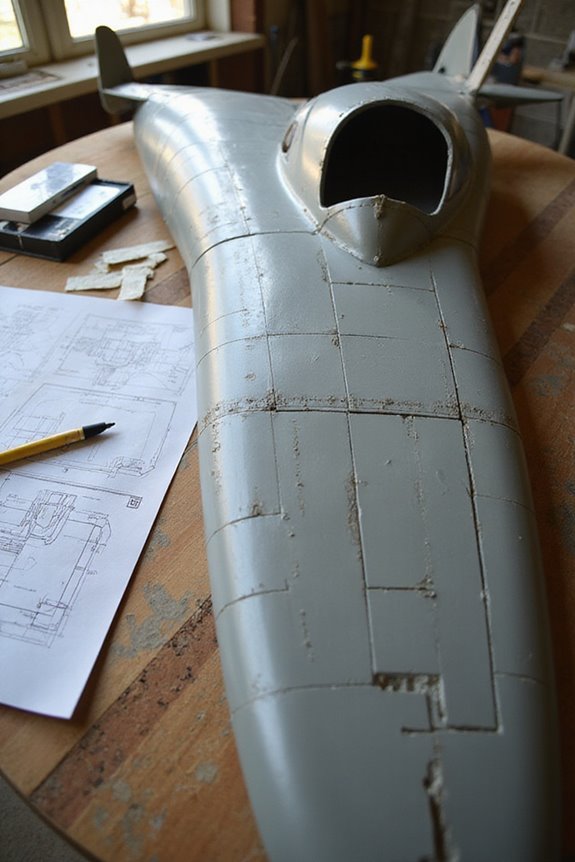
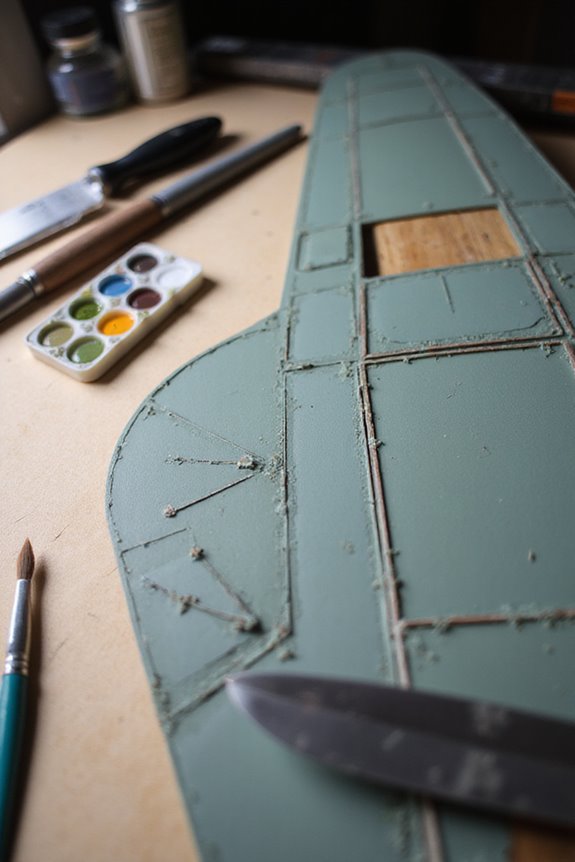
Panel lines can pull viewers in, but overdoing it can lead to some common pitfalls we need to watch out for. One major issue involves making panel lines too dark. This often results in a look that’s more jigsaw puzzle than aircraft. We also might rely too much on washes, which can flatten out our work, robbing it of depth.
Instead, let’s focus on subtle panel shading techniques that create natural variations. Remember, real aircraft don’t have consistently shaded panels. They show wear and weathering! Ignoring this can leave our models looking too clean. By considering the whole model and incorporating weathering, we can truly elevate our craft. After all, we want our pieces to fly, not flounder!
Techniques for Adding Texture to Panel Lines
Adding texture to panel lines is one of the best ways to make our models pop. We can use pen pressure to vary line thickness, creating depth and realism. Thicker lines for foreground elements and thinner for backgrounds give a sense of space.
Layering is our friend! By building up textures across layers, we can achieve those delightful textural contrasts. Let’s throw in some tiny line imperfections—think bumps or holes—to break up uniformity and add a natural feel.
Don’t forget light and shadow effects along our panel lines! They bring a tactile sense that catches the eye. Remember, a little texture goes a long way, so let’s avoid overwhelming our artwork while adding those subtle, lively details!
Recommended Products

Featuring 8,192 levels of pressure sensitivity, 3 side switches, and the ability to customize by swapping the included grips or adjusting the weight and center of balance, the Wacom Pro Pen 3 is Wacom’s most advanced pen yet.

Ultra Lightweight 2in1 That's Ready For Liftoff - LG gram is the ideal productivity partner. The powerful, 14” 2in1 laptop is super thin, yet surprisingly light weight so you can work, stream and play from virtually wherever your day takes you.
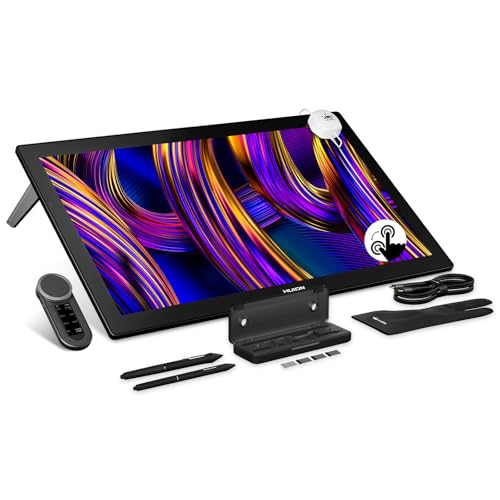
HUION's First 27-Inch 4K & 144Hz Display: The Kamvas Pro 27 (144Hz) art tablet combines a 4K UHD (3840x2160) screen with a 144Hz high refresh rate, ensuring exceptionally smooth and clear visuals that deliver the precision and immersion required for dynamic creative workflows. With a 140% increase in line display speed, every pen stroke is captured instantly and displayed without any lag
Optimizing Your Digital Workflow for Line Art
Getting our panel lines just right is only part of the equation. To truly shine, we need workflow efficiency. First, let’s customize our software—those keyboard shortcuts can save us a ton of time and keep us in the zone. Think of it as the espresso shot for productivity!
Next, efficient layer management is key. We can group our line art layers, which helps avoid the clutter of a crowded workspace. Plus, using layer masks allows us to tweak without fear.
Lastly, embracing digital asset management means we’ll never hunt for that perfect brush again. Implementing a solid naming convention can turn chaos into clarity. It’s like having a well-organized toolbox—everything’s ready when we need it!
Recommended Products
NIKON USA AUTHORIZED - Includes Full NIKON USA WARRANTY

Precision Control in a Space-Saving Design: Fully customize your dry-aging journey with adjustable temperature (36°F to 57°F) and humidity (50% to 85%) settings to achieve your ideal flavor profile. This versatile capacity is perfectly housed in a compact unit measuring just 23.4" x 22.6" x 32.3", featuring 3 shelves and 2 detachable hooks to efficiently organize up to 66 lbs of meat. This roomy yet space-efficient design seamlessly fits into any environment, from home kitchens to commercial settings, empowering you to experiment with different cuts and durations.

[Optimized for Desk] Kamvas Pro 24 (Gen 3) art tablet inherits its predecessor's 23.8-inch screen size and narrow bezels, maximizing the workspace while providing a larger canvas for limitless creativity. With 4K UHD resolution, every detail of your work is presented with sharp clarity.
Final Touches for Polished Panel Lines
While we might think our lines are complete, putting on those final touches can really elevate our work. Line cleaning is key! We need to erase any stray tails and uneven line ends to give our piece that polished, professional look.
Next, let’s focus on stroke refinement. Using digital tools, like the smoothing features in software, can help us achieve that smooth, flowing look that makes our art pop. Don’t forget about line weight variation; it guides the viewer’s eye through our work.
Lastly, adding a touch of subtle shadowing can create depth. Remember, artistic flair isn’t about perfection—it’s about bringing our unique style to life, like a well-seasoned dish! Let’s add those finishing touches and make our panel lines shine!
Frequently Asked Questions
How Do I Choose Colors for Panel Line Aesthetics?
When choosing colors for panel line aesthetics, we should consider color theory and harmony. Blending subtle shades with base colors enhances depth, ensuring our models achieve that perfect balance between realism and artistic flair.
What Software Is Best for Creating Digital Panel Lines?
When we explore software for creating digital panel lines, we should compare options like Clip Studio Paint and PaintTool SAI for their stability and smoothness. This helps us achieve precision in our digital art projects.
Can I Create Panel Lines Without a Graphics Tablet?
Sure, we could turn into human robots and perfect line precision, but let’s be real: with pencil techniques and smart software tricks, we can create stunning panel lines without a graphics tablet! Who needs one anyway?
How Does Panel Line Style Affect Storytelling in Comics?
When we consider panel line significance, we see how it shapes our visual narrative. Different styles can alter pacing and tone, guiding readers’ emotions and focus, making each storytelling moment more impactful and engaging.
What Are Alternative Techniques to Traditional Panel Borders?
We’re not just here for straight lines, are we? Let’s embrace masking techniques and shading effects instead! With creativity, we can redefine panel borders—after all, who needs conformity when we’ve got style?