Building a scale cockpit is like engineering a mini spaceship! First, we research the exact aircraft model for accuracy. Then we gather lightweight materials like polystyrene for panels and plywood for structure. Next, we design an ergonomic layout, ensuring controls are within reach and instruments are visible. After constructing the framework, we’ll detail it with realistic paint and weathering. And guess what? There’s more to explore about lighting effects to make it truly stand out!
Key Takeaways
- Research your specific aircraft model to ensure accurate cockpit details and ergonomics.
- Gather appropriate materials like lightweight polystyrene, plywood, or carbon fiber for structural integrity.
- Design an ergonomic layout prioritizing accessibility and visibility of instruments and controls.
- Construct the framework with durable woods and modular assembly for structural stability.
- Detail and paint the cockpit using realistic colors and techniques for a professional finish.
Researching Your Aircraft
When it comes to researching your aircraft, it’s like being a detective on a very specific mission. We need to track down the exact aircraft model and version to guarantee we get every detail right. Checking the registration numbers helps pinpoint specific variants. The thrill of uncovering aircraft history adds to the excitement!
We shouldn’t overlook cockpit ergonomics, either. By examining photographs of cockpit layouts and collecting pilot anecdotes, we can understand how those controls feel in a real pilot’s hands. After all, a well-designed cockpit not only looks good but also helps pilots fly better. So, let’s roll up our sleeves, dig through archives, and gather everything we need to create a scale cockpit that’s as authentic as it gets!
Gathering Materials and Tools
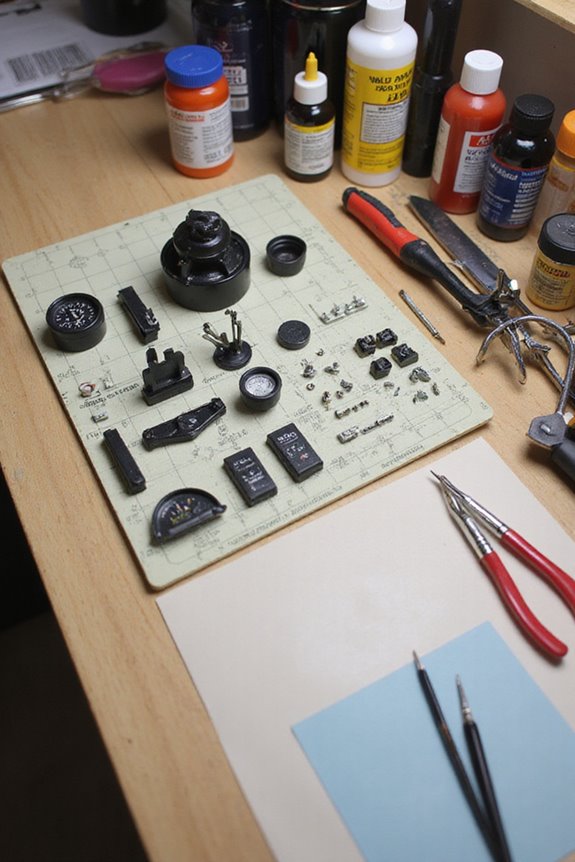
Gathering the right materials and tools is essential for building an authentic scale cockpit. We’ll want to focus on smart material selection to achieve that realistic look. For our instrument panels, lightweight polystyrene sheets work like a charm.
As for structural elements, a touch of aircraft plywood or carbon fiber can really elevate realism. Don’t forget aluminum or brass for those shiny knobs that make us feel like we’re in the cockpit for real! Additionally, consider using custom paint schemes to enhance the overall aesthetic of your cockpit model.
Now, let’s not skip the tool types; a laser cutter and hobby knife will be our best friends for precision work. Pair these with 3D printers for those custom parts, and we’re in business. It’s like bringing our dream cockpit to life—one piece at a time!
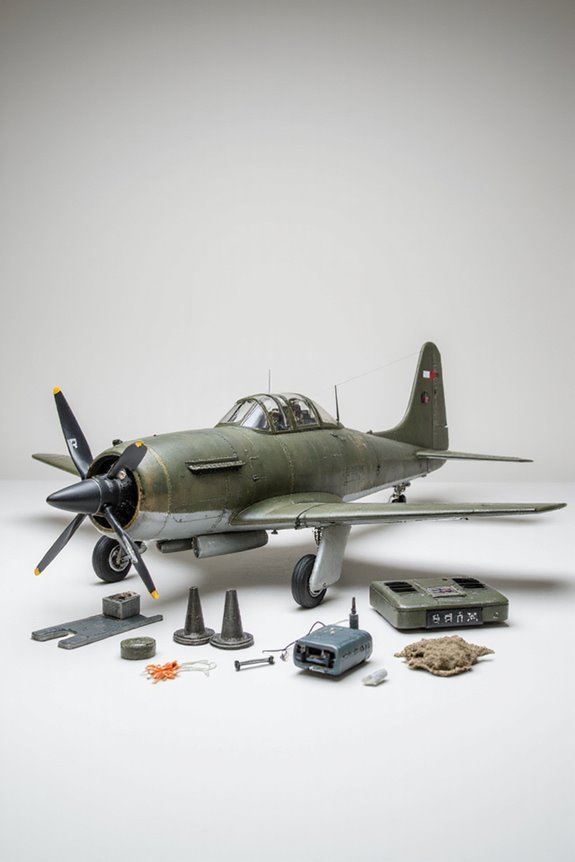
Recommended Products
Plastic model kit for assembly and painting.
EAN 0787026091150

Designing the Cockpit Layout

Designing a cockpit layout can feel like putting together a puzzle—only this puzzle has a lot of moving parts and a pilot’s life depends on it! We need to prioritize cockpit ergonomics and guarantee that every control is accessible and visible. Remember, controls should be reachable for most pilots, so aiming for the 5th to 95th percentile is essential.
Positioning instruments is key, too; they need to enhance visibility without blocking our line of sight. Also, let’s think about comfort angles; keeping knees and backs happy during long flights is critical. And don’t forget, reducing clutter is like cleaning up after a party—much better for everyone involved! So, let’s make this layout not just functional but a breeze to use!
Recommended Products

True-to-Life Button Size and Layout: All switches and buttons are sized to match the real overhead panel. Designed to handle cold dark starts from a single compact unit, making it perfect for space-constrained cockpit setups

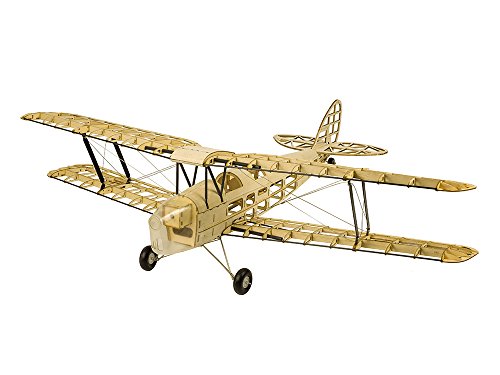
✔️This is the upgrade version of S08 1.2M J3, it features detachable wing, solid and lightweight structure, optimize the details with more beautiful apperance. Upgrade cabin with magnet lock design for easy to install and replace the power system.

B-17G Fortress has a 45 3/4" wingspan
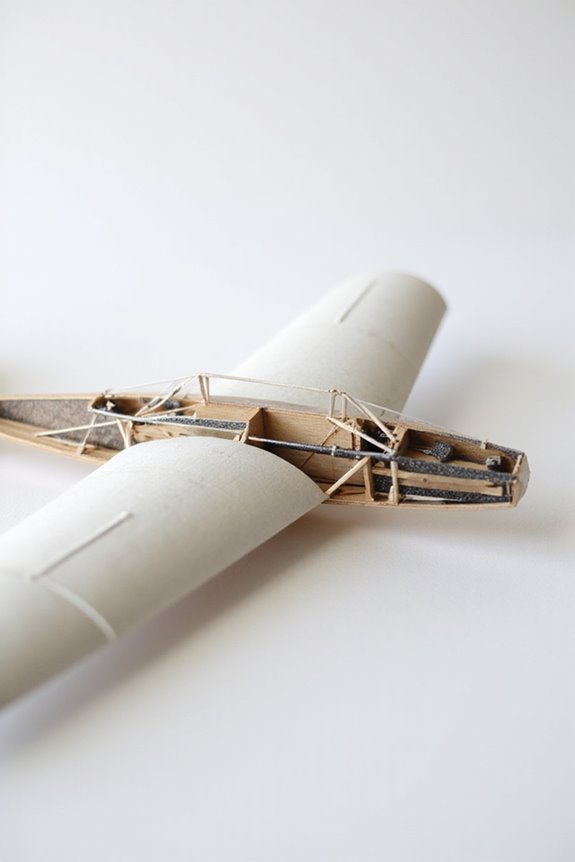
Constructing the Cockpit Framework

To kick off the construction of our cockpit framework, let’s plunge into materials that’ll make our project both sturdy and realistic. We often start with wood—birch plywood and basswood are fantastic options for the main structure. For internal bracing, plastic sections in ‘L’ or ‘T’ shapes provide excellent support!
We’ll use modular assembly to make sure every component fits snugly. It’s all about maintaining structural integrity, so don’t skip the formers and longerons. They keep our cockpit in shape, much like a skeleton holds us together! Epoxy works wonders for securing wood, while aluminum adds a touch of realism. And who doesn’t want a cockpit that’s both solid and stylish? Ready to build? Let’s get this framework going!
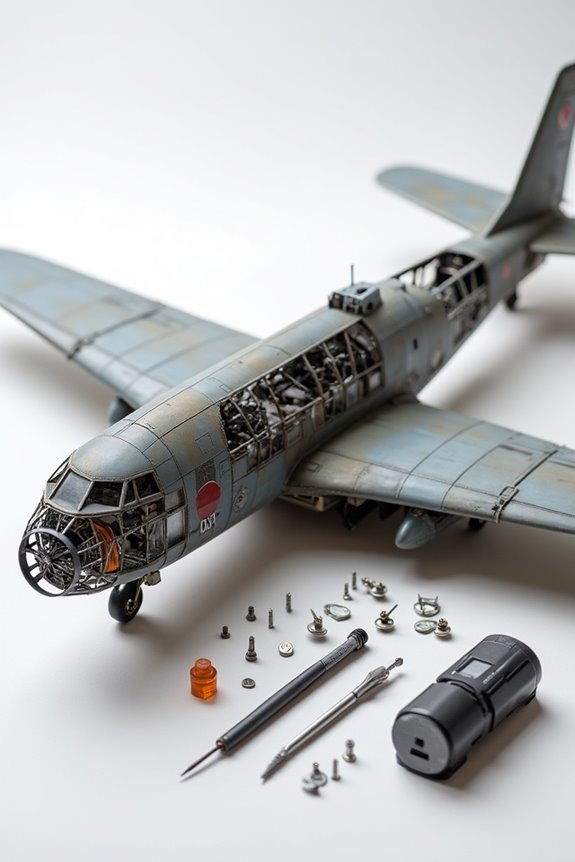
Recommended Products
✔️This unassembled building kits has solid and lightweight structure design, and it includes molded plastic cowl, windscreen, functional landing gear, and comprehensive hardware pack, that will give you a realistic airplane model finally.

【High Emulation】We restores as much of the original model, this unassembled building kits has solid and lightweight structure design, and it includes molded plastic cowl, windscreen, functional landing gear, and comprehensive hardware pack, that will give you a realistic airplane model finally.
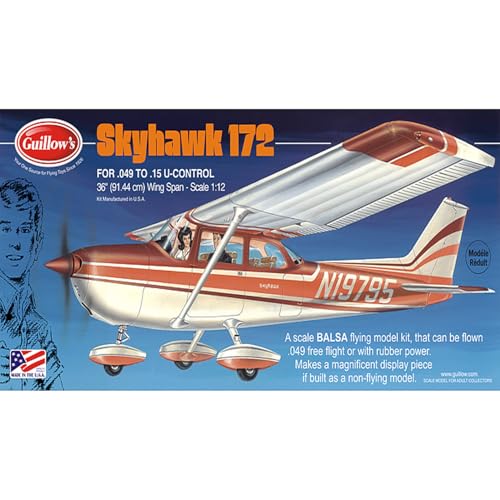
Cessna Skyhawk has a 36" wingspan
Creating Instrumentation and Controls
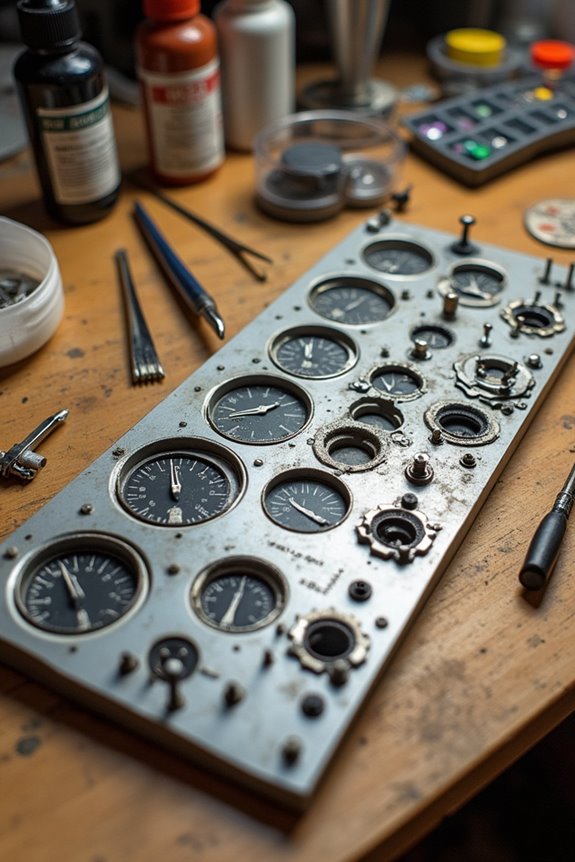
Creating the right instrumentation and controls for our scale cockpit is essential, especially if we want it to feel authentic. We should consider materials like plastic board or plywood for a sturdy instrument panel. Prefabricated options from suppliers like ResKit offer ready-made panels that save time and guarantee instrument accuracy.
When it comes to control placement, we need to channel our inner pilot! Realistic ergonomics matter, so let’s use photos or drawings for guidance. Don’t forget to meticulously scale the instruments using simple math.
For knobs and switches, polyurethane is our best friend. They look great once painted and add realism. We can even get fancy with 3D decals, which make everything pop—no paintbrush dexterity needed!
Detailing and Painting the Cockpit
While we immerse ourselves in detailing and painting the cockpit, it’s essential to remember that preparation sets the foundation for a stunning finish. A good scrub with detergent followed by a primer coat creates an ideal base for our efforts. This step guarantees our selected colors stick and lets us fix any imperfections.
When it comes to color selection, we should lean towards realistic hues that won’t overwhelm smaller parts. For the actual painting, airbrushing provides a smooth base, while fine brushes help with those tiny switches. Using masking tape can give us crisp lines, and dry-brushing highlights raised details. Don’t forget—a little wash can work wonders to enhance depth. Happy painting!
Implementing Lighting Effects
After we’ve enjoyed the intricate detailing and painting of our cockpit, it’s time to turn on the lights—literally! Lighting can enhance our scale model’s realism, making those control panels pop. We’ll need to carefully consider LED placement. Key areas include dashboards and cabin spaces.
Choosing the right power supply is essential too: we can go portable with batteries or use external adapters for a more powerful setup. Let’s not forget about our wiring layout—keeping things neat and organized helps us avoid a spaghetti mess. Using diffused clear plastic sheets can broaden our light effect, creating a softer glow that feels more realistic. With these steps, our cockpit will light up like the Fourth of July—minus the fireworks!
Final Assembly and Integration
When we plunge into the final assembly of our scale cockpit, it feels a bit like putting together a puzzle—with each piece counting! First, we tackle the instrument panel, arranging gauges for ideal visibility. Next, we carefully install components like control yokes and throttles, ensuring everything is functional.
As we move on to structural integration, we firmly assemble formers and longerons. Now comes the exciting part—system integration! We connect all electrical systems, making sure wires for displays and controls are tidy and efficient. After that, we conduct thorough functional verification tests to catch any hiccups. Finally, we perform our quality checks, ensuring every detail meets our standards—because, let’s face it, who wants a cockpit that’s not ready for action?
Frequently Asked Questions
What Are Common Mistakes to Avoid When Building a Scale Cockpit?
As we navigate the intricate skies of scale modeling, let’s dodge the turbulence of common mistakes. We must choose the right scale materials, mind cockpit lighting, and avoid overwhelming our creation with unnecessary detail.
How Can I Ensure My Cockpit Fits Well in the Aircraft Model?
To guarantee our cockpit fits well, we must focus on precise scale measurements and test cockpit alignment frequently. This helps verify that everything meshes perfectly with the model, enhancing both accuracy and functionality during assembly.
What Scale Should I Use for My Cockpit Model?
When deciding on a scale for our cockpit model, we should calculate the scale ratios carefully and choose suitable modeling materials, ensuring everything appears realistic and matches the overall aircraft for a cohesive look.
Are There Online Communities for Cockpit Modeling Enthusiasts?
We’ve discovered vibrant online communities that share our passion for cockpit design and modeling techniques. From detailed forums to engaging threads, these spaces offer invaluable insights, support, and camaraderie among fellow enthusiasts like us.
How Do I Maintain and Preserve My Completed Scale Cockpit?
To maintain and preserve our completed scale cockpit, we should use proper cleaning techniques and explore display options that protect it from dust and moisture. Regular inspections will also guarantee everything stays in top condition.